Hibachi Vegetables Recipe
I looked at dozens of hibachi vegetable recipes before putting this one together, and every single one made the same mistake: they dumped all the vegetables in one pan at the same time. That one decision is why most homemade hibachi vegetables turn out watery and bland instead of caramelized and slightly crunchy.
Zucchini, onions, and mushrooms all have different density, so they each need different heat levels, different timing, and even different seasoning strategies. Salting zucchini too early draws out moisture and prevents a proper sear. Salting mushrooms early is exactly what you want, because it pulls out water faster. Cooking each vegetable separately is what every teppanyaki restaurant does, and it's the only way to get restaurant-quality results at home.
This post contains affiliate links, which means I may earn a small commission if you make a purchase. It doesn't cost you anything extra. Full disclosure.
Why This Hibachi Vegetables Recipe Works
- Each vegetable cooked separately. Zucchini, onions, and mushrooms all have similar water content but different density. Cooking them one at a time means each one gets proper contact with the pan and enough heat to caramelize instead of steam.
- Salt timing adjusted per vegetable. Zucchini and onion get no salt until after the sear, because early salt draws out moisture and prevents caramelization. Mushrooms get salted immediately, because you want them to release their water quickly.
- Garlic butter and soy sauce added at the end, not during the sear. The vegetables caramelize in plain oil first, then get finished with garlic butter and soy sauce in the last 30 seconds. This keeps the flavors concentrated instead of diluted.
- Restaurant-style knife cuts. The squared-off zucchini planks, the orbital onion slices cut into quarters, and the thick mushroom slices are the same cuts you'll see at any teppanyaki restaurant.
- Sesame seed garnish on zucchini and onion only. Mushrooms are served plain, matching the actual restaurant presentation.
Ingredients You'll Need
Zucchini. Two medium zucchini. The cut matters here: you trim the skin off two opposite sides to create flat planks, then slice through the remaining skin side into pieces about a third of an inch thick. This gives you the same cut they use at hibachi restaurants, with maximum flat surface area for caramelization.
Onion. One large yellow onion. At the restaurant, teppanyaki cooks slice the onion into thick orbital rings, then cut those in front of you as part of the show. At home, it's faster to do all the cutting before you start cooking. Slice the onion into half-inch rounds, then cross-cut each round into quarters. That gives you the same finished size the restaurant uses without the theatrics.
Mushrooms. Eight ounces of white button mushrooms, sliced thicker than you normally would. Since they're a side dish and not the main event, each cap gets cut into three or four pieces. Thicker slices hold up better to the high heat and don't shrivel into nothing.
Safflower oil. Or any neutral oil with a high smoke point. Most teppanyaki restaurants use safflower because it has no flavor of its own. Vegetable, canola, or grapeseed oil all work. Olive oil adds a flavor that doesn't belong in Japanese steakhouse cooking.
Hibachi garlic butter. This is the compound butter made with garlic and soy sauce that Benihana cooks use on the flat top. You can find my Benihana garlic butter recipe on the blog. You'll need about a tablespoon per vegetable.
Soy sauce. Kikkoman is the standard at most Japanese steakhouses. A small amount goes on each vegetable right at the end, after the garlic butter.
Sesame seeds. For garnishing the zucchini and onion. The mushrooms are served plain.
How to Make Hibachi Vegetables
The entire process is three separate rounds of cooking. Each vegetable gets its own pan time, its own seasoning approach, and its own finishing technique.
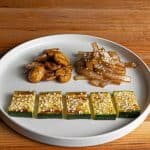
1. Cook the zucchini. Heat a tablespoon of safflower oil in a nonstick pan over medium heat. Once the oil is hot, lay the zucchini slices flat in the pan. Do not add salt or any seasoning yet. At this stage, salt would cause the zucchini to release liquid, and you want a clean sear first. After the first side has good color, flip each piece and sear the second side. Then flip back, add a tablespoon of garlic butter and spread it across the zucchini. Season with salt, pepper, and about a teaspoon of soy sauce. Flip once more so both sides pick up the melted butter and soy mixture, then remove from heat. Slice each plank into six pieces and garnish with sesame seeds.
2. Cook the onion. Heat a tablespoon of oil in the same pan over medium-high heat. Add the onion pieces and leave them alone for about two minutes so they get color on one side. Stir, then leave them alone again for another two minutes. When you see color all around but the onion still has some crunch and isn't completely soft, season with salt and pepper. Add a tablespoon of garlic butter and a couple squirts of soy sauce, then stir until the butter melts and the soy emulsifies into the onions. Kill the heat, sprinkle with sesame seeds, and stir once more.
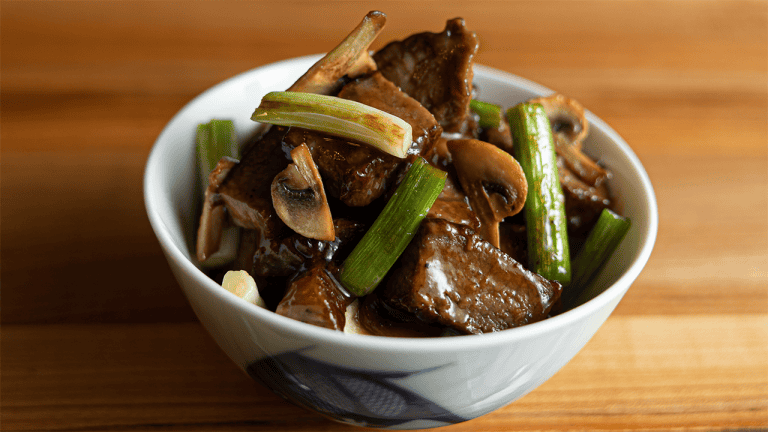
3. Cook the mushrooms. Heat a tablespoon of oil in the pan over medium-high heat. Add the mushrooms with a pinch of salt right away. Unlike the zucchini and onion, you want mushrooms to release their water as quickly as possible, and the salt helps with that. Cook, stirring occasionally, until they're done to your liking. Right before you pull them off the heat, add a tablespoon of garlic butter, some cracked black pepper, and a little soy sauce. Stir until they're coated in the melted butter and soy mixture. Serve as-is, without any additional garnish.
Tips for the Best Hibachi Vegetables
Don't crowd the pan. This is the same principle covered in the hibachi chicken and hibachi steak posts. When too many ingredients go in at once, the temperature drops and they steam instead of caramelizing properly. Cooking each vegetable separately solves this entirely.
Pay attention to when you add salt. This is probably the most overlooked detail in the whole recipe. Salt draws moisture to the surface of vegetables. For zucchini and onion, that moisture prevents the sear you're after, so salt goes on after the caramelization is done. For mushrooms, you actually want the water out as fast as possible, so salt goes in right at the start.
Use a neutral oil. Japanese steakhouse cooking uses clean, neutral flavors. Olive oil has a distinctive taste that doesn't belong in this style of cooking. Safflower oil is what most teppanyaki restaurants use, but any neutral oil with a high smoke point works fine.
Let the vegetables sit in the pan. The caramelization only happens when the vegetables have sustained contact with the hot surface. If you're constantly stirring and flipping, you're preventing that contact. Just lay them flat and leave them alone until you see color on the bottom.
What to Serve With Hibachi Vegetables
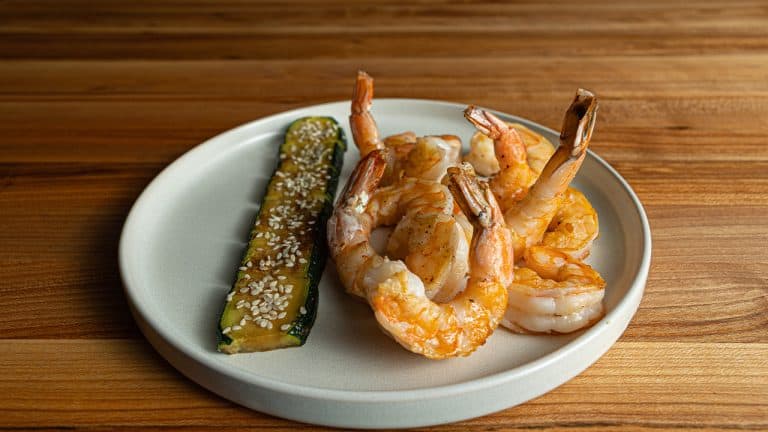
These vegetables are a side dish, so they pair naturally with any hibachi protein. Hibachi Chicken and Hibachi Steak are the most traditional options, or try Hibachi Shrimp for something lighter. For the full restaurant experience, serve everything alongside Benihana Fried Rice. The teriyaki proteins work well too: Benihana Teriyaki Chicken and Benihana Teriyaki Steak both go alongside these vegetables.
Storage and Reheating
Leftover hibachi vegetables will keep in an airtight container in the refrigerator for 3 to 4 days. To reheat, use a skillet over medium heat with a small amount of oil. The stovetop method preserves the texture much better than a microwave, which tends to make them soft and watery. If you're making these as part of meal prep, store each vegetable separately so you can reheat them individually and maintain their distinct textures.
Frequently Asked Questions
What vegetables do hibachi restaurants use?
It varies by restaurant, but the most common combination is zucchini, onion, and mushrooms. Some places add broccoli, carrots, or yellow squash. The three covered in this recipe are what you'll find at most Benihana and Japanese steakhouse locations.
Can I cook all the vegetables together instead of separately?
You can, but you'll lose the caramelization. When everything goes in the pan at once, the temperature drops and the vegetables start releasing water with nowhere for it to go. You end up with some that are overcooked and mushy while others are still raw in the center. Cooking them separately only takes a few extra minutes, and the difference in texture is worth it.
What is the difference between hibachi and teppanyaki?
Technically, hibachi refers to a small charcoal grill, and teppanyaki is the flat iron griddle you see at restaurants like Benihana. In the U.S., most people use "hibachi" to describe both styles. Hibachi is just what most people grew up calling it, and the name stuck.
More Benihana Recipes
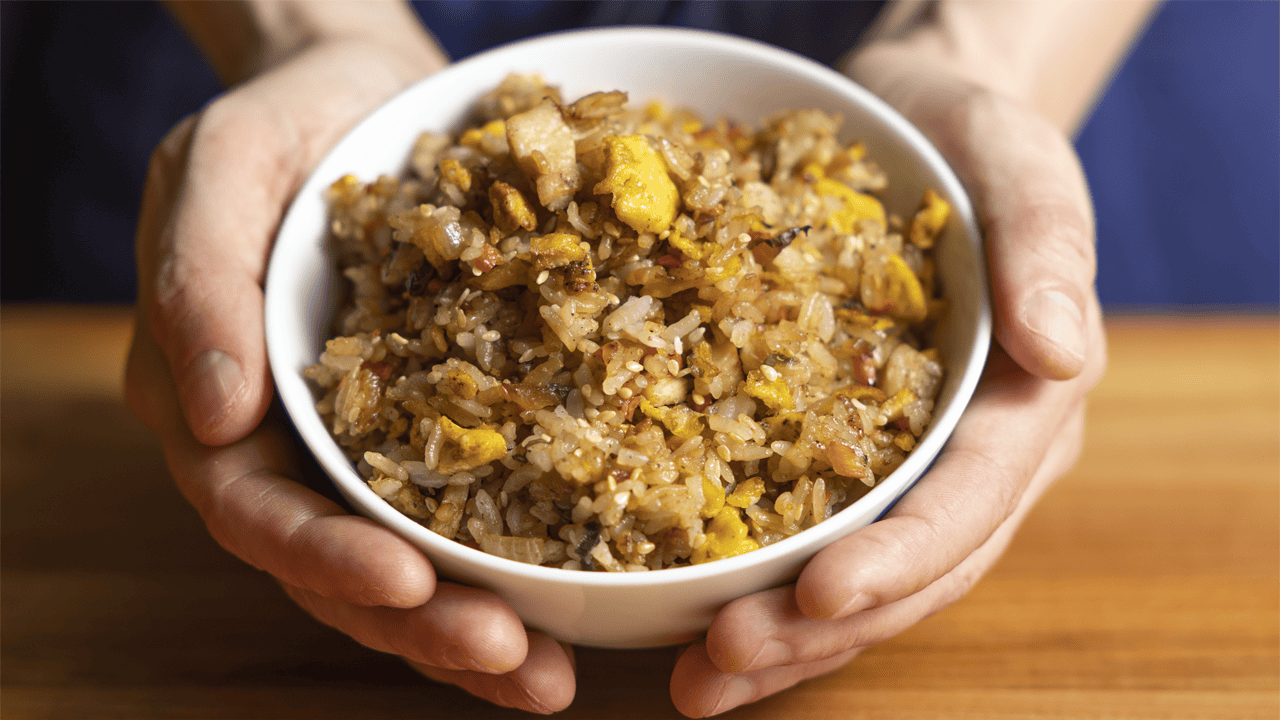
- Benihana Fried Rice
- Benihana Garlic Butter
- Benihana Hibachi Onion Soup
- Benihana Yakisoba
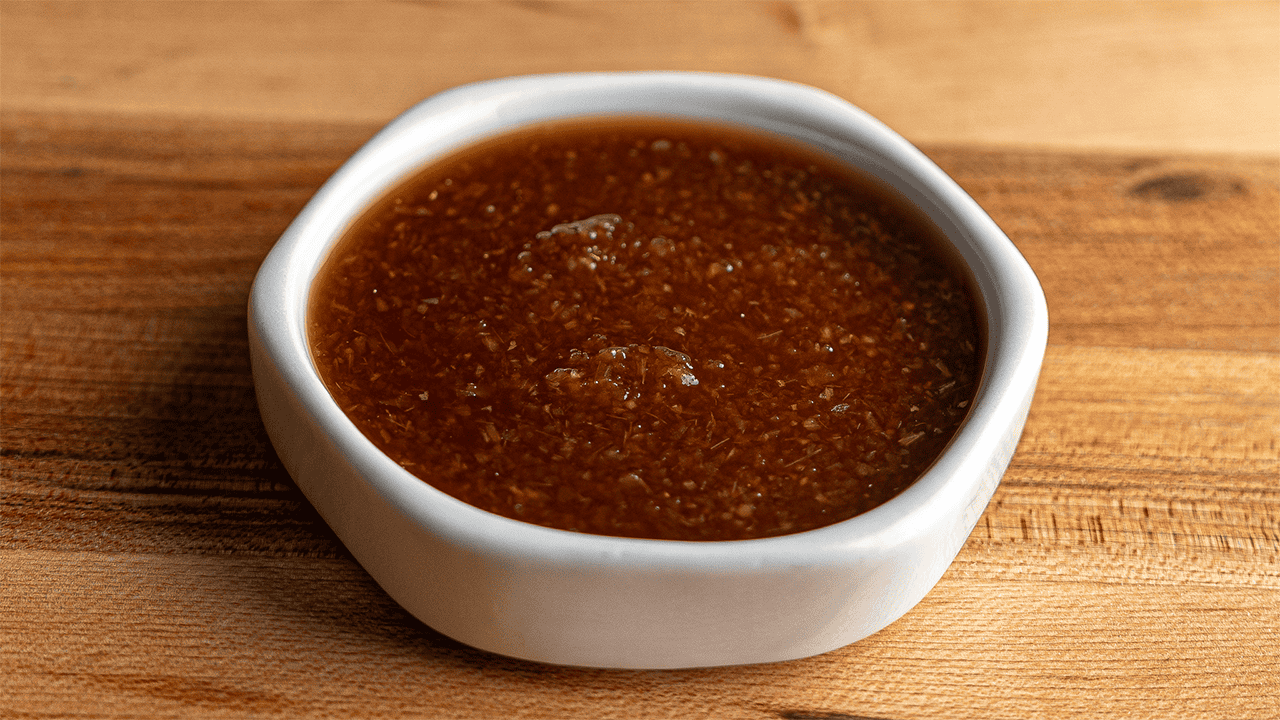
- Benihana Teriyaki Sauce
- Benihana Teriyaki Chicken
- Benihana Teriyaki Steak
- Benihana Spicy Teriyaki
- Hibachi Chicken
- Hibachi Steak
- Hibachi Shrimp
- Benihana Yum Yum Sauce
- Benihana Spicy Sauce
- Benihana Diablo Sauce
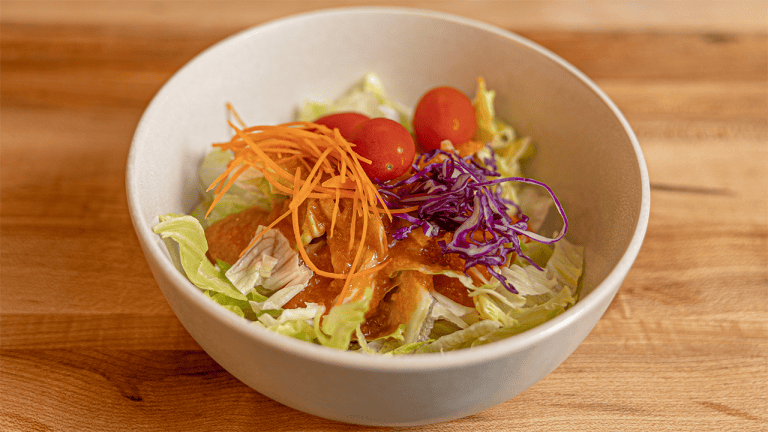
- Benihana Ginger Salad Dressing
- Benihana Mustard Dipping Sauce
- Benihana Ginger Dipping Sauce
- Banana Tempura
- Every Benihana Recipe (Complete Guide)
More Japanese Recipes
More Teriyaki Recipes
More Asian Vegetable Sides
Recipe
Hibachi Vegetables
Equipment
- 1 Induction Burner Or any stovetop
Ingredients
Vegetables
- 2 medium zucchini trimmed and cut into planks about ⅓ inch thick (see post for cut instructions)
- 1 large yellow onion sliced into ½-inch rounds, then cross-cut into quarters
- 8 oz white button mushrooms sliced into 3-4 pieces per cap
Seasoning
- 3 tablespoon safflower oil divided, 1 tablespoon per vegetable. Any neutral oil works.
- 3 tablespoon hibachi garlic butter divided, 1 tablespoon per vegetable
- 1 tablespoon Japanese soy sauce divided, about 1 teaspoon per vegetable
- kosher salt to taste
- black pepper to taste
- 1 tablespoon sesame seeds for garnish on zucchini and onion only
Instructions
Prep the Vegetables
- Trim the top and bottom off each zucchini. Cut lengthwise to remove the skin on one side, then flip and do the same on the opposite side. Turn the zucchini so the skin sides face up and down, then slice through the skin side into planks about ⅓ inch thick.
- Trim the stem end off the onion. Peel back the skin and the papery first layer. Trim the root end. Slice off a thin piece from one side so the onion lays flat. Slice the onion into rounds about ½ inch thick. Take each round and make a cut down the middle and another cut perpendicular to the first, creating quarters.
- Slice each mushroom cap into 3 or 4 pieces, slightly thicker than you would for a stir-fry.
Cook the Zucchini
- Heat 1 tablespoon of safflower oil in a nonstick pan over medium heat. Once the oil is hot, lay the zucchini slices flat in the pan. Do not add any salt or seasoning yet.
- Sear until the first side has good golden-brown color, then flip each piece and sear the second side.
- Flip back over. Add 1 tablespoon of hibachi garlic butter and spread it across the zucchini. Season with salt, pepper, and about 1 teaspoon of soy sauce. Flip once more so both sides pick up the butter and soy mixture.
- Remove from heat. Slice each plank into 6 pieces and garnish with sesame seeds.
Cook the Onion
- Heat 1 tablespoon of oil in the same pan over medium-high heat. Add the onion pieces and leave them alone for about 2 minutes to get color on one side.
- Stir, then leave them alone again for another 2 minutes. When you see color all around but the onion still has some crunch, season with salt and pepper.
- Add 1 tablespoon of hibachi garlic butter and a couple squirts of soy sauce. Stir until the butter melts and the soy emulsifies into the onions.
- Kill the heat. Sprinkle with sesame seeds and stir once more.
Cook the Mushrooms
- Heat 1 tablespoon of oil in the pan over medium-high heat. Add the mushrooms with a pinch of salt right away. The salt helps draw out their water quickly.
- Cook, stirring occasionally, until done to your liking.
- Right before pulling them off the heat, add 1 tablespoon of hibachi garlic butter, cracked black pepper, and a little soy sauce. Stir until coated in the melted butter and soy mixture. Serve without additional garnish.