Hibachi Shrimp Recipe
There are two versions of shrimp on the menu at most Japanese steakhouses: the standard hibachi shrimp that comes with every meal and the colossal shrimp entree. The cooking technique for both is identical. The only difference is the size of the shrimp, and both are easy to make at home in about five minutes.
Where the home version gets interesting is a step that most teppanyaki restaurants don't take. A 20-to-30-minute brine in a salt-and-sugar solution seasons the shrimp all the way through and keeps them firm and juicy.
This post contains affiliate links, which means I may earn a small commission if you make a purchase. It doesn't cost you anything extra. Full disclosure.
Why This Hibachi Shrimp Recipe Works
- Garlic butter goes in off the heat. Turning off the burner before adding the butter keeps it from browning or separating. The residual heat in the pan melts the butter into a clean, garlicky coating that wraps around every shrimp.
- Shrimp are dried thoroughly before cooking. Patting the shrimp dry with paper towels before they go in the pan means they sear instead of steam. Any moisture on the surface has to boil off first, and by the time you finally get color, the shrimp are already overcooked.
- A simple brine seasons all the way through. Salt and sugar dissolved in water for 20 to 30 minutes does what surface seasoning alone can't. The salt seasons the interior and the sugar brings out the natural sweetness of the shrimp.
- Covers both hibachi and colossal shrimp. The technique is identical for both versions. The only difference is the size of the shrimp you buy: U21/25 jumbo for standard hibachi, U15 colossal for the premium entree.
Ingredients You'll Need
Shrimp. For the standard hibachi shrimp, you want U21/25 jumbo shrimp, peeled and deveined. That "U" number means there are under 21 to 25 shrimp per pound. One serving is 12 shrimp, which works out to about 8 ounces or 225 grams. For the colossal version, use U15 shrimp instead, at 7 per serving for the same 8-ounce portion. Either size works with this recipe. The cooking technique is the same.
Safflower oil. This is what most hibachi restaurants use. It has a high smoke point and a neutral flavor, so it won't compete with the garlic butter. Vegetable oil or canola oil are fine substitutes.
Hibachi garlic butter. This is the compound butter that gives hibachi shrimp that flavor you recognize from the restaurant. You need about 1 tablespoon per serving at room temperature so it melts quickly in the hot pan. If you haven't made it yet, I have a full recipe with both the restaurant-scale version and a smaller home version in my Benihana Garlic Butter post. It takes about five minutes and keeps in the freezer for up to six months.
Lemon juice. Fresh squeezed, added right at the end. It adds some acidity to the garlic butter so the dish doesn't feel too rich.
How to Make Hibachi Shrimp
1. Prep the shrimp. Peel and devein your shrimp if they aren't already. To devein, lay the shrimp on paper towels and use a paring knife to cut down the back from head to tail, then scrape out the digestive tract. There's a second vein on the underside that looks similar, but that's actually a blood vessel. Most restaurants don't remove it, but you can if you prefer.
2. Dry the shrimp. Pat the shrimp down with paper towels and get them as dry as you can. If there's moisture on the surface, the shrimp steam in their own liquid instead of getting color. Shrimp cook in just a few minutes, so you need the sear to happen fast before they overcook.
3. Sear the shrimp. Heat safflower oil in a nonstick pan over medium heat. Season the shrimp on both sides with salt, then place them in the pan. Cook until you have a good sear on the first side, then flip and sear the second side. About 30 seconds to a minute before they're done, season again with salt and pepper.
4. Add garlic butter off the heat. Turn the heat off and add a tablespoon of hibachi garlic butter to the pan. Swirl the pan until the butter melts and coats the shrimp. The residual heat is enough to melt the butter without browning it or causing it to separate.
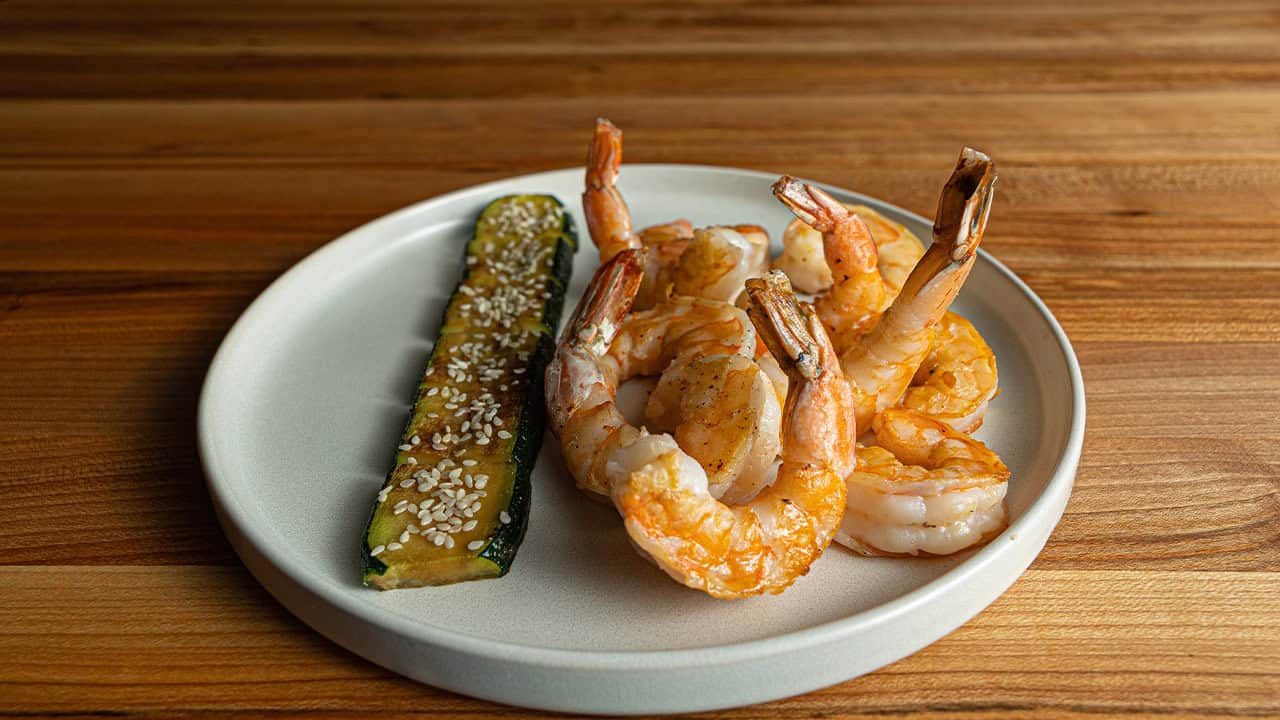
5. Finish with lemon and serve. Squeeze in lemon juice to taste and toss the shrimp so they're coated in the melted butter and lemon. Most hibachi restaurants cut the shrimp in half before serving, but you can serve them whole if you prefer the look.
Tips for the Best Hibachi Shrimp
Brine before cooking for better-than-restaurant results. Dissolve 2 tablespoons (19 grams) of Diamond kosher salt and 2 tablespoons (25 grams) of sugar in 1 quart of water. If you're using Morton's or table salt, use about half that amount by volume, roughly 1 tablespoon. Soak the shrimp in the brine in the fridge for 20 to 30 minutes, then take them out, dry them well, and cook as usual. The salt seasons the meat all the way through and the sugar brings out the natural sweetness of the flesh.
Save your shells for stock. Put the peeled shells in a ziplock bag in the freezer. When you're ready, heat some neutral oil in a pot over medium heat, add the shells, and saute until they take on some color. Add enough water to cover, a pinch of salt, and simmer for about 30 minutes. Strain through a fine-mesh strainer and discard the shells. The stock freezes for up to 3 months and works well in seafood risotto, chowders, or anywhere you want a clean shrimp flavor.
For the colossal shrimp version, the process is identical. Swap U21/25 shrimp for U15 colossal, and adjust the count to 7 shrimp per serving instead of 12. Everything else stays the same: same oil, same seasoning sequence, same garlic butter finish.
Keep the tail on or off, your call. Most teppanyaki restaurants leave the tail on during cooking. At home, removing it gives you a bit more meat per shrimp. It's a preference thing.
What to Serve With Hibachi Shrimp
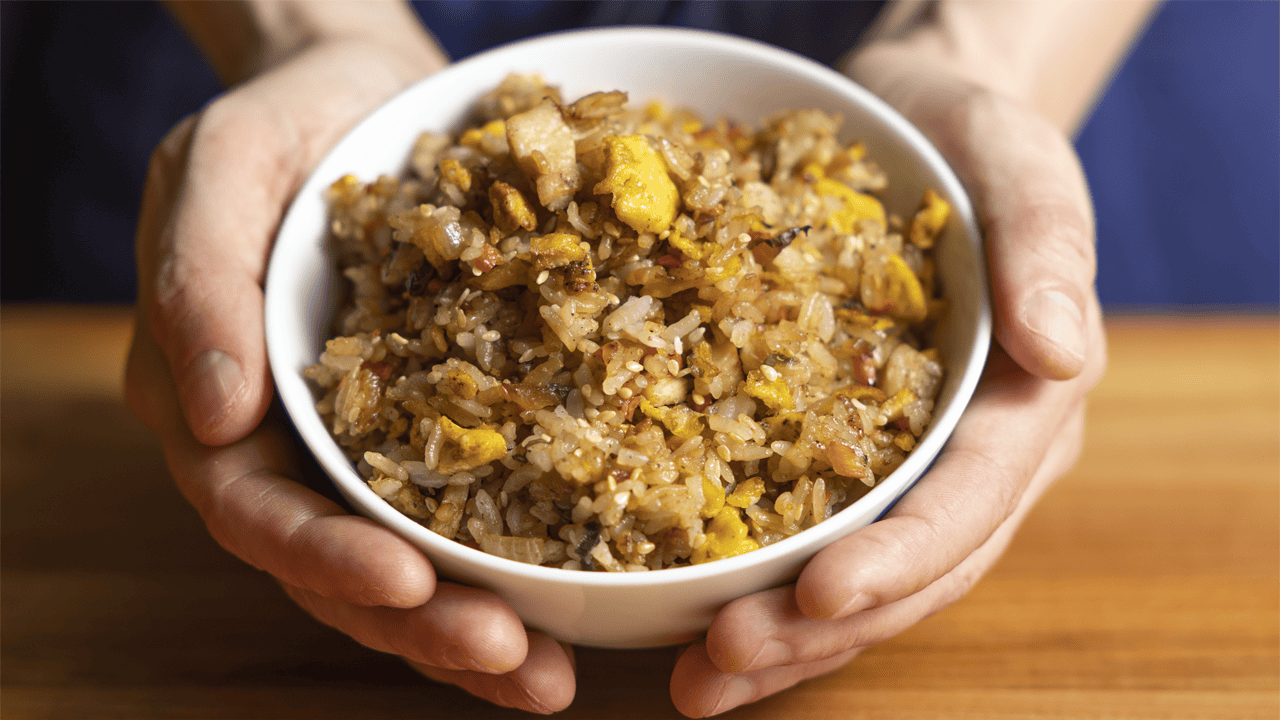
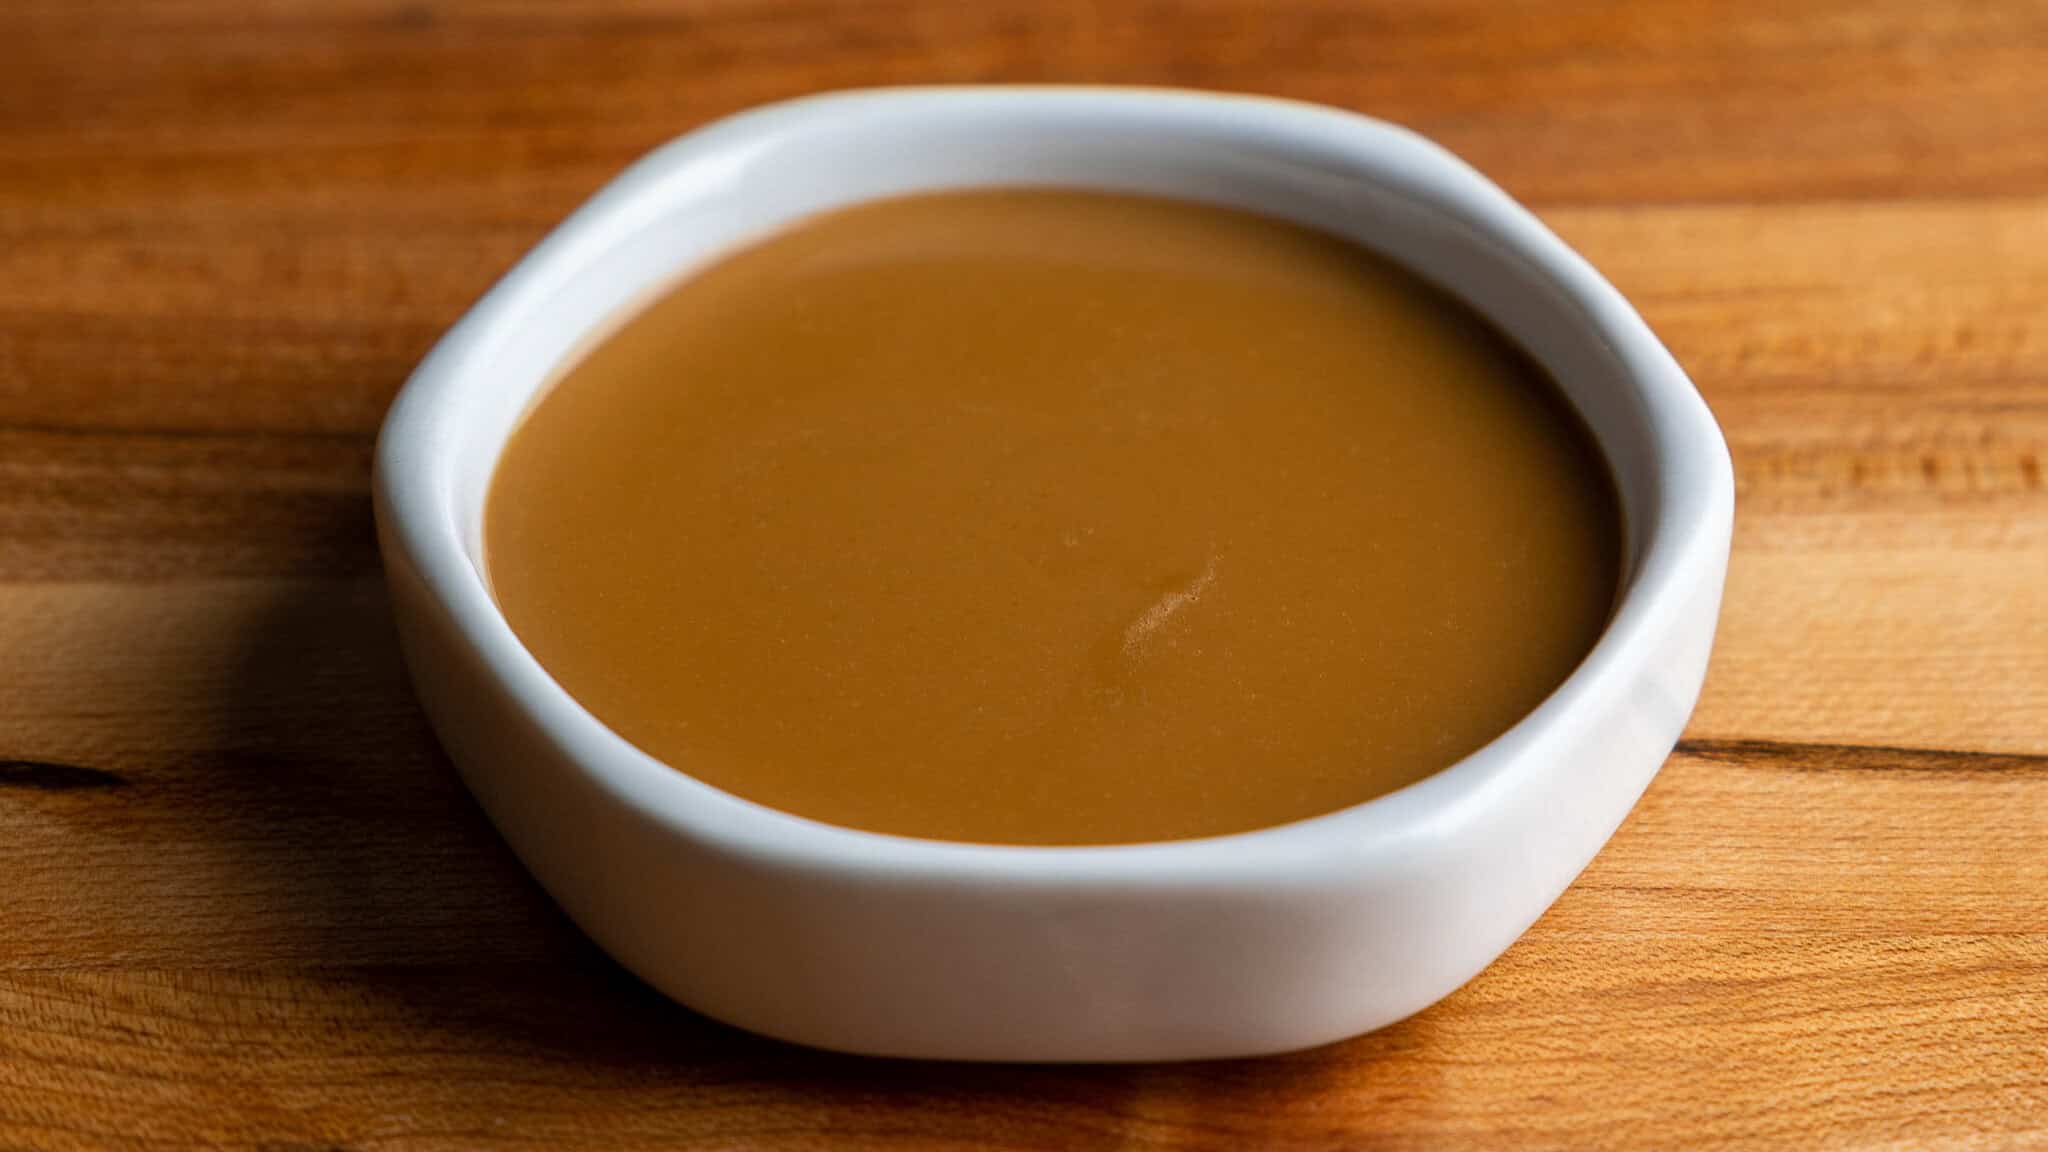
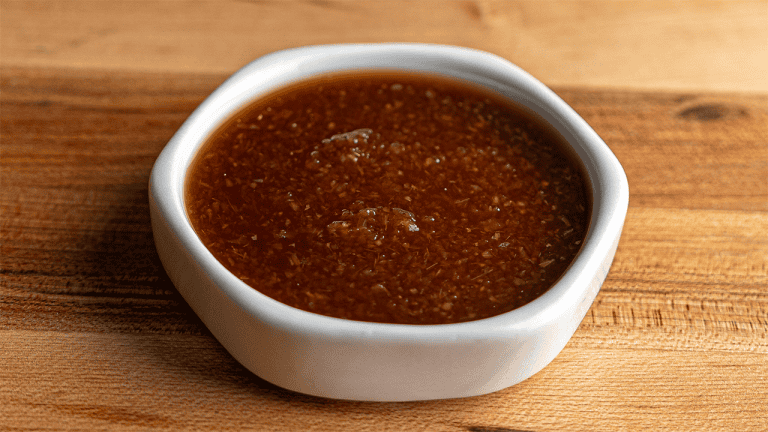
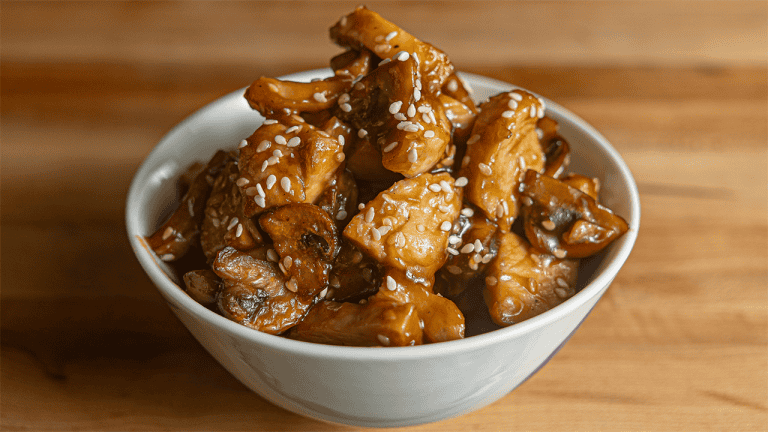
Hibachi shrimp is usually part of a full teppanyaki spread. For the complete experience at home, pair it with Benihana Fried Rice and Hibachi Chicken or Hibachi Steak. Start with a bowl of Benihana Hibachi Onion Soup. The shrimp are traditionally served with ginger dipping sauce or yum yum sauce on the side. You can also drizzle them with Benihana Teriyaki Sauce if you want something a little sweeter.
Frequently Asked Questions
What size shrimp should I use for hibachi?
For the standard hibachi shrimp that you get as an appetizer or entree at Japanese steakhouses, use U21/25 jumbo shrimp. That gives you about 12 shrimp per 8-ounce serving. For the colossal shrimp entree, use U15 shrimp, which are noticeably larger. You only need 7 per serving for the same weight.
Do I need to brine the shrimp?
Brining is optional, but it makes a real difference in flavor and texture. A quick soak in a salt-and-sugar solution seasons the shrimp all the way to the center, which surface seasoning alone won't do. If you're short on time, just season the surface with salt before cooking and you'll still get a good result.
What's the difference between hibachi shrimp and teppanyaki shrimp?
They're the same dish. "Hibachi" technically refers to a small charcoal grill, while "teppanyaki" refers to the flat iron griddle that restaurants like Benihana actually use. In the US, "hibachi" is just what most people grew up calling it, and the name stuck.
More Benihana Recipes
- Benihana Fried Rice
- Benihana Garlic Butter
- Benihana Hibachi Onion Soup
- Benihana Yakisoba
- Benihana Teriyaki Sauce
- Benihana Teriyaki Chicken
- Benihana Teriyaki Steak
- Benihana Spicy Teriyaki
- Hibachi Chicken
- Hibachi Steak
- Hibachi Vegetables
- Benihana Yum Yum Sauce
- Benihana Spicy Sauce
- Benihana Diablo Sauce
- Benihana Ginger Salad Dressing
- Benihana Mustard Dipping Sauce
- Benihana Ginger Dipping Sauce
- Banana Tempura
- Every Benihana Recipe (Complete Guide)
More Japanese Recipes
More Teriyaki Recipes
Recipe
Hibachi Shrimp
Equipment
- 1 Wusthof Paring Knife for deveining shrimp
- 1 All-Clad Saucepan for shrimp stock
- 1 Chinois Strainer for straining stock
Ingredients
Hibachi Shrimp
- 24 U21/25 jumbo shrimp peeled and deveined
- 2 tablespoon safflower oil or vegetable/canola oil
- kosher salt
- black pepper
- 2 tablespoon hibachi garlic butter room temperature
- lemon juice to taste, fresh squeezed
Instructions
Prep the Shrimp
- Peel and devein the shrimp. To devein, lay each shrimp on paper towels and use a paring knife to cut down the back from head to tail. Scrape out the digestive tract. Save the shells in a ziplock bag in the freezer for stock.
- Pat the shrimp dry with paper towels. Remove as much surface moisture as possible so the shrimp sear quickly instead of steaming in their own liquid.
Cook the Shrimp
- Heat safflower oil in a nonstick pan over medium heat. Season the shrimp on both sides with salt and place them in the hot pan.
- Sear the shrimp until golden on the first side, then flip and sear the second side. About 30 seconds to 1 minute before they're done, season again with salt and pepper.
- Turn off the heat and add hibachi garlic butter to the pan. Swirl the pan until the butter melts and coats the shrimp. The residual heat melts the butter without browning it.
Finish and Serve
- Squeeze in lemon juice to taste and toss the shrimp to coat in the melted butter and lemon. Serve immediately. Cut the shrimp in half before serving for the traditional restaurant presentation, or serve whole.