Gyudon Recipe (Japanese Beef Bowl)
If you've made gyudon at home and it came out nowhere near as good as the beef bowl at your favorite Japanese restaurant, you were probably paying attention to the wrong ingredient. I went through eighteen videos and about twelve thousand comments on this dish, and almost everybody obsesses over the beef. Most of the flavor in this bowl actually comes from two ordinary cooking techniques that almost no recipe uses: browning the onions and reducing the sauce.
I learned the onion part working at a Japanese restaurant years ago, where we browned them every single time even though most traditional recipes put them in raw. Running my own tests for this recipe confirmed it. The browned version is better, and it makes more sense once you know that the beef in a real gyudon never gets seared at all. It goes into the simmering sauce raw, so browning the onions is where that roasted flavor comes back into the bowl.
This post contains affiliate links, which means I may earn a small commission if you make a purchase. It doesn't cost you anything extra. Full disclosure.
Why This Gyudon Recipe Works
- The onions get browned before anything else goes in the pan. Onions are full of complex sugars, and cooking them slowly at moderate heat breaks those down into something much sweeter than raw onion. All of that flavor ends up in the sauce.
- The sauce reduces uncovered. Most recipes tell you to put a lid on the pan and let everything braise, which is why so many homemade beef bowls come out soupy. Leaving the pan open concentrates the flavor and thickens the sauce at the same time.
- The sake and mirin reduce by themselves first. Almost every recipe online dumps the whole sauce in at once. Reducing those two alone gets rid of most of the raw alcohol, and while that happens the sugars in the mirin concentrate and start to brown.
- Real dashi made from kombu and katsuobushi. It takes two ingredients and about five minutes, and it makes the whole bowl taste more savory than the bouillon version does. If you don't want to make it from scratch, Hondashi granules will get you most of the way there.
- The beef goes in raw and simmers. Beef sliced this thin will toughen up if you try to sear it. Letting it cook in the sauce means the marbling melts into the liquid, and every other flavor in the bowl gets more pronounced because of it.
Ingredients You'll Need
The beef. You want marbling all the way through it, the same thing you'd look for in a good steak. In this dish the fat renders out and emulsifies into the sauce. The cut the Japanese chains actually use is fatty short plate, what they call bara, and it's the beefiest option because it also releases collagen that thickens the sauce naturally. Well-marbled ribeye is much easier to find and works for the opposite reason. There's so little connective tissue in it that it stays tender when it's only in the pan for a couple of minutes.
Where to find beef sliced that thin. Most Asian grocery stores keep it already sliced for hot pot and shabu-shabu, so the work has been done for you. Look in the meat section first, and if it isn't out with the fresh meat, check the frozen case, because a lot of stores keep it there. If you're not near an Asian grocery, most regular supermarkets sell shaved beef meant for cheesesteaks and it will absolutely work. The one thing to know is that it comes from a much leaner part of the cow, so less fat melts into the sauce and the beef can dry out a little faster.
Kombu and katsuobushi. These are the only two things in dashi. Kombu is dried kelp, sold as big dark green sheets in the dried foods section. Katsuobushi is smoked, dried tuna shaved into flakes, and it's usually on the same aisle in a puffy bag that looks like it's full of gigantic pencil shavings. The pairing isn't arbitrary. Kelp is loaded with glutamate, the same molecule MSG is made of, and the fish flakes add a different savory compound called inosinate. Put them together and the savoriness multiplies to roughly eight times what either one does alone. If you want to go further down this road, the same stock logic shows up in homemade ramen from scratch.
Mirin. For the traditional version you want real mirin, called hon-mirin, made only from rice, a fermentation culture called koji, and a distilled spirit. Check the label, because most of what's sold as mirin in American stores is a mirin-flavored substitute, and you can spot those because the first ingredient is glucose syrup or corn syrup. Eden Foods is the easiest real one to find, and it's at Whole Foods and on Amazon. Here's the part that sounds backwards: if you want the flavor of the chains, the cheap corn-syrup version is the one to buy. It's called aji-mirin, and since the chains cook at scale with the least expensive ingredients they can get, it's genuinely closer to what they serve.
Sake. Buy an inexpensive drinking sake, something like Gekkeikan, which most grocery stores carry. Avoid anything labeled cooking sake, because that has salt added purely so it can be sold as a seasoning instead of as alcohol, and it's generally not very good. The sauce needs both rice wines because they're doing different jobs. The mirin adds sweetness. The sake is dry and savory, and it's there to get rid of any raw smell in the meat while it cooks. If you've made authentic Japanese teriyaki, this is the same pantry.
Soy sauce. Regular Japanese soy sauce. Low-sodium versions throw off the balance of the sauce, and since the whole thing reduces by half, you'll taste the difference.
Short-grain Japanese rice. The sticky, slightly sweet texture is what holds up under a wet sauce. Long-grain rice stays separate and the sauce runs straight to the bottom of the bowl.
Beni shoga and shichimi togarashi. Beni shoga is the red pickled ginger, sold at most Asian grocery stores, and it's very traditional in this dish. Shichimi togarashi is the Japanese seven-spice blend that goes over the egg. Neither is required, but together they're what makes the bowl look and taste like the ones in Japan.
How to Make Gyudon
1. Start the rice. Rinse it until the water runs clear, then cook it at a 1:1.1 rice to water ratio or to your rice cooker's line. Everything below runs in parallel with this, so get it going first. If you want a little more savory flavor in the rice itself, drop a 2-inch strip of kombu into the cooking water and pull it out before serving.
2. Cut the onion pole to pole. Halve it from the root end to the tip, lay each half flat, and slice it into quarter-inch pieces following those same root-to-tip lines. The direction matters. Cut against the grain and the pieces are more likely to fall apart in the sauce. Slice them paper-thin and they cook down to mush. With the grain, they soften but still hold their shape through the braise.
3. Brown the onions slowly. Set a wide, heavy pan over medium to medium-low heat, add a little neutral oil, and spread the onions out in a single layer. Stir every couple of minutes and let them take their time, about 12 to 18 minutes. What you're looking for is a deep, even golden brown across every piece. That's more color than golden edges, but well before they go dark and jammy like the onions in French onion soup. They still have to braise later, so you want them intact.
4. Make the dashi. Wipe a 4-inch by 4-inch piece of kombu with a damp cloth. You'll see a white powder on the surface, and a lot of people mistake it for mold and wash it off. That powder is a natural sugar the kelp produces and it's a big part of the flavor you're after, so leave it. Drop the kombu into a liter of cold water over medium-low heat, and the moment little bubbles start to surface, just before it simmers, pull it out. Boiling kombu leaches different compounds that turn the stock bitter and slimy. Kill the heat, add about two cups of katsuobushi, and let it steep two minutes without stirring, which would cloud the broth.
5. Strain it gently. Once the flakes have sunk, pour the dashi through a fine mesh strainer and don't press out that last bit of liquid. This is a light, delicate stock and pressing the flakes makes it bitter. You only need ¾ cup today. The rest keeps in a covered container in the fridge for about three days.
6. Make the onsen egg. Bring exactly 7 ½ cups of water to a boil, kill the heat, and stir in 1 ½ cups of cold water. That drops it into the range you need. An egg yolk sets at a lower temperature than the white, so the water is hot enough to set the yolk into a custard while the white stays barely set. Lower in your eggs straight from the fridge, put the lid on, and leave them 12 minutes. Move them into cold water right away so they stop cooking. Treat your first batch as a calibration run and pull one at 10 or 11 minutes to check, since pot size and egg count both shift the timing.
7. Reduce the sake and mirin. Bring the onions back up to temperature over medium heat, then pour in 2 tablespoons of sake and ¼ cup of mirin. Let those two reduce by about half on their own, which takes 2 to 3 minutes. You'll know it's ready when you stop smelling alcohol. This is the step almost every recipe online misses, and it's a big part of why so many homemade versions taste nothing like the restaurant.
8. Add the rest of the sauce and the beef. In goes ¾ cup of dashi, ¼ cup of soy sauce, 1 ½ tablespoons of sugar, and a teaspoon of grated fresh ginger. Stir until the sugar dissolves and bring it to a gentle simmer, then add the whole pound of beef, spreading the slices so they separate in the liquid. They'll cook fast because they're so thin, 1 to 2 minutes, and you're done as soon as they're no longer pink. Spoon off any foam that collects on the surface.
9. Reduce uncovered. Leave the lid off and let the sauce cook down by about half, roughly 4 to 6 minutes. Resist stirring, and instead spoon the sauce over the beef every minute or so, which keeps the slices from shredding. You want it thick enough to coat the beef and onions with enough left over to soak into the rice. Taste it before you call it done, because reducing concentrates the salt.
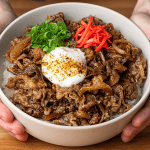
10. Assemble. Hot rice in the bowl, beef and onions over the top, extra sauce poured over the whole thing. Set the egg right in the center, sprinkle it with shichimi togarashi, then add sliced green onions and a few slivers of beni shoga.
Tips for the Best Gyudon
- Don't rush the onions with higher heat. At stovetop temperatures, what you're getting is Maillard browning. True caramelization is pure sugar breaking down, and it needs closer to 330°F and a lot more time. The best onion browning happens around 300°F. Medium to medium-low is the right setting, and 12 to 18 minutes is just how long it takes.
- Taste the sauce before you stop reducing. There's no single authentic ratio for gyudon sauce. This one runs 3 parts dashi to 1 part soy. Add more dashi for a brothier bowl, closer to 4 to 1. Use less for a thicker sauce, closer to 2.5 to 1.
- Never beat the egg into the beef. Cook a beaten egg into the pan and you've made tanindon, which is a different dish. The egg goes on top whole, and when the yolk breaks into the hot bowl it mixes with the sauce and coats everything.
- Don't chase a precise beef thickness. The 1.3mm figure that gets quoted is a Yoshinoya factory slicer specification, not something to aim for at home. As thin as your knife will go is thin enough.
- Want the actual Yoshinoya flavor? They don't use sake at all. Their sauce is made with a fermented seasoning based on white wine, a choice the company's second president made on purpose because it gave a cleaner aftertaste. Swap the sake for an equal amount of dry white wine and reduce it exactly the same way. The cheapest boxed wine is fine.
What to Serve With Gyudon
A gyudon set in Japan usually comes with a small soup and a little salad, which is an easy thing to copy at home.
- Benihana Hibachi Onion Soup makes a light starter that doesn't compete with the sauce.
- Benihana Ginger Salad Dressing over shredded iceberg is about as close to the standard side salad as you can get.
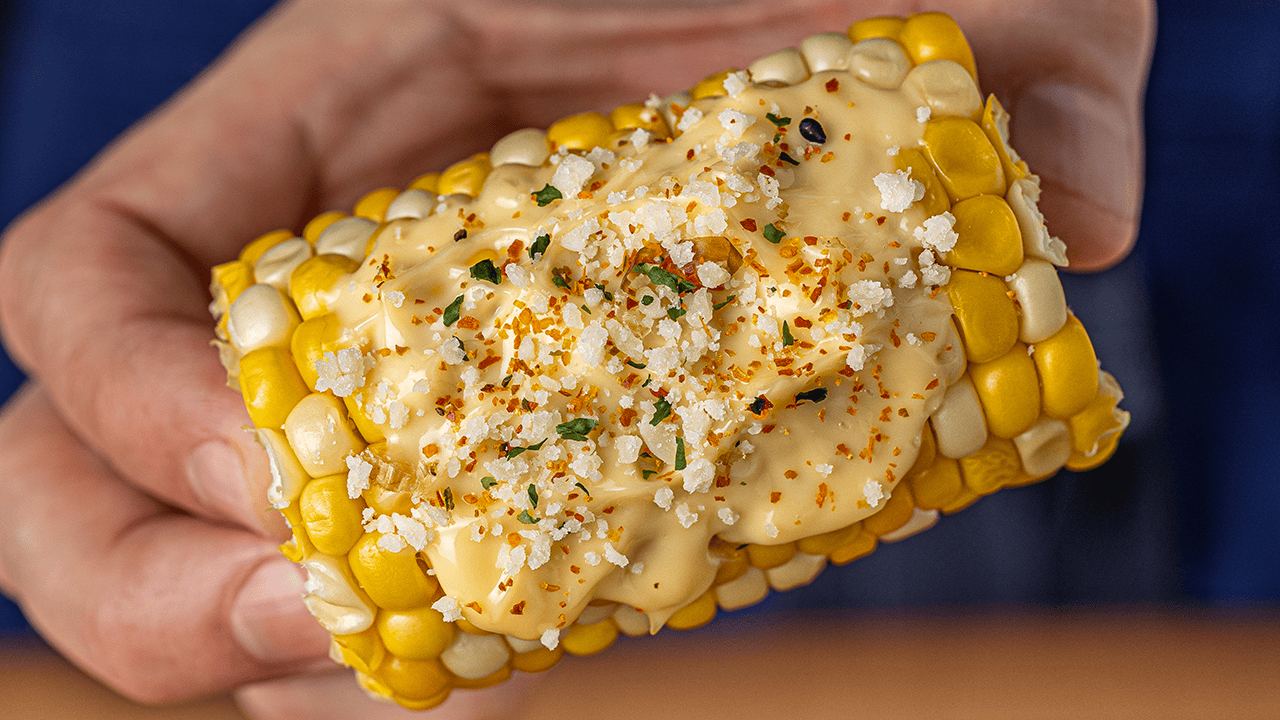
- Japanese Street Corn if you want something sweet next to a salty bowl.
- Hibachi Vegetables round out a bigger table when you're feeding more people.
Storage and Reheating
This is one of the best meal prep dishes I know. The beef, onions, and sauce keep three to four days in the fridge and reheat well as long as you keep the heat low so the beef stays tender. Store the rice separately and cook or reheat it fresh, and make the eggs the day you're eating. Assembled bowls don't hold, because the rice absorbs the sauce and goes soft. Leftover dashi keeps about three days covered.
Frequently Asked Questions
What's the difference between gyudon and sukiyaki?
They share a lot of the same sauce ingredients, which is where the confusion comes from. Sukiyaki is a hot pot cooked at the table with tofu, vegetables, and noodles alongside the beef, and you dip each bite in raw egg. Gyudon is a finished rice bowl with beef and onions only, and the egg goes on top.
Is the egg on top safe to eat?
The onsen egg in this recipe is cooked, just gently. If you want to go with a fully raw yolk the way the chains serve it, buy pasteurized in-shell eggs, which are sold at most large supermarkets in the States. That's the version I'd recommend for anyone cooking for kids or older family members.
Can I make gyudon without dashi?
Yes. Hondashi granules are the standard shortcut, and you use them like bouillon by stirring a spoonful into hot water. Most home cooks in Japan and plenty of restaurants use some version of this, so it's not a compromise so much as the everyday way it gets done. In a pinch, a light chicken stock will get you a decent bowl, though it won't taste as savory.
Do I have to use Japanese short-grain rice?
For a bowl this wet, yes, it makes a real difference. Short-grain rice is sticky enough to hold the sauce where you put it. Jasmine or basmati will taste fine on their own, but the grains stay separate and the sauce drains to the bottom of the bowl instead of soaking in.
More Japanese Recipes
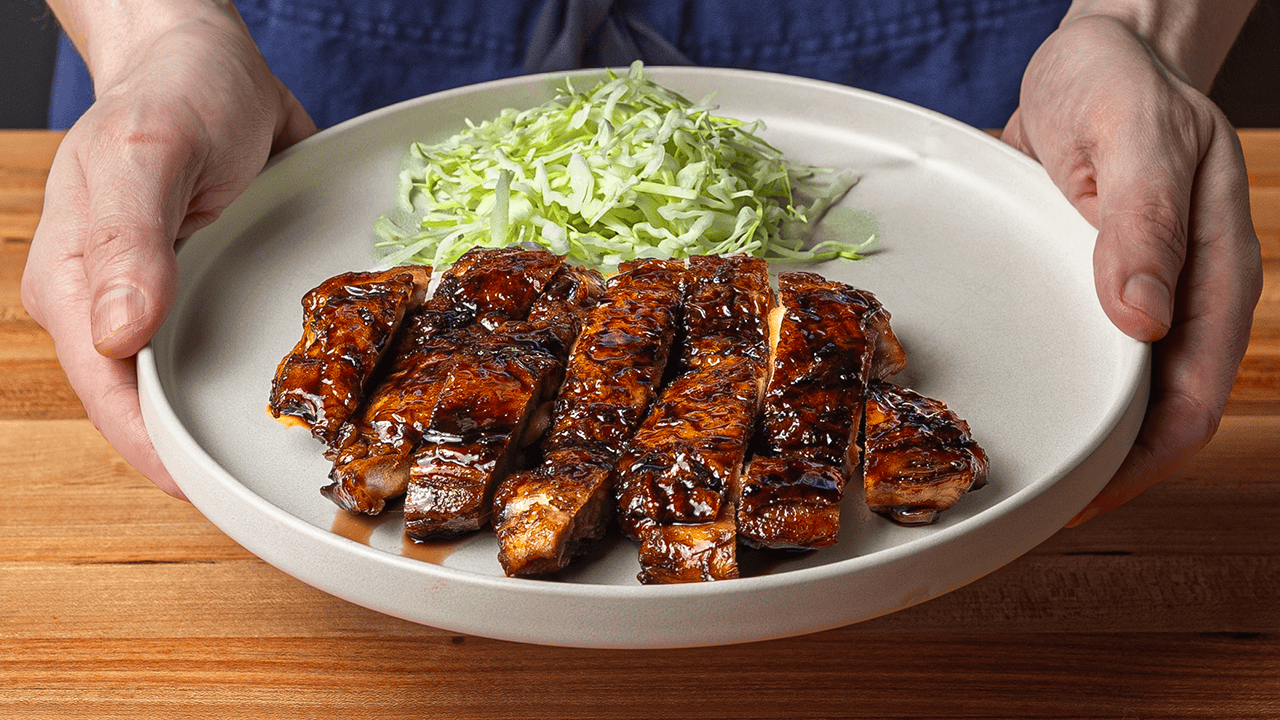
- Authentic Japanese Teriyaki Chicken (Tori no Teriyaki)
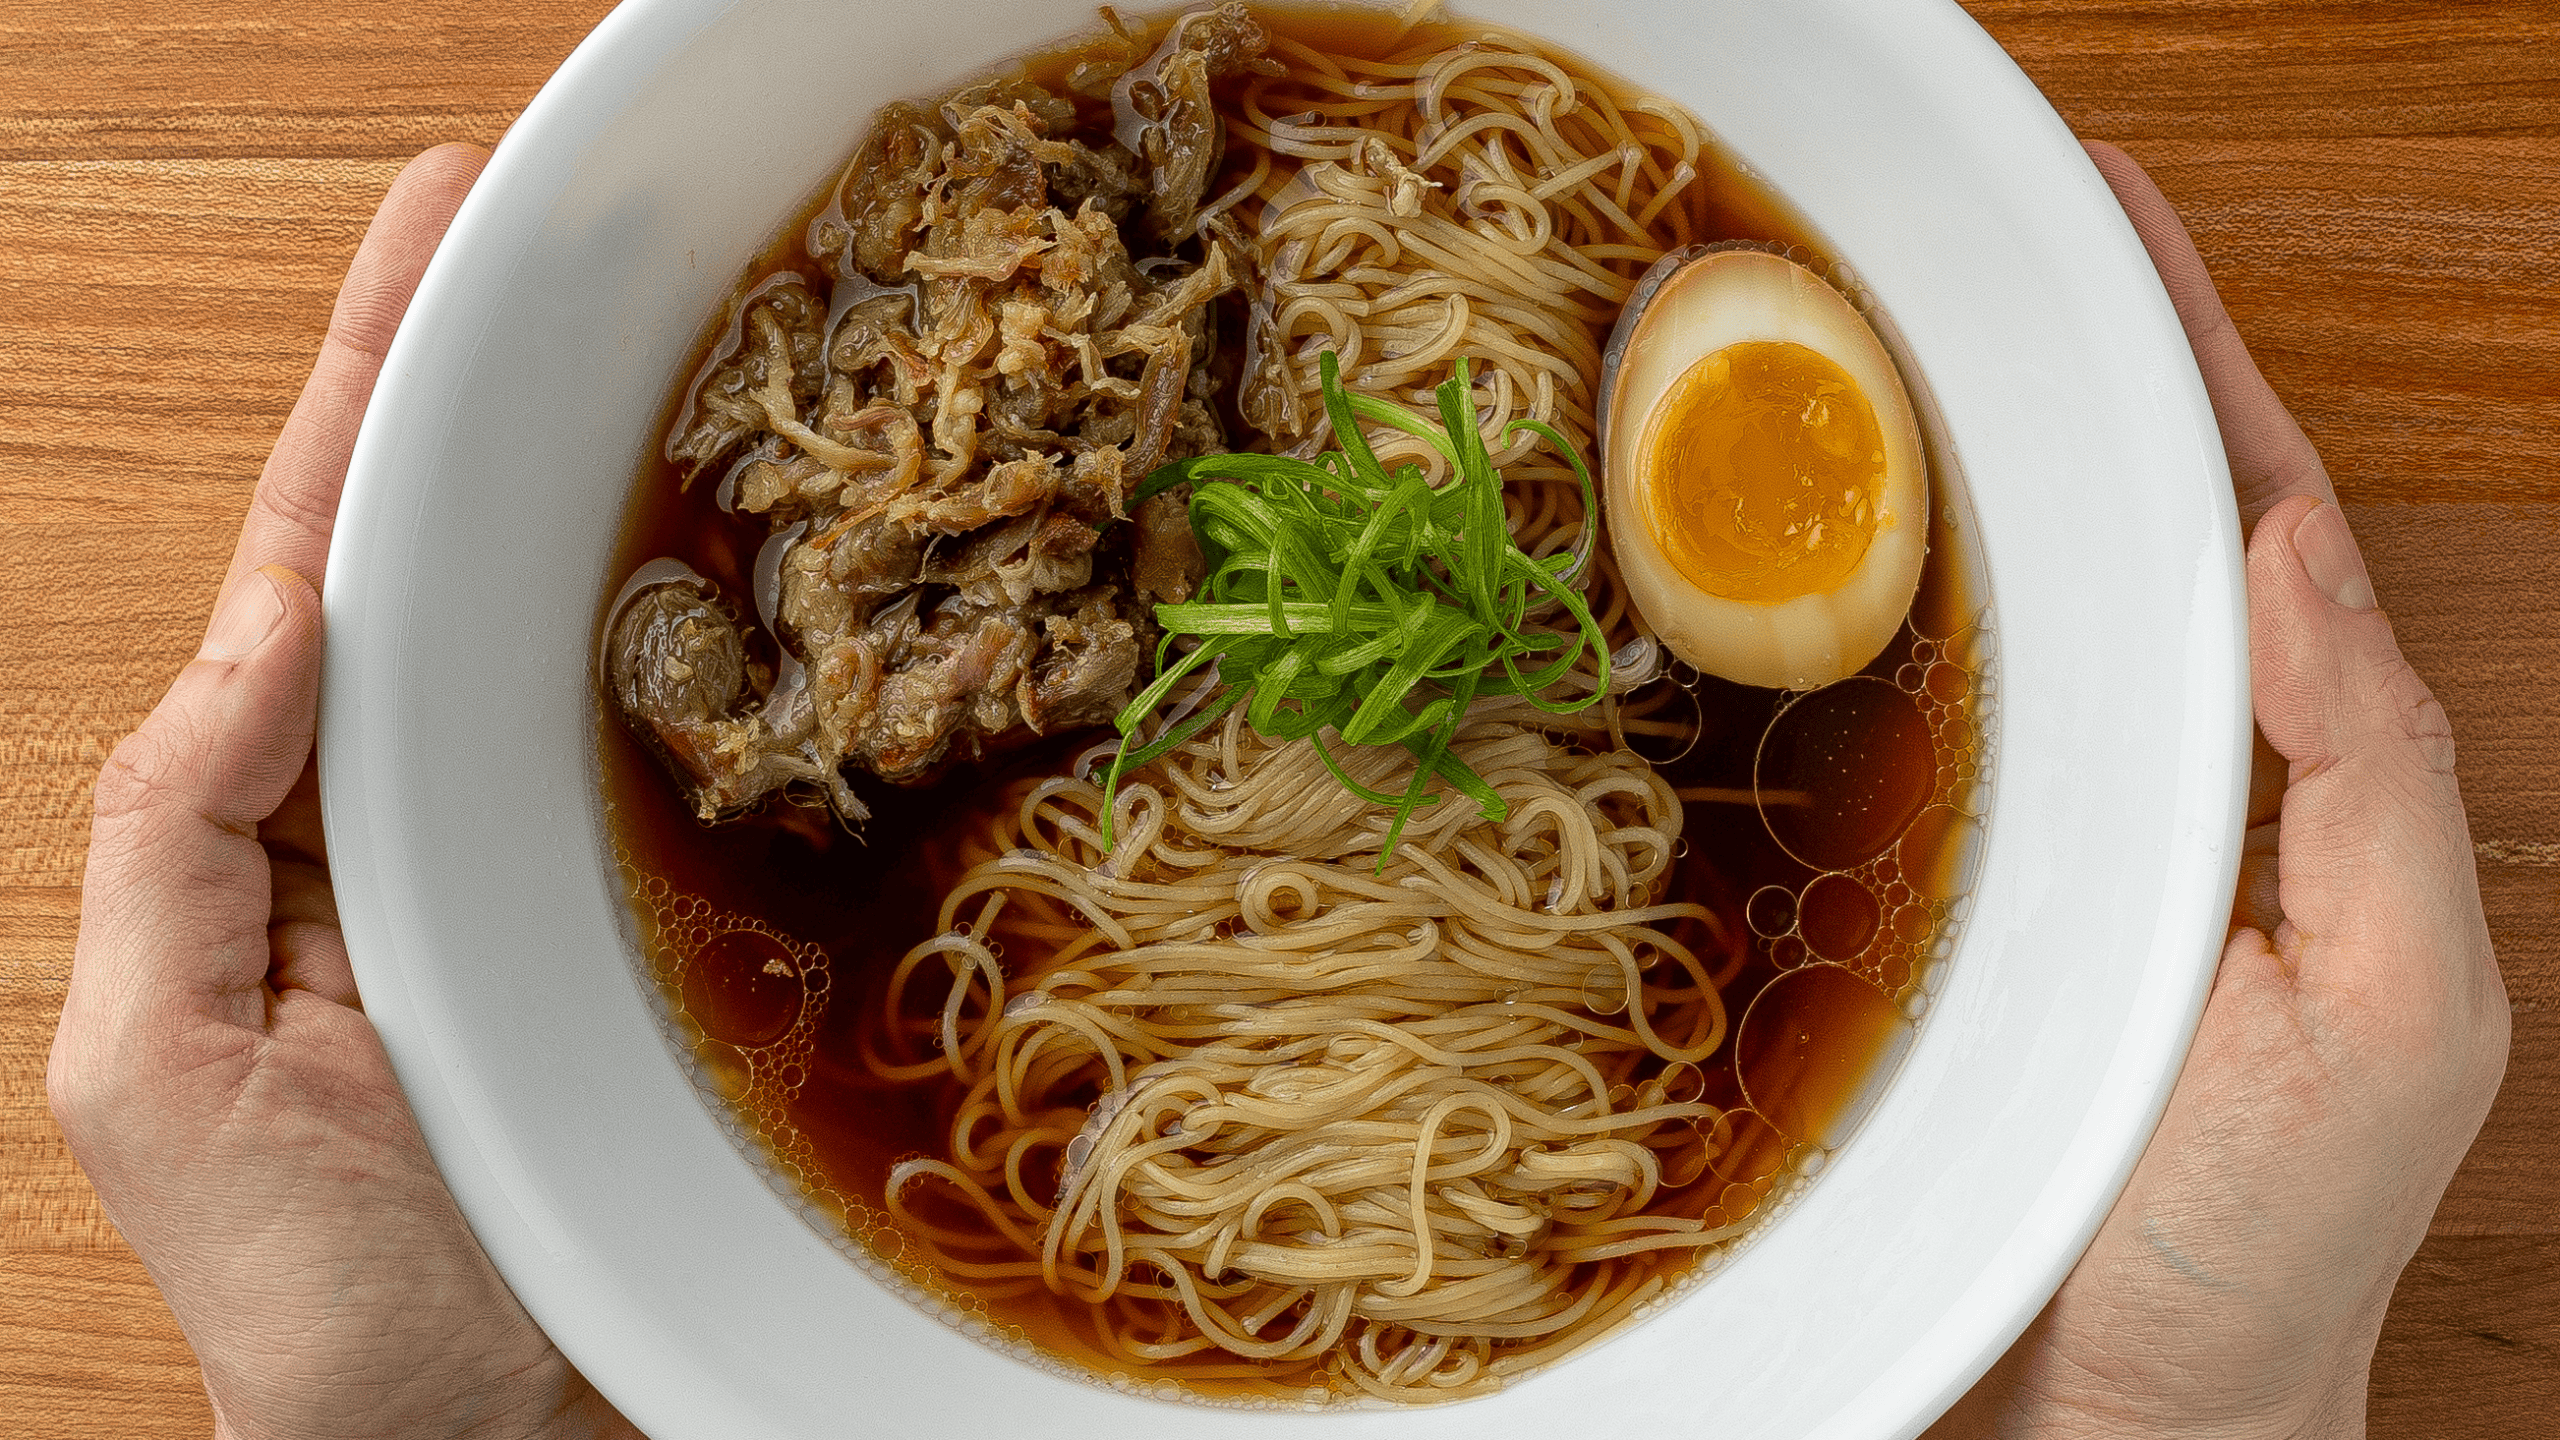
- Homemade Ramen from Scratch
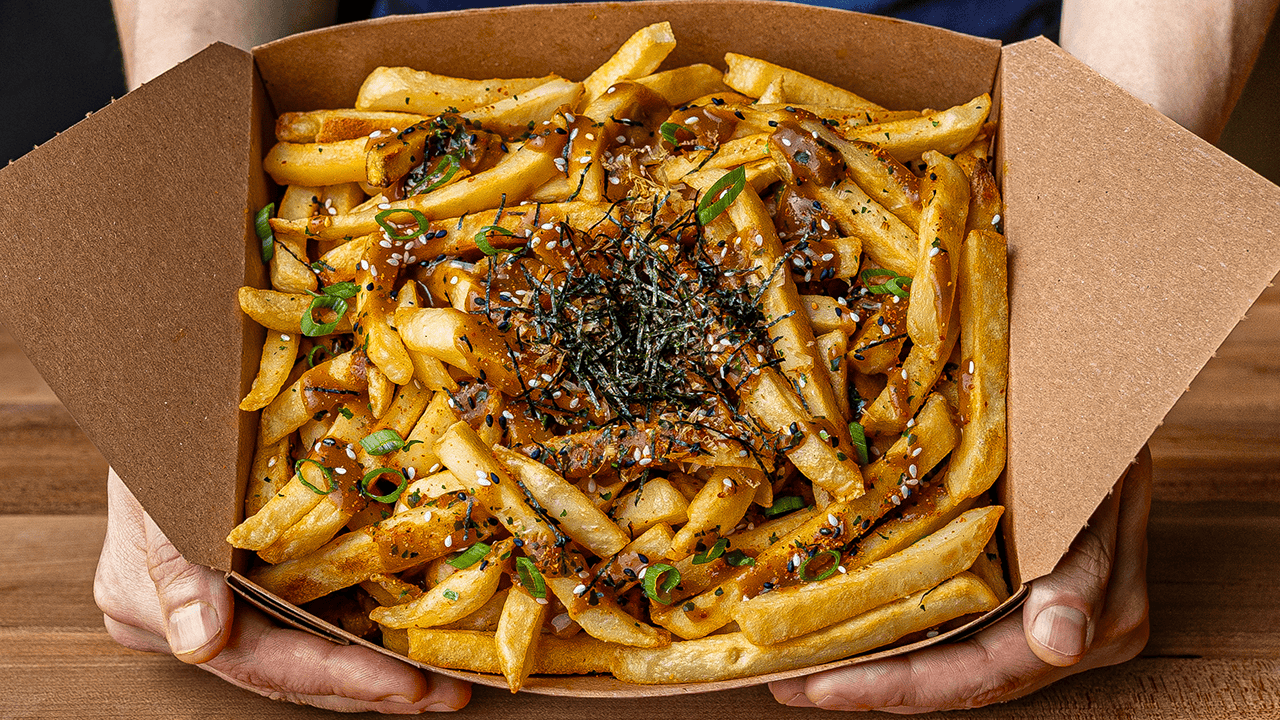
- Japanese Curry Fries
- Japanese Street Corn
Recipe
Gyudon (Japanese Beef Bowl)
Equipment
- 1 Made-In Saucier (5 quart) Browns the onions, reduces the sauce, steeps the dashi
- 1 Large Pot For the onsen egg water bath
- 1 Fine Mesh Strainer Straining the dashi
- 1 Microplane Grater Grating the ginger
- 1 Wok Spider/Strainer Lowering and lifting the eggs
- 1 Gray Kunz Chef's Spoon Large Spooning sauce over the beef
- 1 Whisk
- 1 Deli Containers Storing leftover dashi
Ingredients
The Rice
- 2 cups Japanese short-grain rice Rinse until the water runs clear. Cook at a 1:1.1 rice to water ratio or to your rice cooker's line.
- 1 piece kombu A 2-inch strip in the cooking water for background umami, removed before serving.
The Beef
- 1 lb well-marbled beef Sliced paper-thin against the grain. Thin-shaved ribeye or cheesesteak slices, or fatty short-plate (bara).
The Onion
- 1 large yellow onion Cut pole to pole into ¼-inch slices, not rings.
- 1 teaspoon vegetable oil Canola or any neutral oil.
The Dashi
- 4 cups water
- 1 piece kombu A 4-inch by 4-inch piece. Wipe with a damp cloth and leave the white powder on.
- 2 cups katsuobushi Packed. Makes 1 liter of dashi; this recipe uses ¾ cup.
The Sauce (Warishita)
- 2 tablespoon sake Drinking sake, not cooking sake.
- ¼ cup mirin Hon-mirin is best. Aji-mirin is the cheaper fallback.
- ¾ cup dashi From the batch above, or Hondashi granules stirred into hot water.
- ¼ cup soy sauce Regular Japanese soy sauce, not low-sodium.
- 1 ½ tablespoon granulated sugar
- 1 teaspoon fresh ginger Grated.
The Egg
- 4 eggs One per bowl. Use pasteurized in-shell eggs for a raw or onsen topping.
To Finish
- beni shoga
- scallions Thinly sliced.
- shichimi togarashi
- toasted sesame seeds
Instructions
Start the Rice
- Rinse the rice until the water runs clear, then cook it in a rice cooker or on the stovetop at a 1:1.1 rice to water ratio. Keep it hot. This runs in parallel with everything below. For background umami, add a 2-inch strip of kombu to the cooking water and pull it out before serving.
Slice the Beef
- If you bought pre-sliced hotpot, shabu-shabu, or sukiyaki beef, thaw it just enough to separate the sheets. Working from a block, freeze it 1 to 2 hours until firm but not solid, then slice as thin as you can against the grain.
Make the Onsen Egg
- Bring 7 ½ cups of water to a boil in a large pot, turn off the heat, and stir in 1 ½ cups of cold water. Lower in 3 to 4 eggs straight from the refrigerator, cover the pot, and wait 12 minutes. Move them to cold water right away so they stop cooking.
- Treat the first batch as a calibration run and pull one egg at 10 to 11 minutes to check, since pot, egg count, and water volume all shift the timing. Keep the 5 to 1 ratio of boiling to cold water when you scale, so two eggs get 5 cups boiling plus 1 cup cold. To use a raw egg at serving instead, skip this step and buy pasteurized in-shell eggs.
Make the Dashi
- Wipe the kombu with a damp cloth and leave the white powder in place. Drop it into 1 liter of cold water in the saucier over medium-low heat. The moment small bubbles start rising, just before it simmers, pull the kombu out. Do not let it boil.
- Turn off the heat and add the katsuobushi. Let it steep 2 minutes. Do not stir, which clouds the broth.
- Once the flakes have sunk, pour the dashi through a fine mesh strainer. Do not press the flakes, which turns the stock bitter, and do not let them sit past 4 minutes, which turns it fishy. This recipe uses ¾ cup. Cool the rest and refrigerate it covered for up to 3 days.
- For the shortcut version, stir Hondashi granules into hot water following the package.
Brown the Onions and Build the Sauce
- Set a wide, heavy pan or saucier over medium to medium-low heat. Add the oil and the onions, spread in a single layer. Cook, stirring every couple of minutes, until they soften and turn a deep, even golden brown, about 12 to 18 minutes. This is deeper than golden edges but short of full caramelization, and it drives the onion's water off before the sauce goes in.
- Pour in the sake and mirin. Simmer at moderate heat until the sharp alcohol smell is gone and the liquid reduces by about half, about 2 to 3 minutes. Reducing them alone strips more raw alcohol than adding everything at once, and the mirin sugars concentrate into a second gentle browning.
- Add the dashi and soy sauce, then the sugar and grated ginger. Stir until the sugar dissolves and bring it to a gentle simmer.
Simmer the Beef and Reduce
- Add the sliced beef, spreading the pieces so they separate in the liquid. Simmer gently just until the beef loses its pink, about 1 to 2 minutes. Do not sear it and do not over-simmer, because thin beef toughens and dries when it cooks too long. Skim off the foam and any oil that pools on the surface.
- Simmer uncovered and resist the urge to stir. Spoon the sauce over the beef every minute or so, which bastes the slices and keeps them from shredding. Let it reduce until the sauce coats the beef and onions and pools over the rice without flooding the bowl, about 4 to 6 minutes. Taste it before you call it done, since reducing concentrates salt.
Assemble
- Spoon hot rice into each bowl, then the beef, onions, and sauce over the top, adding extra sauce if you like a wetter bowl. Top each bowl with an egg, then finish with beni shoga, scallions, shichimi togarashi, and toasted sesame seeds.