Japanese Curry Recipe From Scratch (With Pork Katsu)
In Japan, almost everybody who makes curry at home makes it from a box, so this Japanese curry recipe starts by working out what's inside that box. I compared 38 Japanese curry powder recipes and the ingredient lists on every American curry box I looked at, then made everything in that box from scratch with ingredients you can find at pretty much any grocery store. And it's served with a crispy pork katsu on top.
I made Japanese curry from the box every day when I worked at a Japanese restaurant, and the box is really good. But the complaint I saw more than any other about homemade Japanese curry is that it tastes unseasoned, and part of the reason is that a homemade roux doesn't have the salt the box does. When I worked it out from the labels, Golden Curry and Vermont Curry both come out to about 11 to 12 percent salt.
This post contains affiliate links, which means I may earn a small commission if you make a purchase. It doesn't cost you anything extra. Full disclosure.
Why This Japanese Curry Recipe Works
- The spice amounts start from S&B's own numbers. S&B, the company that makes Golden Curry, once had a guide on its online store for making curry powder at home, with a range for every spice, and I used the middle of each range as my starting point.
- The roux is salted like the box. You add 16 grams of salt to it, so the curry is already seasoned by the time the roux goes into the pot.
- The cornstarch goes in raw, after the flour is cooked. That's how some Japanese factory patents for roux do it, and the cornstarch gives you extra thickening without having to make more roux. Out of the 70 Japanese curry videos we studied, not one of them does this.
- The curry powder cooks in the hot roux with the heat off. A lot of the flavor in spices dissolves in fat, and the leftover heat in the pan is enough to cook the powder without burning it.
- The carrots get a head start and the potatoes stay whole. Two complaints I kept seeing about homemade Japanese curry were crunchy carrots and potatoes that fell apart. The carrots go in before the water, so they're soft by the time the potatoes are done, and small whole potatoes keep their shape in the pot.
Ingredients You'll Need
Ground spices. All nine spices in the curry powder are sold already ground. Turmeric is about a third of the blend, and it's mostly there for the yellow color. Coriander is the ground seed, and if you hate cilantro, don't worry, it tastes nothing like the leaves.
In Japan, the label on S&B's red can of curry powder lists the spices from heaviest to lightest, and the first four are turmeric, coriander, cumin and fenugreek. Those are the same four in the curry powder from an English cookbook, Modern Cookery, that Eliza Acton wrote in 1845. Her whole recipe is only five spices, those four plus cayenne. In all my research, I couldn't find anyone else who's made this connection.
Fenugreek and ichimi togarashi. Fenugreek is optional, and if your grocery store doesn't have it, Indian grocery stores usually sell it as methi. Ichimi togarashi is just Japanese ground red chili, and if you can't find it, cayenne works just as well.
Unsalted butter. Golden Curry uses palm oil and hydrogenated rapeseed oil, and this recipe uses butter instead. The roux has more butter than flour (70 grams to 50), because 55 grams of curry powder, cornstarch, salt, MSG and sugar go into it too, and they all need fat to coat them.
Cornstarch. Every American curry box I looked at except Golden Curry has a second starch besides the flour, so this roux has one too.
MSG and sugar. The boxes all list MSG, and sugar is pretty high up on every label too. If you'd rather skip the MSG, you can just leave it out. I went a little lighter on the sugar than the boxes do, so add more at the end if you like it sweeter.
Fine table salt. Weigh it if you can. Kosher salt weighs a lot less by the spoon than table salt, so if you swap it in by the teaspoon, the curry will come out under-salted.
Small potatoes. I use the really small ones, about the size of a golf ball, and leave them whole with the skin on. Depending on the store, they're usually called Baby Gold or Petite Gold. House Foods says the waxy kind of potato keeps its shape while floury ones like russets tend to fall apart, and small potatoes are usually waxy. If you only have bigger potatoes, cut them into chunks about 1 ½ inches across.
Boneless pork loin. I buy a whole boneless loin and cut it myself, so I get to decide exactly how thick the cutlets are. If you'd rather skip that part, pre-cut boneless pork loin chops, about 4 ounces each, work just fine.
Potato starch. Nearly every katsu recipe I found uses flour before the egg, but I prefer potato starch, because I think it gives you a thinner coating that stays crispy longer. If you only have flour, that works fine too.
Japanese short-grain rice. CoCo Ichibanya, the biggest Japanese curry chain, serves 300 grams of rice with 220 grams of curry on its standard plate, and that's the portion this recipe is written for.
How to Make Japanese Curry
1. Mix the curry powder. Weigh each spice into a bowl and whisk until the color is even. The batch makes 50 grams, enough for about three pots, and each pot uses 15 grams. Keep the rest in a covered container in the pantry and try to use it within a couple of months, because ground spices slowly lose their flavor.
2. Cut and pound the pork before you start the curry. Slice the loin across the grain into pieces about ½ inch thick, then pound each one between two sheets of plastic wrap until it's an even ⅜ inch. Cut through the strip of fat along the edge about every inch. The fat shrinks faster than the meat in hot oil, and if you skip this, the cutlet curls up instead of staying flat. Samin Nosrat, who wrote Salt, Fat, Acid, Heat, says to season meat a day ahead whenever you can, so if you have time, salt the cutlets the night before and leave them uncovered on a rack in the fridge.
3. Brown the onions and roll-cut the carrot. Cook one medium onion, sliced from root to stem, in a tablespoon of oil over medium heat for 8 to 10 minutes, until most of the liquid is gone and the edges turn slightly brown. You don't need to caramelize them for 40 minutes, but Harumi Kurihara says in Harumi's Japanese Kitchen that the onion's sweetness is one of the keys to a great curry. While they cook, do a Japanese roll cut on the carrot: cut the end off at an angle, roll the carrot a quarter turn, cut again at the same angle, and keep going. Tadashi Ono says in Japanese Soul Cooking that pieces with more surface area cook faster and soak up more flavor.
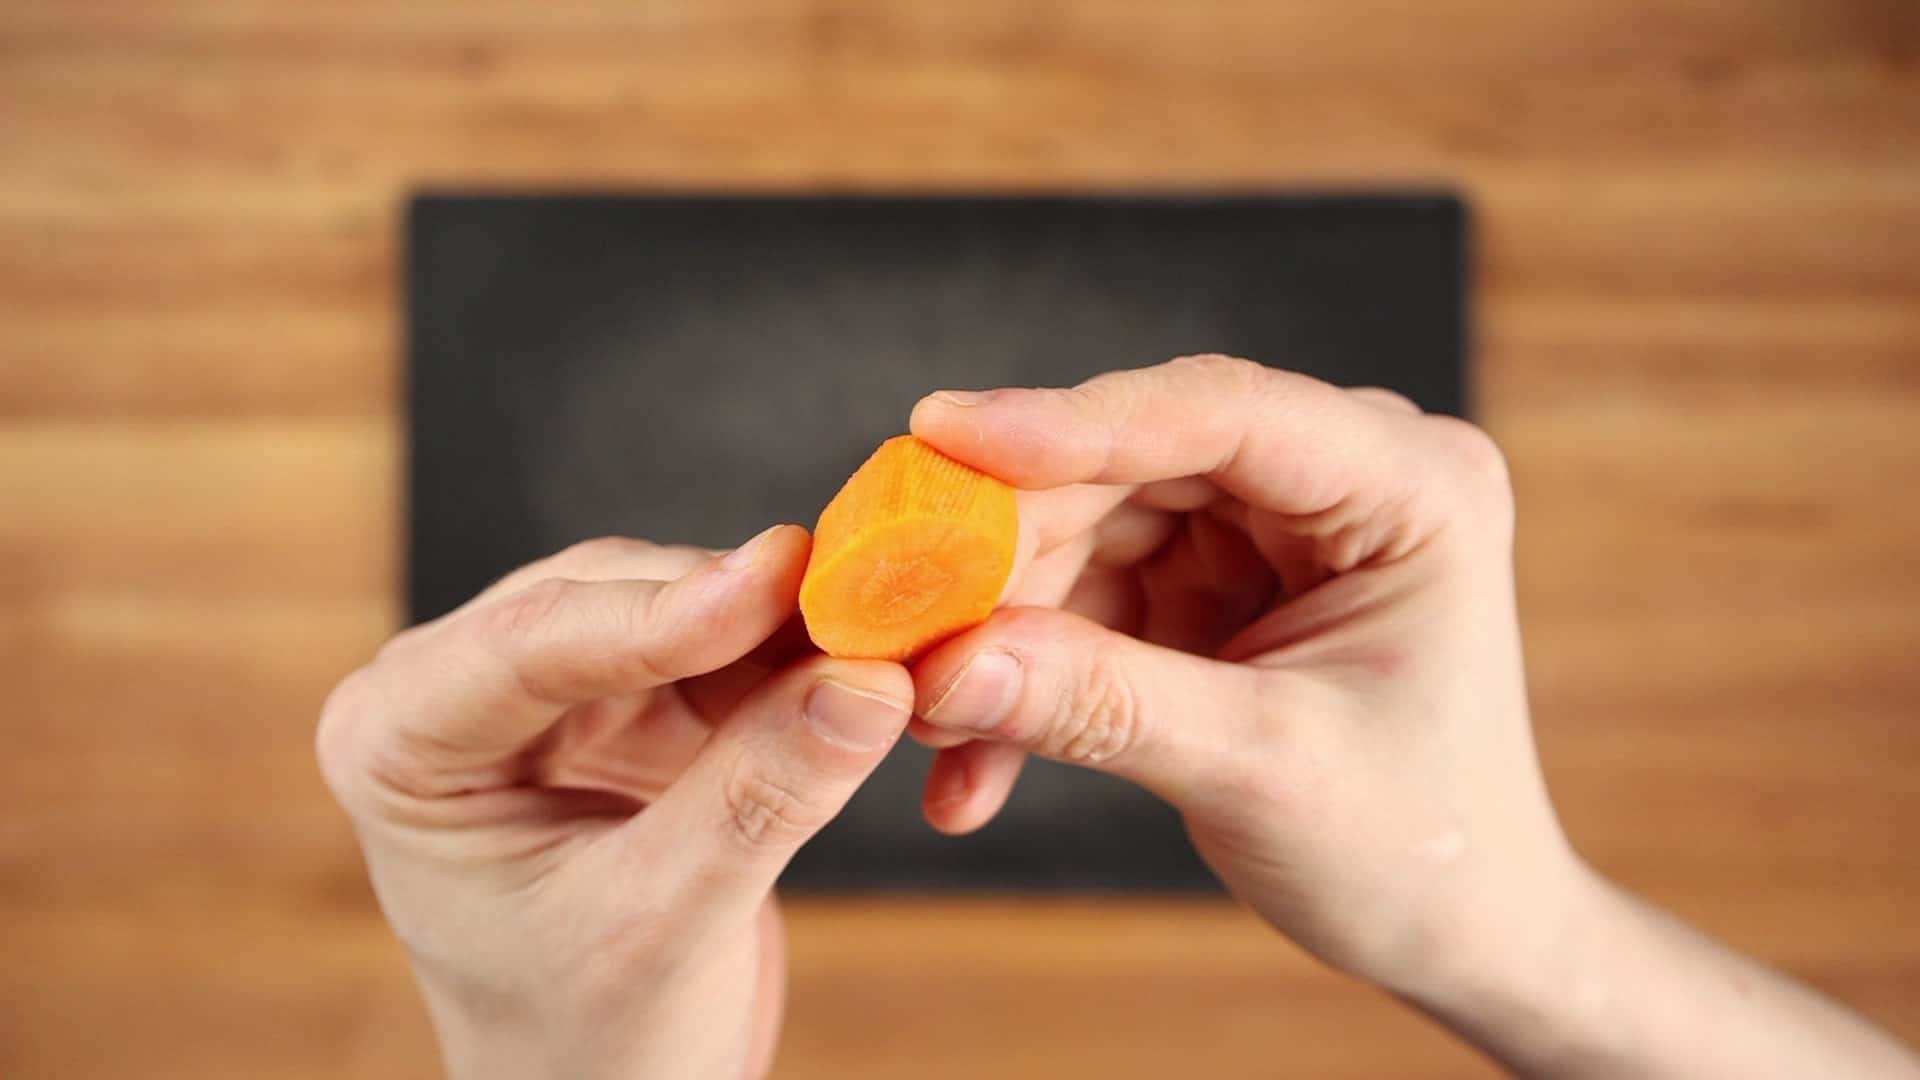
4. Simmer the vegetables gently. Stir the carrot into the onions for a minute or two, then add the garlic and ginger for 30 seconds to a minute, just until you can smell them. Add the potatoes and 1 liter of water, bring it to a boil, then turn it down to low right away so there are just a few bubbles popping up here and there. Skim off the foam (in Japanese it's called aku), and let it simmer with the lid off for about 20 minutes, until a skewer slides easily into the thickest carrot and potato. If it boils hard, too much water cooks off and the curry comes out thicker than it should.
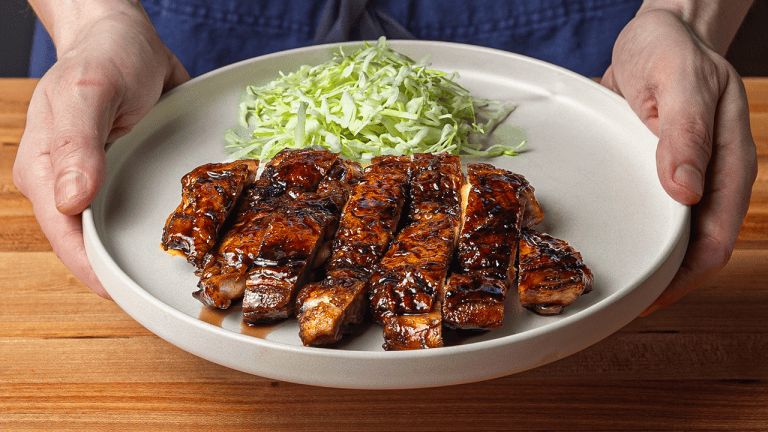
5. Cook the flour to a light fox color. In a separate skillet over medium-low heat, melt the butter until it stops foaming, add the flour and whisk constantly until it's a light golden brown and smells kind of like a cooked pie crust, usually 5 to 8 minutes. In Japanese this color is called kitsune-iro, or fox color, the same word from my Japanese teriyaki chicken. Keep it light, because the darker you take a roux, the less it thickens.
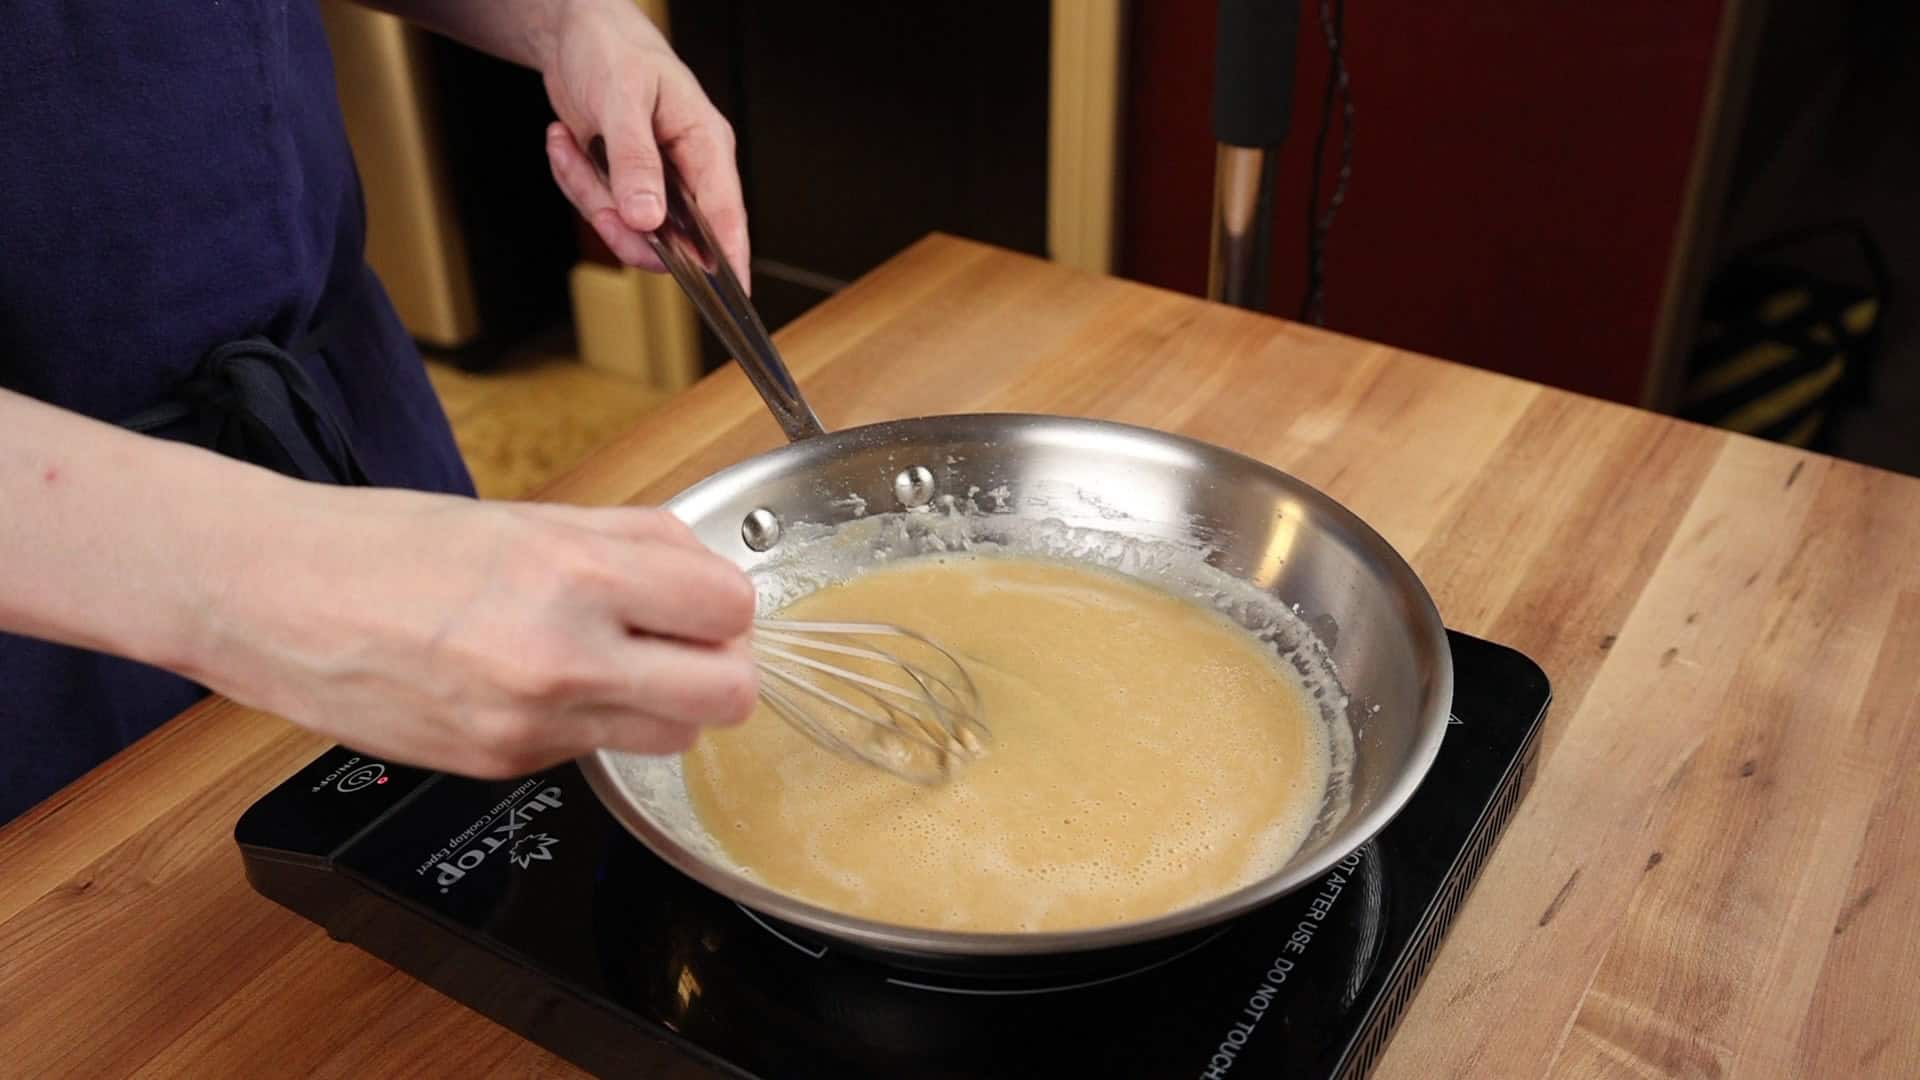
6. Turn the heat off and whisk in the curry powder. Ground spices burn really fast in hot fat, but even with the burner off, the roux is still hot enough to cook them. Krish Ashok, who wrote Masala Lab, says spices cooked in oil taste stronger than spices boiled in water. I did the same thing with the spices in my beef pho.
7. Whisk in the cornstarch, salt, MSG and sugar. It's going to look kind of like wet sand, and that's nothing to worry about. My first try used about the same weight of butter as flour, which is the classic ratio, and at this point it dried out completely. With 70 grams of butter it stays loose enough to whisk.
8. Loosen the roux and stir it into the pot. Once the vegetables are tender, ladle hot liquid from the pot into the skillet one ladle at a time, whisking each one in until smooth. About three ladles is usually enough. Pour it into the pot, turn the heat to low and simmer for a few minutes, stirring from the bottom so it doesn't stick. It thickens really fast, so stop once it coats the back of a spoon but still pours. Yours will come out lighter than curry from a box, partly because every box I looked at has caramel color in it.
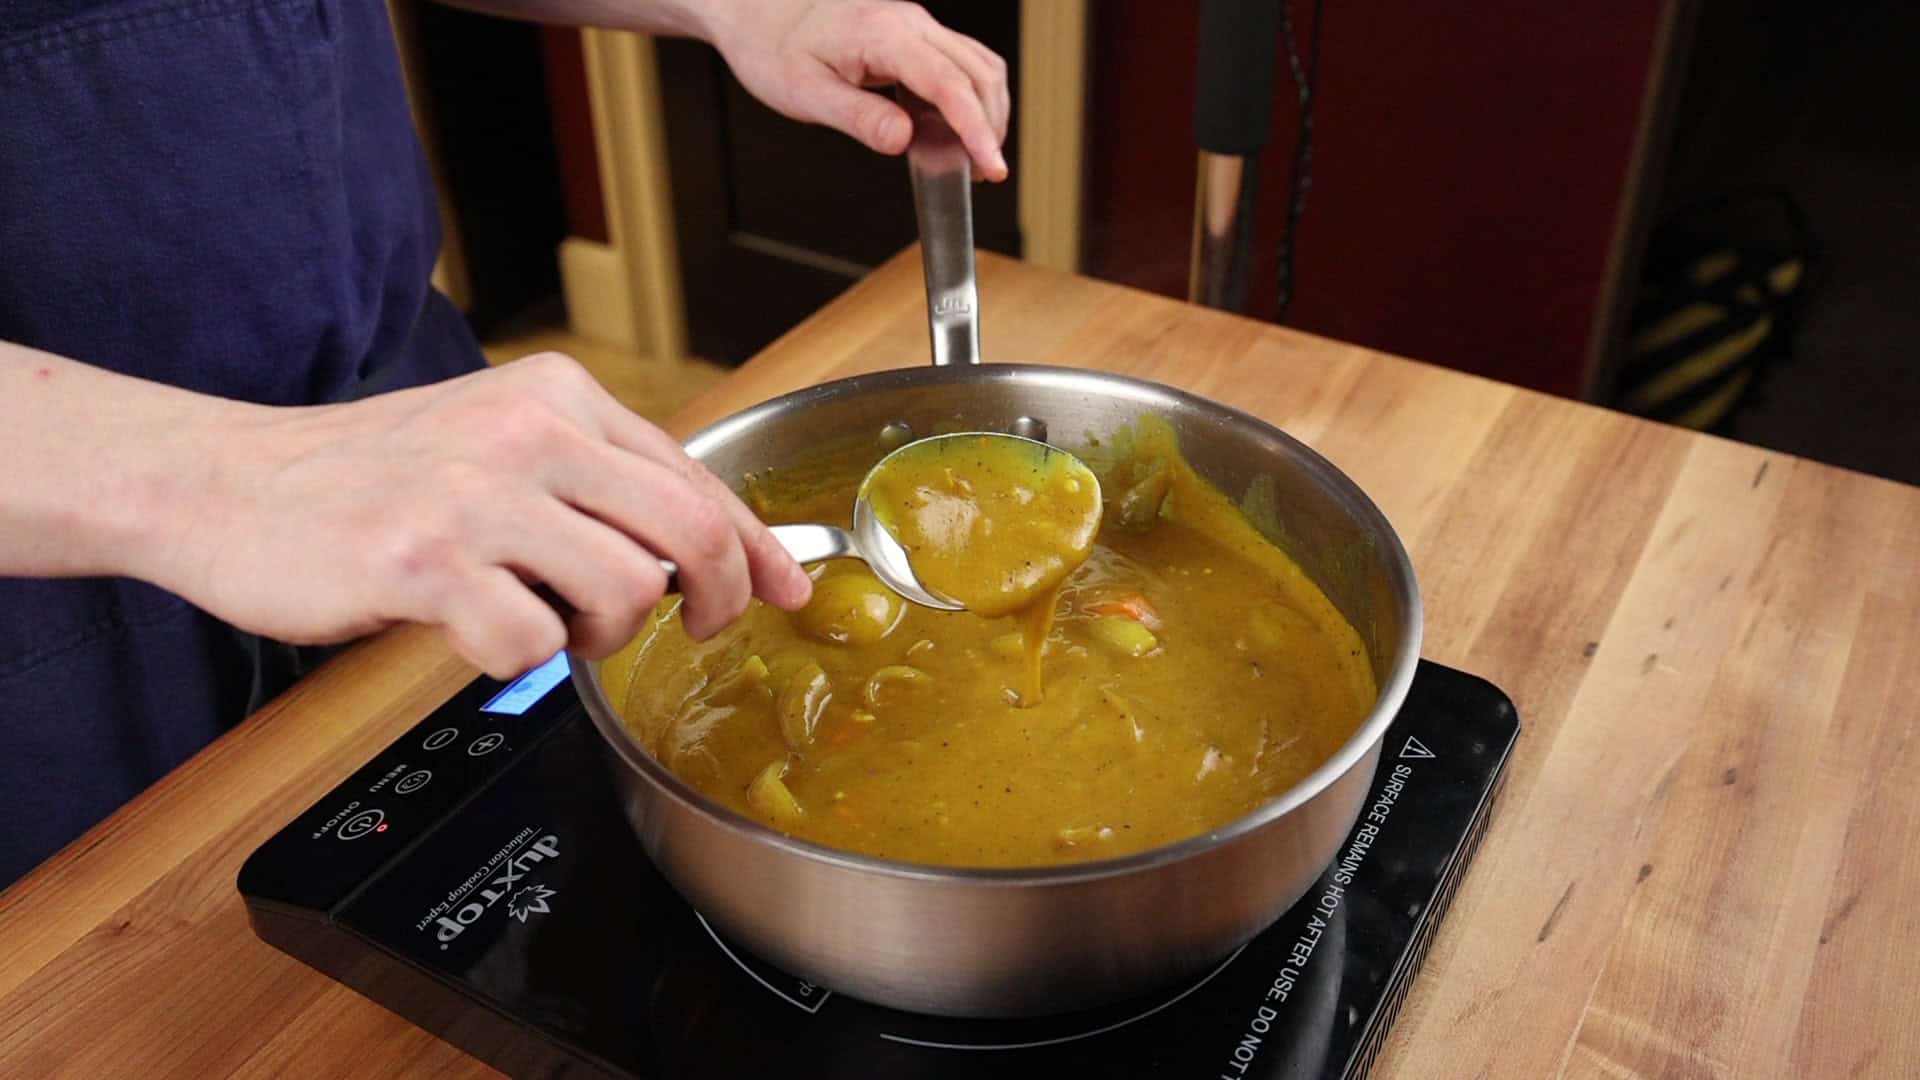
9. Taste it with a little rice. Add salt a pinch at a time until it tastes right to you, and if you like it sweeter, add sugar half a teaspoon at a time. Then put the lid on and take it off the heat while you fry the katsu.
10. Bread the cutlets and let them rest. Pat the cutlets dry and season them with salt and pepper if you didn't salt them the night before. Coat each one in potato starch, dip it in beaten egg, then lay it in the panko and press the crumbs on firmly, on both sides. Let them sit on a wire rack for about 10 minutes, which gives the egg time to soak into the starch and the panko so the breading stays on in the oil.
11. Fry two at a time at 350°F. Lay the cutlets in away from you so you don't get splashed, and fry 2 to 3 minutes a side, until they're golden brown and the thickest one reads 145°F in the center. If the oil isn't hot enough, the katsu comes out greasy, and if it's too hot, the breading burns before the pork is cooked, so turn the heat down a little if the crumbs are getting dark too fast. Lift them onto a wire rack, because a paper towel traps steam under the cutlet and the bottom turns soggy.
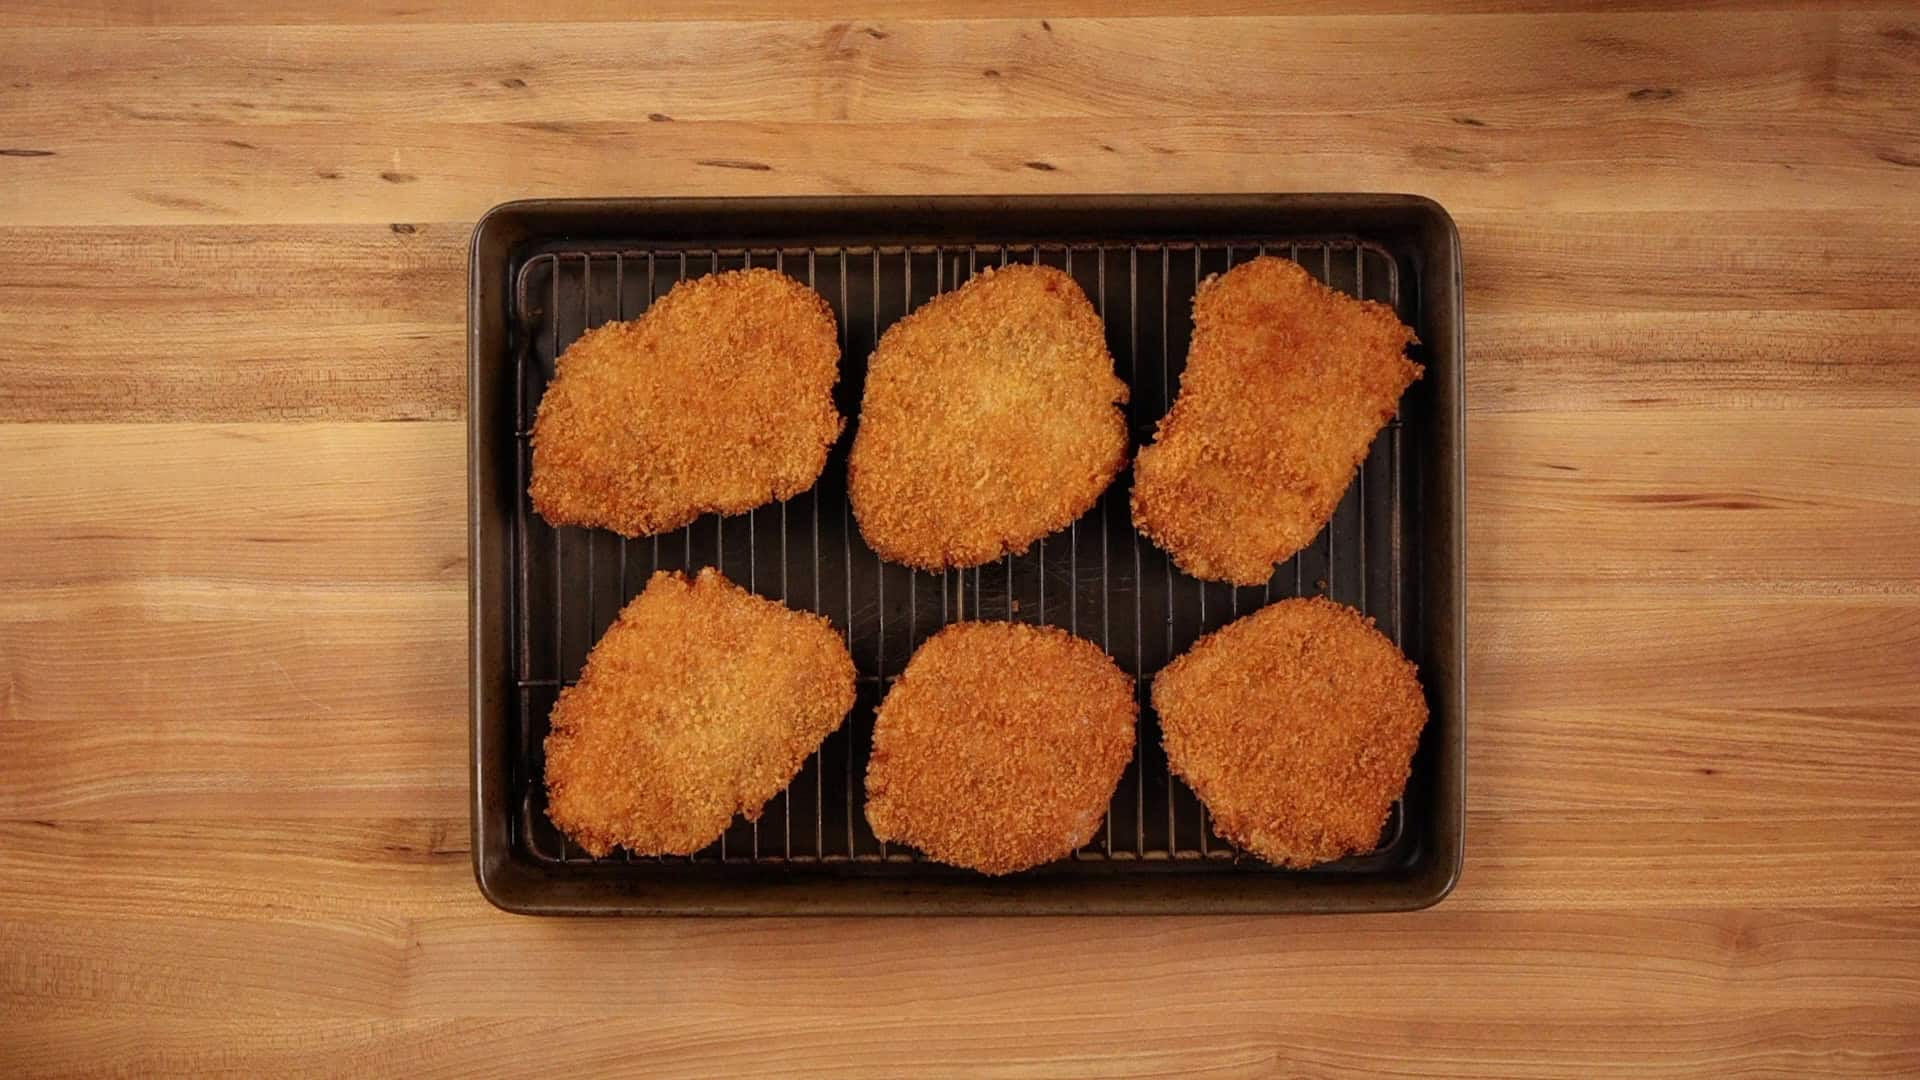
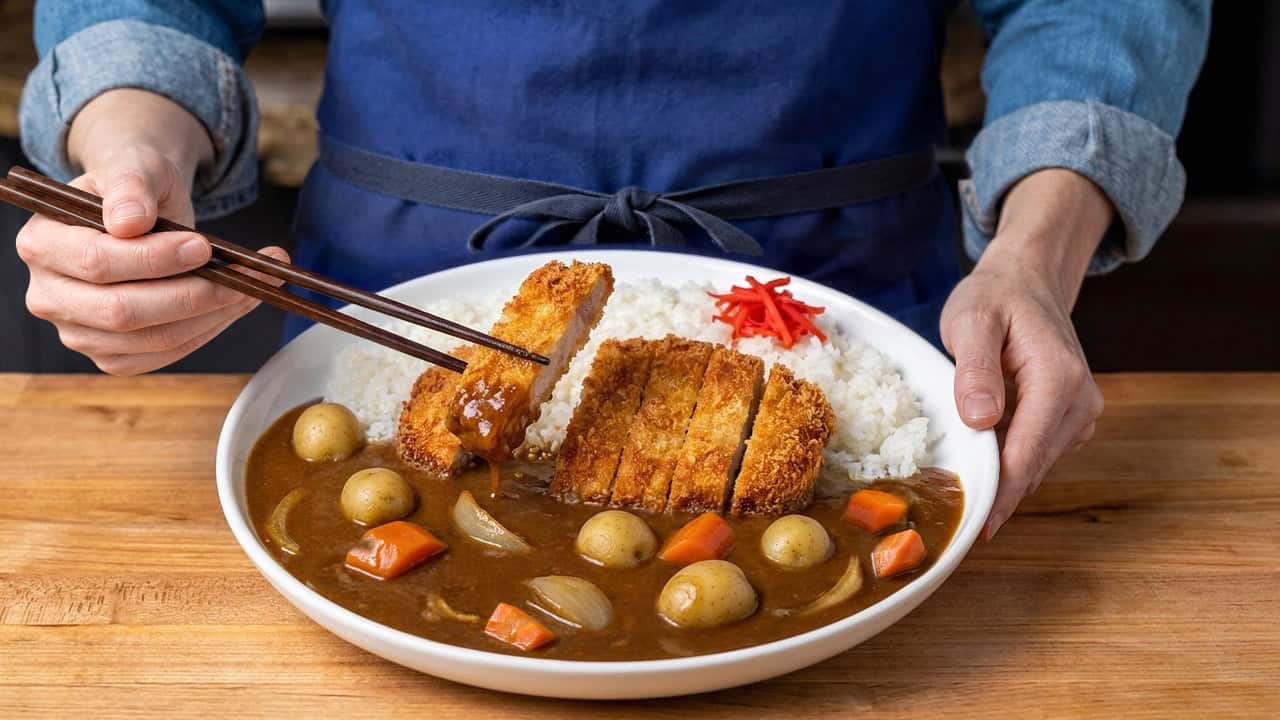
12. Slice and plate. After a 3-minute rest, slice each cutlet straight down into strips about ¾ inch wide, using one cut for each strip, because sawing back and forth can pull the breading off. Put the rice on one side of the plate and the curry on the other, and lay the katsu on top right where they meet. I put it on top instead of pouring the curry over it so the breading stays crispy.
Using a Store-Bought Curry Block
If you'd rather use a box, make the curry pot exactly the same way, with half a box of House Vermont Curry (115 grams) or S&B Golden Curry (110 grams) in place of the homemade roux. Use the water your box prints for that much block in place of the 1 liter. A lot of the complaints I saw about watery curry came from people using a big box's water with a small box.
Chop the block into small pieces so it melts without lumps. Once the vegetables are tender, turn the heat off before the block goes in, put the lid on and wait 5 minutes, then stir slowly until it melts. House and S&B both say to turn the heat off first, because in boiling liquid the outside of the block skins over before the inside can melt. Then simmer it on low for about 10 minutes, and taste it before adding any salt, because the block already has it.
Variations
Add cinnamon or nutmeg to the curry powder. Cinnamon was in 26 of the 38 Japanese curry powder recipes I compared, and nutmeg was in 21. Stuart Farrimond, who wrote The Science of Spice, says cinnamon doesn't actually taste sweet on its own, but it makes the other ingredients taste sweeter.
Make it hotter. I kept the heat in this curry powder low on purpose, so you can add ichimi togarashi or cayenne a pinch at a time at the end until it's as hot as you like it.
Finish it at the table. In three different Japanese polls I read, the most common thing people add to their curry is Worcestershire sauce. A squeeze of lemon works too, and that goes all the way back to the curry in Mrs Beeton's Book of Household Management from 1861.
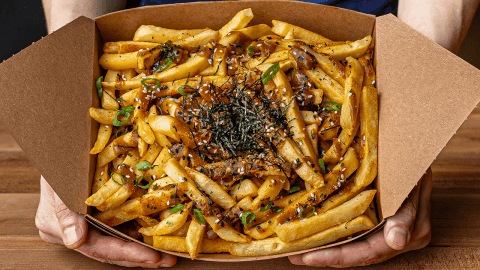
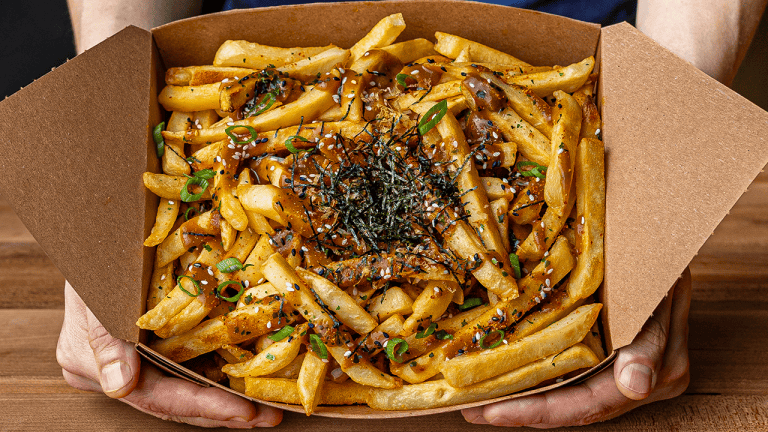
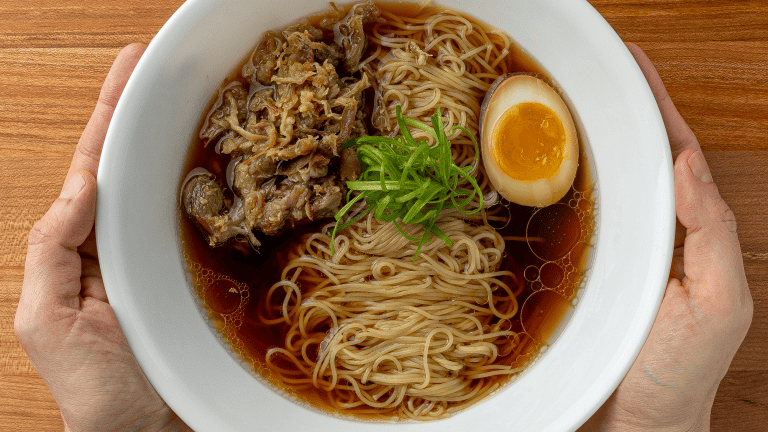
Use the curry on something else. I think this is one of those dishes, like lasagna, that tastes even better the second day, and you can use what's left to make curry udon or my Japanese curry french fries.
Storage and Reheating
Don't leave a pot of curry out to cool on the stove. Japan's agriculture ministry and the USDA both say to divide leftovers into shallow containers so they cool fast, then refrigerate them. The USDA says to eat refrigerated leftovers within 3 to 4 days. Reheat the curry on low, stirring from the bottom, until it reaches 165°F all the way through.
To freeze it, take the potatoes out or mash them first, which is what House Foods recommends. The USDA says frozen leftovers keep their best quality for 3 to 4 months, though House says to use frozen curry within about a month. Store the katsu separately, and reheat it on a wire rack in a 350°F oven until it reaches 165°F, so the breading crisps back up.
Frequently Asked Questions
What kind of rice goes with Japanese curry?
Japanese short-grain rice, which is what curry shops in Japan serve. Medium-grain rice like Calrose is the most common substitute.
Can you make Japanese curry without meat?
Yes. This pot has no meat in it at all, and the pork katsu goes on top at the plate. If you leave the katsu off, the curry is just vegetables in a butter and spice roux. A lot of people in Japan cook meat in the pot with the vegetables, so you can add it there if you want.
What is kare raisu?
Kare raisu is the Japanese name for curry rice, which is exactly this dish, a thick curry served next to white rice on the same plate. With a fried pork cutlet on top, it's called katsu curry.
Where did katsu curry come from?
You'll usually read that a baseball player asked for it at a restaurant in Tokyo in 1948, but that story comes from the restaurant itself. The oldest written record I could find is a 1943 book by a Japanese sports official named Hiranuma Ryozo. He wrote that after people exercised at his house, he fed them regular curry rice with a pork cutlet in really big portions, and everybody called it Sports Rice.
More Japanese Recipes
More Japanese Steakhouse Recipes
Recipe

Japanese Curry From Scratch (Pork Katsu Curry)
Equipment
- 1 Made-In Saucier (5 quart) for the curry pot
- 1 All-Clad 12-inch Fry Pan for the roux
- 1 Made-In Carbon Steel Wok for frying the katsu; a heavy pot works too
- 1 8-inch chef's knife
- 1 Jeweler's Scale (0.01 g) for the smallest spice amounts
- 3 Glass Mixing Bowls for the breading station
- 1 Anchor Glass Ramekins for weighing out the spices
- 1 Deli Containers for storing the extra curry powder
- 1 Microplane Grater for the garlic and ginger
- 1 Whisk for the roux
- 1 Ladle for skimming and loosening the roux
- 1 Fish Spatula for turning the katsu
- 1 Instant-read thermometer for the oil and the center of the pork
- 2 Wire Cooling Rack one to rest the breaded cutlets, one over the baking sheet for the fried ones
Ingredients
The Curry Powder (makes 50 g; the curry uses 15 g)
- 5 ¼ teaspoon ground turmeric 1 tablespoon + 2 ¼ tsp
- 6 ½ teaspoon ground coriander 2 tablespoon + ½ tsp
- 2 ¾ teaspoon ground cumin
- 2 ½ teaspoon ground cardamom
- 1 teaspoon black pepper ground
- ½ teaspoon ground fenugreek optional; sold as methi at Indian grocery stores
- 1 teaspoon ground cloves
- ½ teaspoon ground fennel
- ¼ teaspoon ichimi togarashi Japanese ground red chili; cayenne works too
The Curry Pot
- 1 tablespoon vegetable oil
- 1 medium yellow onion cut into ½-inch slices from root to stem
- 1 small carrot peeled, roll cut into 1 ¼-inch chunks
- 2 teaspoon garlic fresh, grated (about 3 cloves)
- 2 teaspoon ginger fresh, grated
- 8 oz small potatoes 4 to 6 Baby Gold or Petite Gold, left whole with the skin on; cut bigger potatoes into 1 ½-inch chunks
- 4 ¼ cups water
The Roux
- 5 tablespoon unsalted butter
- 6 ⅓ tablespoon all-purpose flour ⅓ cup + 1 tbsp
- 2 tablespoon curry powder from the group above
- 1 ½ tablespoon cornstarch
- 2 ¾ teaspoon table salt fine; weigh it if you can
- ½ teaspoon MSG optional
- 2 ½ teaspoon granulated sugar 2 teaspoon to 1 tbsp, to taste
To Finish the Curry
- granulated sugar to taste, ½ teaspoon at a time
- table salt to taste
- ichimi togarashi to taste, for more heat
- hot water only if the curry is too thick
- 1 teaspoon cornstarch stirred into the cold water, only if the curry is too thin
- 1 tablespoon cold water
The Pork Katsu (6 cutlets)
- 1 ½ lb boneless pork loin from a whole loin, or 6 boneless loin chops, 4 oz each
- 6 cups vegetable oil for frying, at least 3 inches deep
- 1 teaspoon table salt
- ¼ teaspoon black pepper ground
- ½ cup potato starch or all-purpose flour
- 2 large eggs beaten
- 2 ½ cups Japanese panko plus more as needed
To Serve
- 10 cups Japanese short-grain rice cooked and hot, 300 g per plate (about 4 cups uncooked for 6 plates)
- ichimi togarashi on the table
Store-Block Version (in place of the curry powder and roux)
- 4 oz House Vermont Curry half of a 230 g box
- 3.9 oz S&B Golden Curry half of a 220 g box, in place of the Vermont Curry
- water the amount your box prints for that much block, in place of the 4 ¼ cups
Instructions
Mix the Curry Powder
- Weigh each spice into a bowl and whisk until the color is even and no streaks of any one spice show. Weigh out 15 g (2 tbsp) for the roux.
- Store the rest in a covered container in the pantry and try to use it within a couple of months, because ground spices slowly lose their flavor. The batch makes enough for about three pots.
Cut and Pound the Pork (before you start the curry)
- Cut the pork loin across the grain into 6 slices about ½ inch thick, about 4 oz each.
- Lay each slice between two sheets of plastic wrap and pound it with the smooth side of a meat mallet to an even ⅜ inch, so the cutlets cook through in about the same time.
- Make a small cut through the strip of fat along the edge about every inch. The fat shrinks faster than the meat in hot oil, and without these cuts the cutlet curls up instead of staying flat.
- Keep the cutlets in the fridge until the curry is almost done. If you have time, salt them the night before and leave them uncovered on a rack in the fridge.
Start the Curry Pot
- Heat the vegetable oil in a heavy pot over medium heat until it shimmers. Add the onion and cook, stirring now and then, until soft and a little brown at the edges, 8 to 10 minutes, adjusting between medium and medium-low so they brown without scorching.
- Add the roll-cut carrot and stir 1 to 2 minutes, until coated with oil. The carrot goes in before the potatoes because it takes much longer to soften.
- Add the grated garlic and ginger and stir just until you can smell them, 30 seconds to a minute. Don't let them brown.
- Add the potatoes and the water and bring to a boil over medium-high heat, then turn it down to low right away, so there are just a few bubbles popping up here and there.
- Skim off the foam that rises (in Japanese it's called aku). A little left behind is fine.
- Simmer with the lid off until a skewer or knife slides easily into the thickest carrot and potato, about 20 minutes. If it boils hard, too much water cooks off and the curry comes out too thick. Make the roux while the vegetables simmer.
Make the Roux
- In a separate skillet over medium-low heat, melt the butter until it stops foaming.
- Add the flour and whisk constantly over medium-low to low heat until it is a light golden brown and smells kind of like a cooked pie crust, 5 to 8 minutes. Go by the color: this is a light fox color (kitsune-iro), and a darker roux thickens less.
- Turn the heat off. Add the curry powder and whisk 1 to 2 minutes, until it smells strongly of curry and no dry powder shows. Leave the heat off: ground spices burn fast in hot fat, and the roux is still hot enough to cook them.
- Whisk in the cornstarch, salt, MSG and sugar until no dry streaks show. It will look kind of like wet sand, which is fine; the hot liquid thins it in the next step.
- Once the vegetables are tender, ladle hot liquid from the curry pot into the skillet one ladle at a time, whisking each one in until smooth, until the roux pours like thick gravy. About three ladles is usually enough.
Finish the Curry
- Pour the loosened roux into the pot and stir gently from the bottom until it is mixed in.
- Turn the heat to low and keep it at the gentlest simmer with the lid off, stirring from the bottom so it doesn't stick, 2 to 5 minutes. It thickens fast and keeps thickening, so stop once it coats the back of a spoon but is still loose enough to pour.
- Taste the curry with a little rice. Add salt a pinch at a time, sugar ½ teaspoon at a time if you want it sweeter (up to 1 tablespoon in all), and ichimi togarashi a pinch at a time for more heat.
- If it is too thick, stir in a splash of hot water. If it is too thin, stir the cornstarch and cold water again, stir it in and simmer 1 to 2 more minutes.
- Put the lid on and take the pot off the heat while the katsu fries. Rewarm it on low just before plating.
Bread and Fry the Katsu
- When the roux goes into the curry pot, start heating the oil in a wok or heavy pot (at least 3 inches deep) to 350°F. Set a wire rack over a baking sheet for the fried cutlets.
- Pat the cutlets dry. If you didn't salt them the night before, season both sides with the salt and pepper.
- Put the potato starch in one bowl, the beaten eggs in a second and the panko in a third.
- Coat each cutlet in potato starch and shake off the extra. Dip it in the egg and let the extra drip off, then lay it in the panko and press the crumbs on firmly with your palm on both sides.
- Set the breaded cutlets on a second wire rack, uncovered, for 10 minutes while the oil finishes heating. This gives the egg time to soak into the starch and the crumbs, so the breading stays on in the oil.
- Lower 2 cutlets into the oil, laying them in away from you. Fry 2 to 3 minutes a side, turning once, until deep golden brown and the center of the thickest cutlet reads 145°F. If the crumbs darken too fast, turn the heat down a little.
- Lift the cutlets onto the rack over the baking sheet, not paper towels, which trap steam and make the bottom soggy. Let the oil come back to 350°F before each of the next 2 batches.
- Rest each cutlet 3 minutes, then slice straight down into strips about ¾ inch wide with one firm cut each, keeping the slices together. Sawing back and forth can pull the breading off.
Plate It
- Spoon 300 g of hot rice onto one side of a wide plate and ladle 1 cup (220 g) of curry with its vegetables beside it, covering the other half.
- Lay the sliced katsu on top where the rice meets the curry, on top instead of under the curry, so the breading stays crispy. Serve right away with ichimi togarashi on the table.
Store-Block Version (Optional)
- Make the curry pot exactly as above, with the water your box prints for the amount of block you're using in place of the 4 ¼ cups. Skip the curry powder and roux.
- Chop the block into small pieces with a knife so it melts without lumps.
- Once the vegetables are tender, turn the heat off. Add the chopped block, put the lid on and wait 5 minutes, then stir slowly until it melts.
- Turn the heat back to low and simmer, stirring from the bottom, until thick and glossy, about 10 minutes. Taste before adding anything: the block already has the salt, so no salt, MSG or sugar goes in.