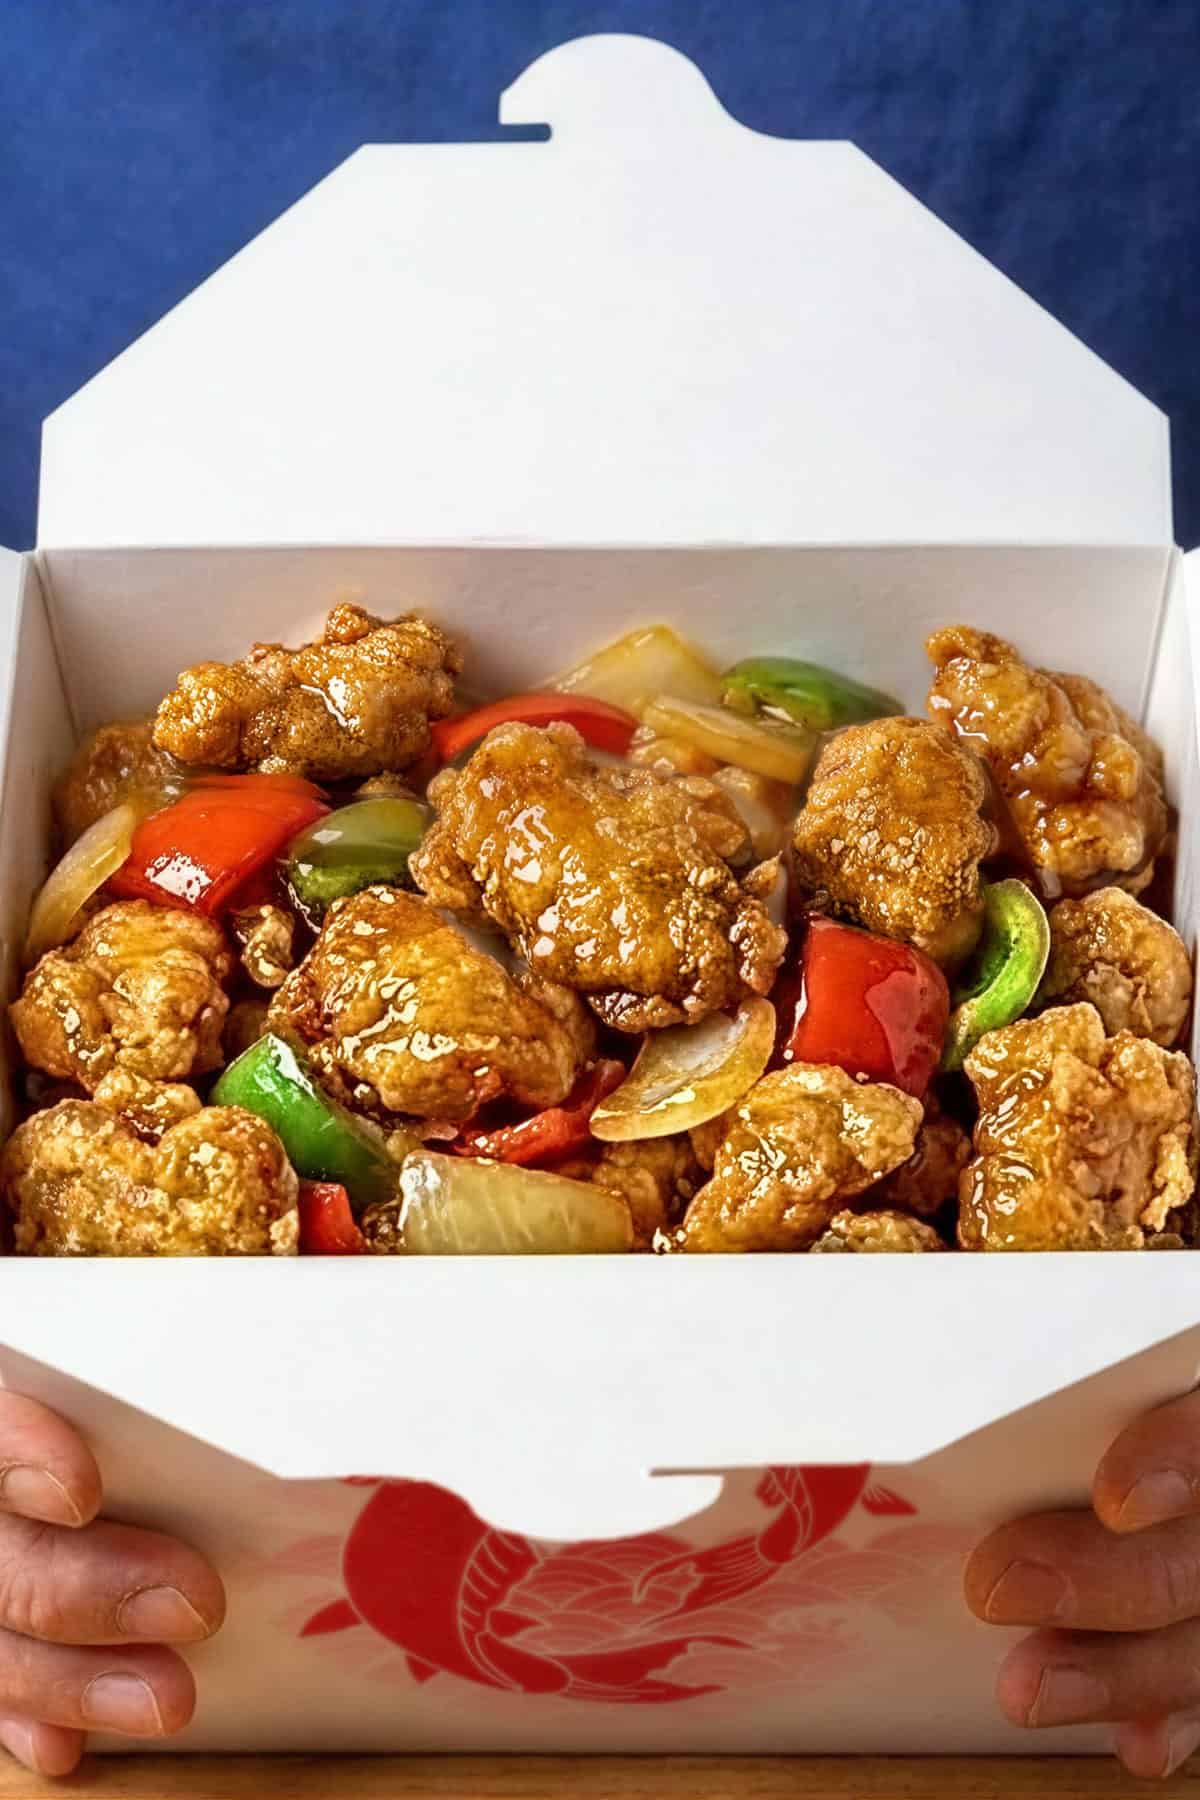
Sweet and Sour Chicken Recipe (Old-School Chinese Takeout)
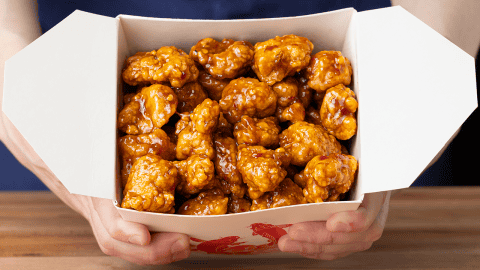
This sweet and sour chicken recipe makes the old-school Chinese takeout version a lot of people say they can't get anymore, with far less ketchup than most recipes online, plus a neon red dip. The chicken is double-fried and frozen in between to stay crunchy. It takes about 10 and a half hours, mostly brining and freezing, and serves 4.
This post contains affiliate links, which means I may earn a small commission if you make a purchase. It doesn't cost you anything extra. Full disclosure.
Why Homemade Sweet and Sour Chicken Doesn't Taste Like Takeout
If your homemade sweet and sour chicken never tastes like the takeout you remember from back in the day, I think I know why. The sauce you remember is a lot older than most of the recipes online today, and they've changed it quite a bit since then.
People are always complaining that they can't get the old-school kind anymore, so that's the one I set out to make here. The good part is, you can still make it at home, and the sauce only takes about two minutes.
In the old cookbooks from the 60s and 70s, the typical sweet and sour sauce used a little over half as much ketchup as sugar. The typical recipe online today uses almost as much ketchup as sugar, and some of them use twice as much. Most of the newer recipes also add soy sauce, which a lot of the old-school ones left out, and many of them use rice vinegar, where the old ones just used plain white distilled vinegar.
Panda Express's own ingredient list for their sweet and sour chicken has no ketchup and no soy sauce in it at all. The red color comes from tomato paste, black carrot and paprika. Not one of the grocery store sweet and sour sauces I found has ketchup in it either, and none of them use food dye.
Lee Kum Kee actually makes two different sweet and sour sauces. According to their own website, the big bucket they sell to restaurants has red and yellow food dye in it, but the bottle they sell in grocery stores doesn't have any. I've talked to a lot of takeout restaurants over the years, and this part is just my hunch: I'm pretty sure that bucket is what a lot of them are using today.
Home cooks have had trouble with this dish for a really long time. The earliest complaint I found is a reader's letter to the Washington Evening Star from 1962, asking for recipes for sweet and sour pork and a few other dishes "as served in Chinese restaurants."
They wrote, "I've tried many cookbook recipes, but without the desired results." Dude's been waiting for a good sweet and sour recipe since the Kennedy administration.
So it's not just you. Most of the recipes online today have drifted pretty far from the old-school sauce, and that's probably why yours tastes different from what you remember.
What I Tested
The second problem with sweet and sour chicken is that the breading gets soggy pretty quick. Part of the reason is that the moisture inside the chicken keeps moving out into the crust, even with no sauce on it at all. The sauce makes it even worse, so you want the crust as dry and as sturdy as you can get it before it's ever sauced.
To fix that, I put together what P.F. Chang's and Panda Express do with their chicken. Chefs who work at P.F. Chang's told me they brine their chicken in water with baking soda and soy sauce, which is what I call an alkaline brine, and I've used it in a bunch of my P.F. Chang's recipes.
From Panda Express, I took two things Chef Jimmy Wang from their test kitchen showed in a video with Lucas Sin for Bon Appétit. Panda uses dried egg powder in the marinade for their orange chicken, and they fry that chicken once at their supplier, freeze it, and fry it a second time at the restaurant.
I test-cooked the whole recipe over two days, then did one more round on just the sauces. The old-school sauce tasted better with a quarter teaspoon each of salt and MSG, up from an eighth.
After the first round, I made the neon red one a little more sour. The food coloring was the hardest part to pin down, because 3 drops came out far too red one day and a little pale another time, so now you just add it a drop at a time until it looks right to you.
I had this sort of platonic ideal of what sweet and sour tasted like when I was a kid growing up in the 80s (shout out to China KO in North Shore). The old-school sauce tastes exactly like what I remember Chinese takeout sweet and sour tasting like, and the chicken was still crunchy about 30 minutes after I made it. If the takeout place near you has gone neon, now you can make the old-school version at home.
Why This Sweet and Sour Chicken Recipe Works
- An old-school sauce that's light on ketchup. It's 2 tablespoons of ketchup to 6 of sugar, much closer to the cookbooks from the 60s and 70s than to the typical recipe online today, with plain distilled white vinegar and canned pineapple juice.
- A baking soda and soy sauce brine. The baking soda raises the pH of the water, and that keeps the proteins in the chicken from tightening up as much in the hot oil, so the breast stays juicy through two fries.
- Dried egg powder in the marinade. A raw egg adds a lot of water, and all of that has to cook off in the oil before the crust can get crispy.
- An ice-cold batter. The bigger the temperature difference between the cold batter and the hot oil, the more the batter puffs up, and that's what leaves the little air pockets that make the crust crunchy. Panda's Chef Jimmy Wang keeps his batter between 35 and 41°F.
- Frozen between the two fries. Water from inside the chicken moves out into the coating and freezes, and when the chicken goes into the hot oil a second time, those ice crystals turn to steam and leave tiny air pockets behind in the crust.
Sweet and Sour Chicken Ingredients
The full list with amounts is in the recipe card below. These are the ones worth knowing about before you shop.
Boneless, skinless chicken breast is what Panda Express uses in their sweet and sour chicken, according to their own ingredient list. Breast is extremely lean, so it tends to dry out when you fry it, and that's what the brine is for. If you'd rather use thighs, there's more on that in the questions below.
Dried whole egg powder can be kind of hard to find in stores because, I guess, there aren't that many powdered chickens laying these powdered eggs out there, so I ordered mine online. Make sure it's dried whole egg powder, not egg white powder, which I once ordered by mistake, or meringue powder. If you can't find it in stores, order it online or look in a health food store.
Potato starch goes in the dry dredge and the wet batter. If you can't find it, you can use all cornstarch.
Distilled white vinegar is the plain white kind in the big jug. Rice vinegar or cider vinegar will change the flavor, so I'd stick with distilled for this one.
Canned pineapple juice goes in the old-school sauce. A lot of the old recipes, like the chicken sauce in Jim Lee's 1968 cookbook, used the juice from canned pineapple, so I just use a can of plain pineapple juice.
Ketchup is only in the old-school sauce, and only 2 tablespoons of it. Joyce Chen already had ketchup in the sweet and sour sauce in her 1962 cookbook, and that's about when cookbooks started turning the sauce red.
MSG goes in both sauces. The old-school one gets a quarter teaspoon, which is the same amount Joyce Chen put in her sweet and sour sauce on her TV show back in the 60s. You can find it at almost any grocery store as Accent.
Red food coloring is only for the neon red sauce, and that kind of red has been around a while. The Chinese Cookbook by Craig Claiborne and Virginia Lee, from 1972, had 12 drops of red food coloring in its sweet and sour pork sauce, with no ketchup or tomato in it at all.
The dye is really just there for the color, so it tastes exactly the same with or without it. If you're uncomfortable with food dye, like the European Union, you can just leave it out.
How to Make Sweet and Sour Chicken
Most of the chicken work happens a day or two ahead, and on the night you eat it, it goes straight from the freezer into the oil for its second fry.
1. Cut and brine the chicken
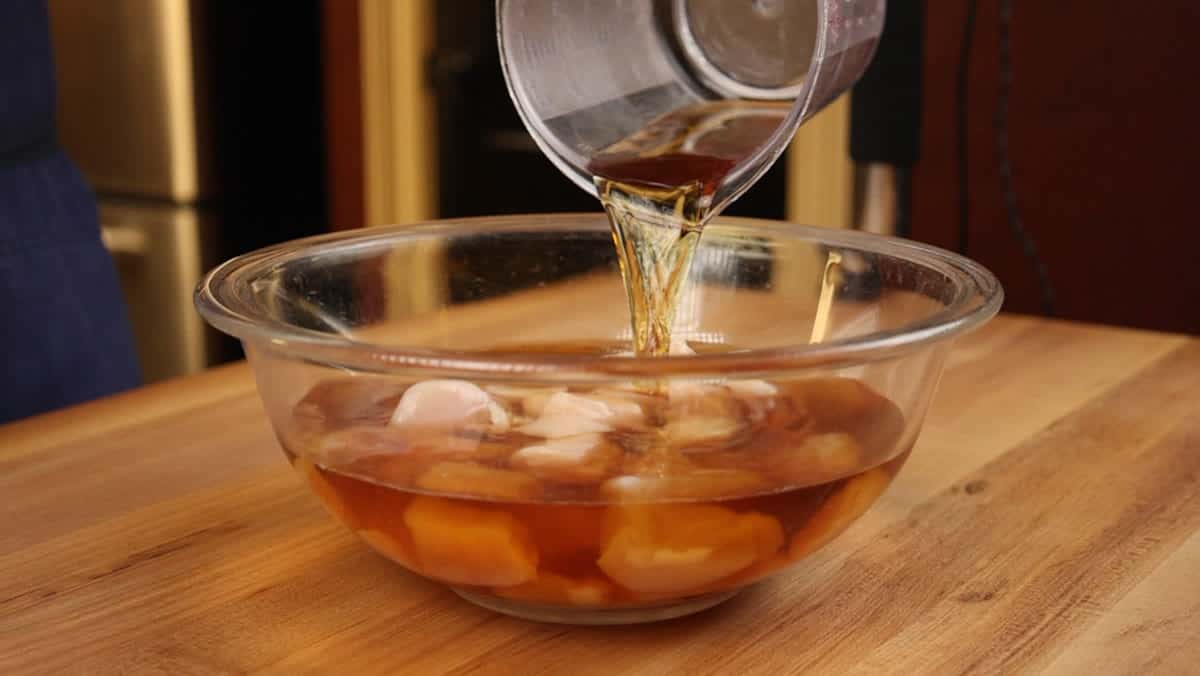
Cut the chicken into 1-inch pieces, all about the same size, so they all fry in about the same amount of time. The brine needs at least 2 hours in the fridge, but if you can go the entire 24 hours, that's even better, because that's how they were doing it at P.F. Chang's when I made the video.
2. Drain and dry it
Don't rinse the chicken after you drain it. Pat it as dry as you can with paper towels, because any water left on it will keep the coating from sticking, then let it sit on a wire rack until there's no wet shine left on the surface.
3. Marinate
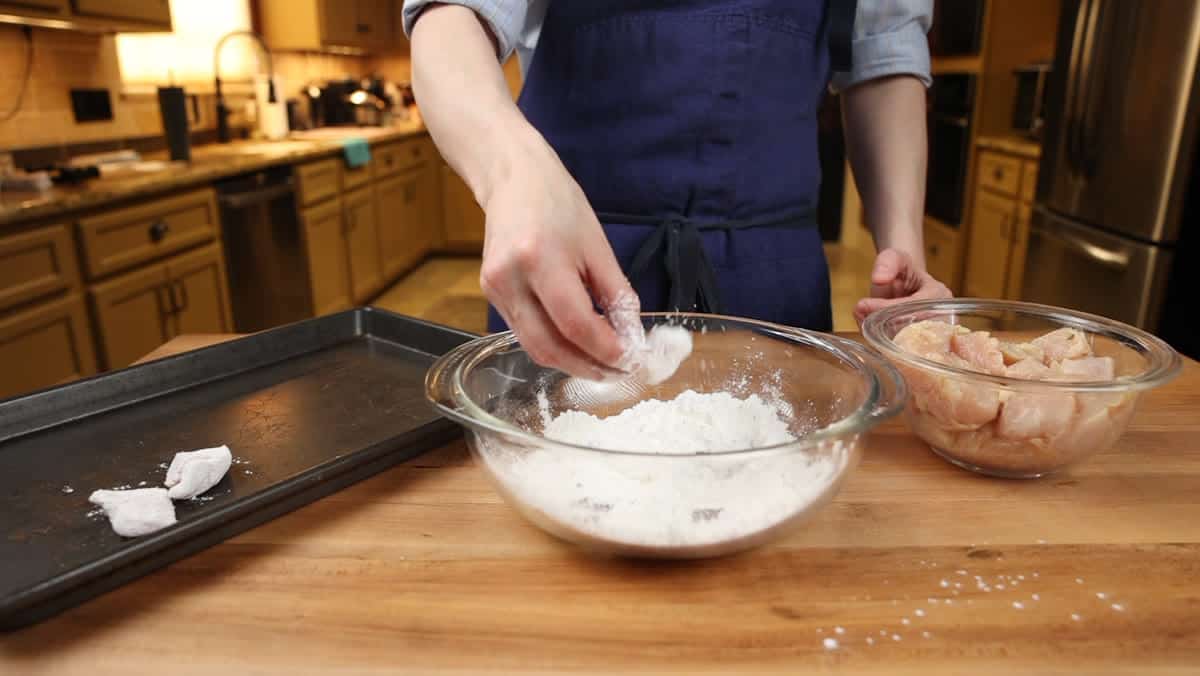
After you toss the chicken with the marinade, move it to a zip-lock bag and massage the marinade in through the bag to really work it in. The egg powder and cornstarch make a tacky layer on the outside that the dry dredge sticks to.
4. Make the dry dredge and the wet batter
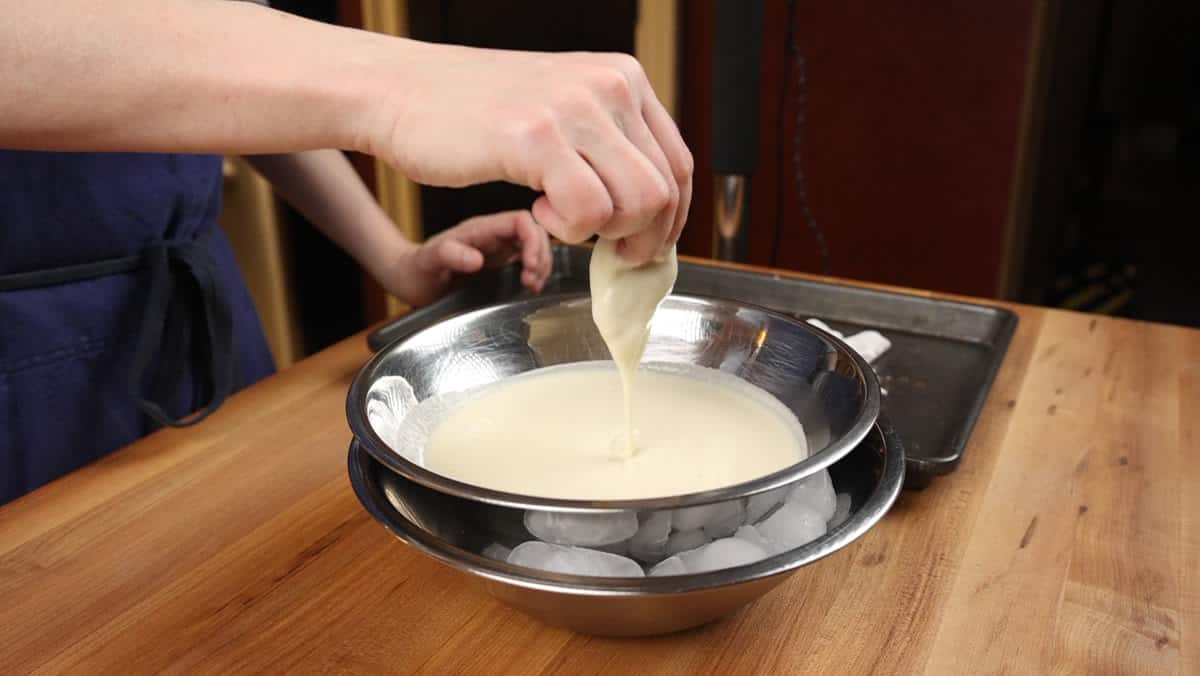
While the chicken is marinating, whisk the dry dredge together in one bowl and the batter in another, until the batter is smooth and there are no dry lumps left. I like to keep the batter bowl sitting on ice while I work, like an illegally harvested kidney in one of those bathtub stories.
5. Batter the chicken and fry it the first time
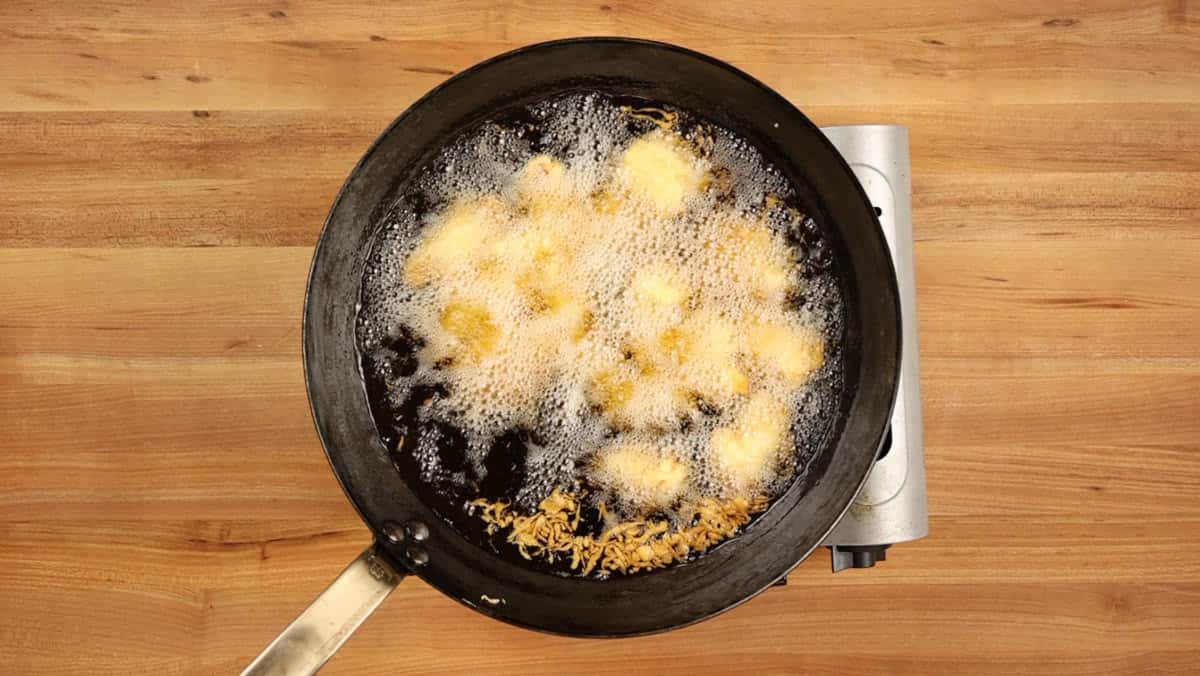
Get the oil in your wok to 350°F before you start dredging, since each piece goes straight from the batter into the oil. Once a piece is in, leave it alone for about a minute. This batter is really light, almost like a tempura batter, so if you stir it too soon, it'll come apart.
Fry it in 2 to 3 batches, because if you add too much chicken at once, it will drop the temperature of the oil.
6. Fry until the crust sets, then drain it on a rack
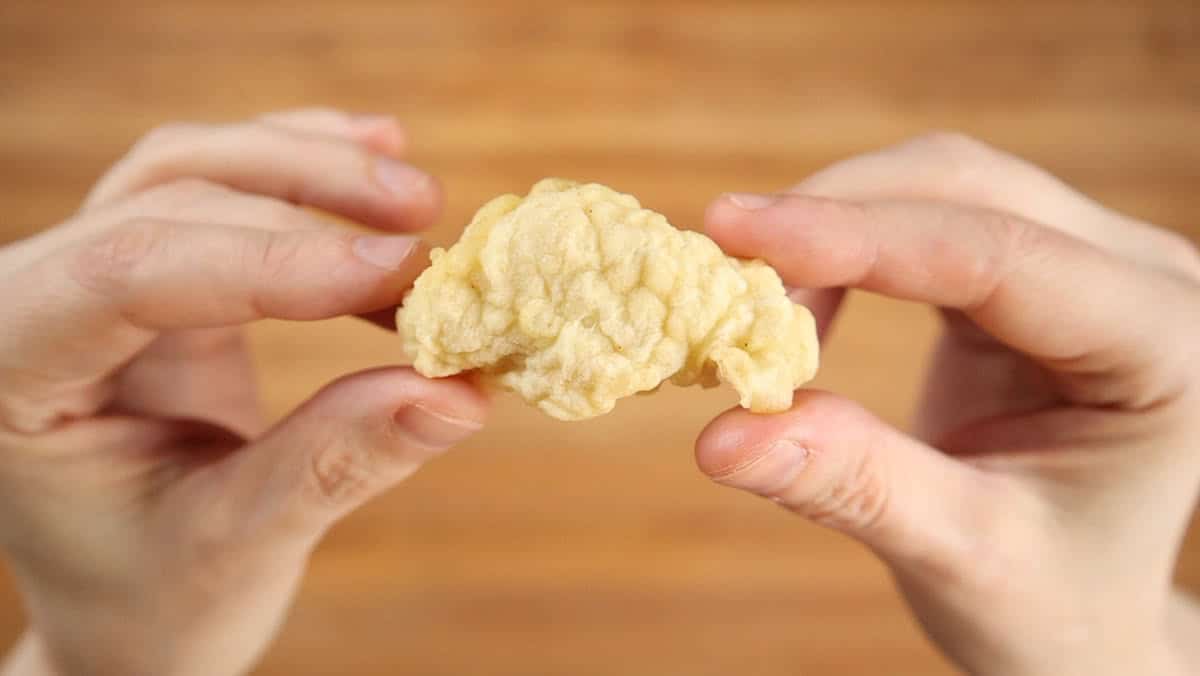
Fry each batch for 2 to 3 minutes, until the crust feels firm and it's a pale gold. You can also watch the bubbles. The authors of Modernist Cuisine at Home say that as long as lots of bubbles are coming off the chicken, the outside is still wet, and once they slow way down, the crust is setting.
Drain it on a wire rack, not paper towels, because paper towels trap the steam underneath and the bottom will turn soggy. Skim out any loose bits of batter between batches, because they'll burn and make the oil taste bitter. The chicken still isn't cooked all the way through at this point, and that's on purpose, since this first fry is just to set the crust.
7. Cool it, then freeze it
Let the chicken cool on the wire rack to room temperature, about 30 minutes, then put it straight in the freezer in a single layer on a baking sheet, within 2 hours of frying. Freeze it for at least 6 hours, overnight if you can. Never hold the half-fried chicken in the fridge to finish another day.
When it comes out, you'll see little shiny ice crystals all over the crust. That's water from inside the chicken that moved out into the coating and froze, which Jimmy Wang called moisture migration.
Once it's frozen solid, seal it in a zip-lock bag with as much air pressed out as you can. Now you've got two takeout dinners in your freezer. Until its second fry, treat it like raw chicken, which means it always goes into the oil straight from frozen and cooks until the thickest piece is at least 165°F.
8. Cut the peppers and onion
For one batch, you only need about a quarter of a green bell pepper and a quarter of a red one, plus a quarter of an onion. Open the peppers up flat, cut out the seeds and the white part, what's called the pith, and cut them into strips about an inch wide. Then cut across the strips at an angle, so you end up with pieces about 1 inch by 1 inch.
For the onion, trim off the root and the tip, cut it down the middle and peel it. Set each half flat and cut it 2 to 3 times each way, so the pieces are roughly the same size as the peppers. I like to keep them pretty substantial, about as big as the chicken.
9. Make the sauce
Each sauce makes enough for one batch, which is half the chicken, so make one fresh each time you cook.
For the old-school sauce, put the cornstarch, sugar, salt and MSG in a bowl first, then pour in the liquids and the ketchup and whisk it until there aren't any lumps left. It goes into the wok at the very end, so just set it aside for now.
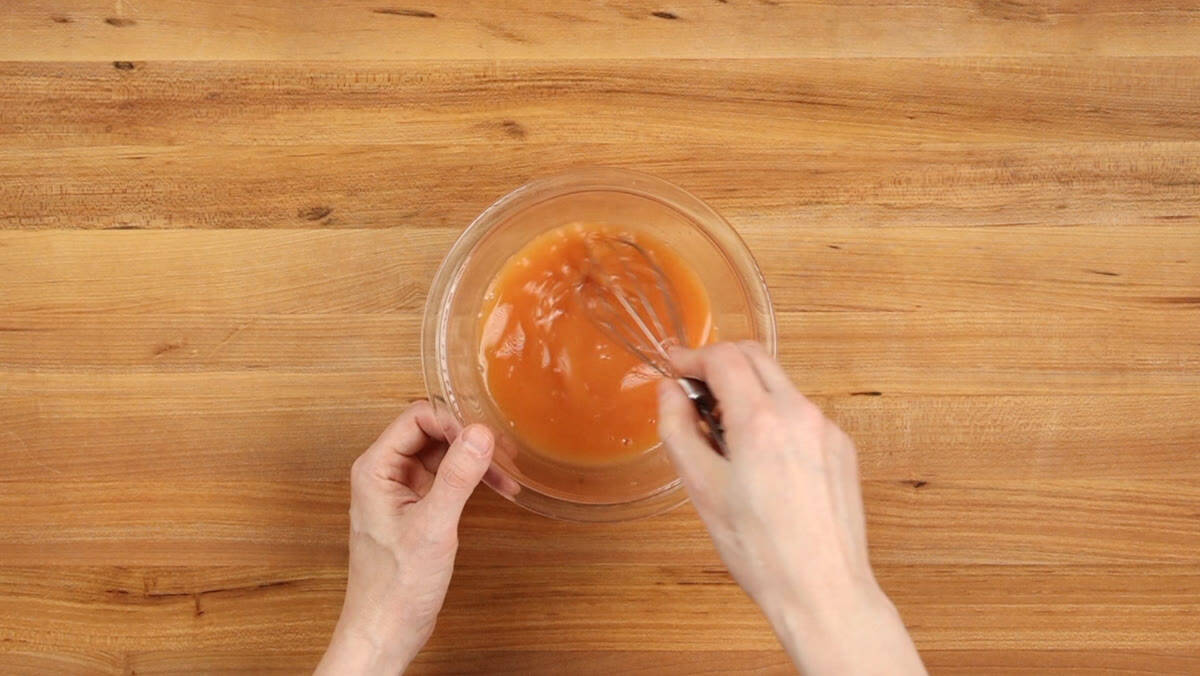
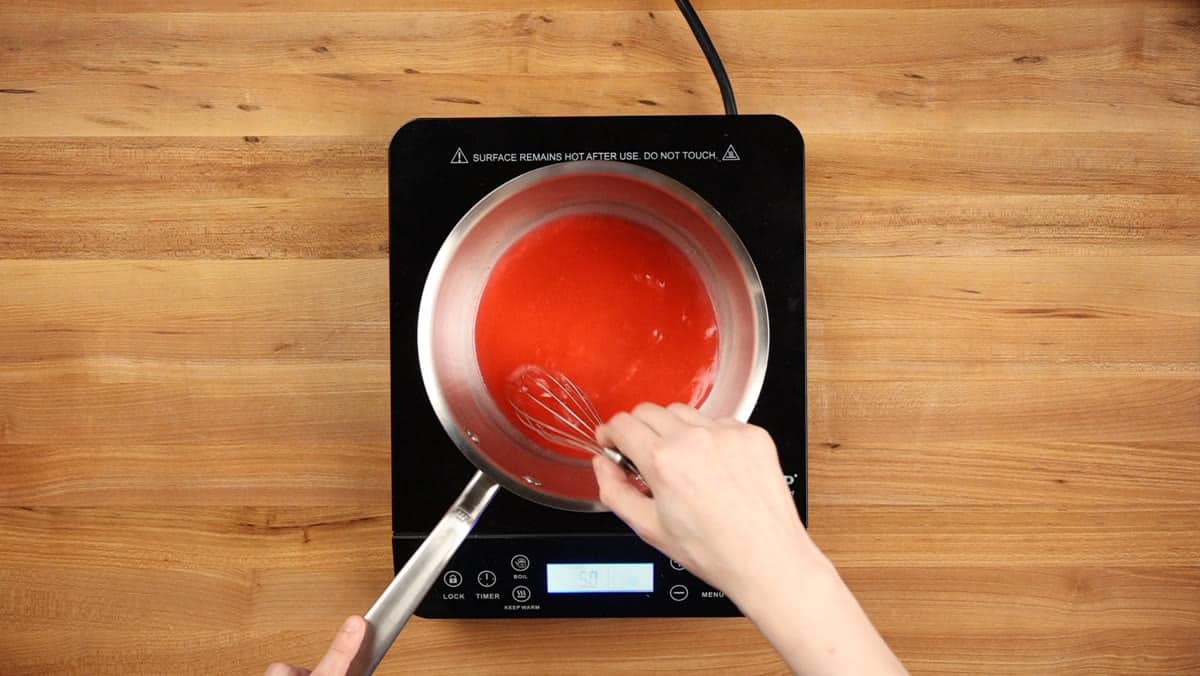
For the neon red sauce, which is pretty much the one from my crab rangoon recipe with a few tweaks, whisk everything but the food coloring together in a small saucepan. Then add the coloring a drop at a time, whisking after each one, until the color looks right to you. Whisk it over medium heat, and as soon as it starts bubbling, let it thicken to your liking.
I'd make it a little thinner than you think, because it gets thicker as it cools down. Then pour it into a small cup for dipping, the way it usually comes at a takeout restaurant.
10. Fry it a second time, straight from the freezer
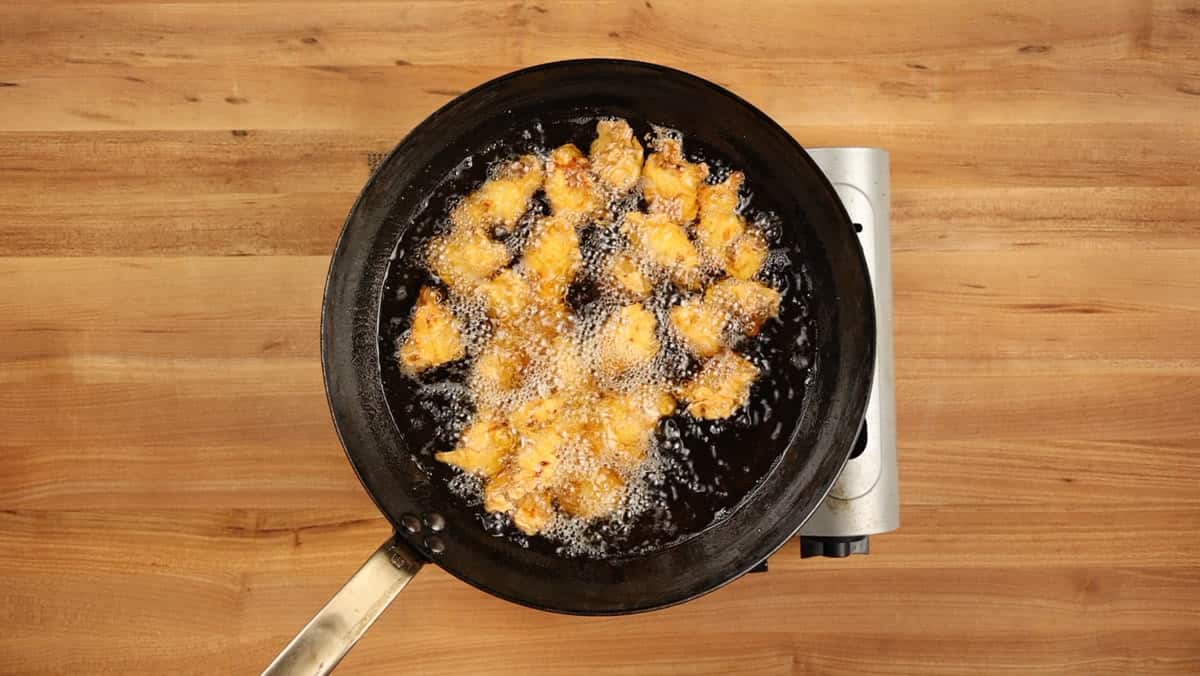
Half of the chicken usually comes to about 15 ounces because of all the breading. Don't thaw it out first, because thawing undoes what the freeze did for the crust. Fry it at 350°F for about 7 minutes, until the thickest piece is at least 165°F, the USDA's safe temperature for poultry, and drain it on the wire rack again.
11. For the neon red, just dip it
The chicken is ready to go right off the wire rack. Serve it plain, with the cup of neon red sauce on the side for dipping, and leave out the peppers and onion.
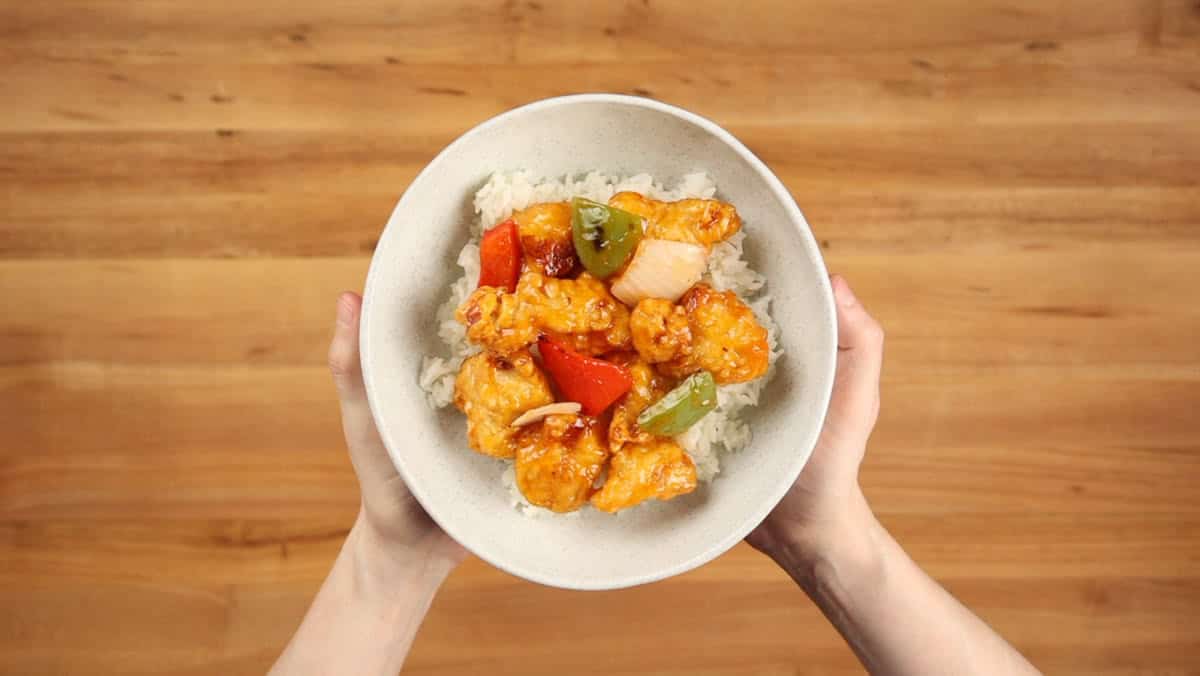
12. For the old-school version, toss it in the wok
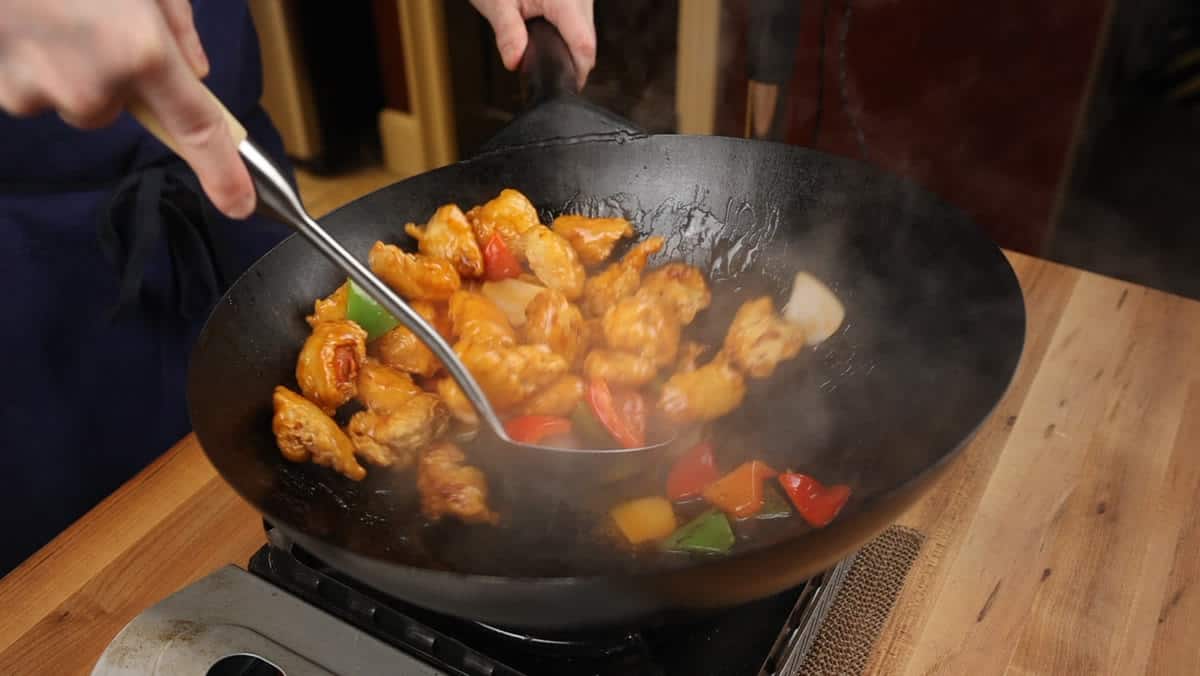
Heat a clean wok until it just starts smoking, then turn off the heat before you swirl in the oil, and turn it back on to medium-high. Stir-fry the peppers and onion for 30 seconds to a minute, just until they're bright and glossy, and keep them slightly crispy, since they still have to simmer in the sauce.
Give the sauce a good stir before it goes in, since the cornstarch tends to settle at the bottom, and let it thicken until it looks right to you. Add the chicken at the very last second, give it a quick toss, and serve it right away.
The Old Brown Version (Sweet and Pungent)
Before the sauce turned red, it used to be brown, and it wasn't always called sweet and sour either. On a 1917 menu from a New York restaurant called Bun Hurn, it's called sweet and pungent chicken. Most of the oldest recipes printed in the United States, back in the 1940s and 50s, had soy sauce in them, which is what made them brown.
If you want to try an OG version, the brown sauce I made for the video is pretty close to those, and it's in the recipe card below as an option. Just use it in place of the old-school sauce in the wok.
What to Serve With Sweet and Sour Chicken
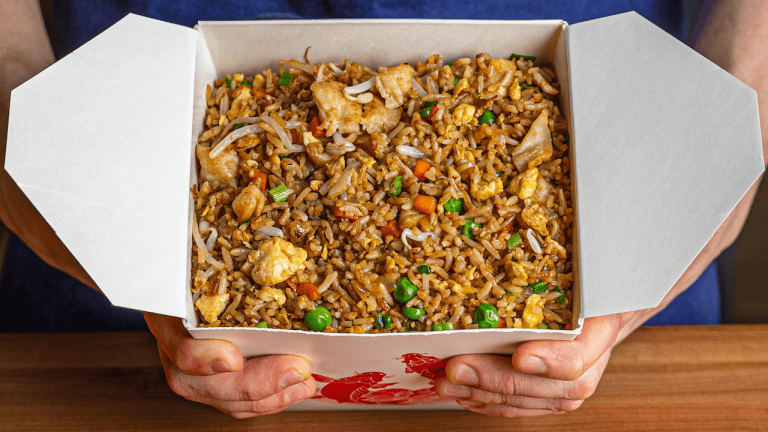
Of course, you're going to want some fried rice to go with this. When I surveyed about three dozen takeout restaurants for my Chinese takeout fried rice recipe, the best ones were all using a very specific blend of rice. And if you want the whole takeout spread, my Chinese egg rolls go with it too.
Making It Ahead and Storing It
- Make ahead: the once-fried chicken keeps in the freezer for up to 2 months, and it goes into the second fry straight from frozen.
- Peppers and onion: I usually cut a little extra ahead of time and keep it in the fridge.
- Sauce: leftover sauce keeps 3 to 4 days, covered, in the fridge, the USDA's time for leftovers.
- Sauced chicken: it keeps 3 to 4 days, covered, in the fridge too. Reheat it until it's steaming hot, 165°F. A closed box or a lid traps the steam and softens the crust, so if you're planning on leftovers, keep the sauce on the side and toss them together just before you eat.
Sweet and Sour Chicken Questions
Can I make sweet and sour sauce without ketchup?
Yes. The neon red sauce in this recipe has no ketchup at all, and Jim Lee's 1968 cookbook says the ketchup in his sweet and sour sauce is optional and mostly there for the color.
I think ketchup does a little more than add color, though, because tomatoes are naturally high in glutamate, the same savory compound that's in MSG. So if you leave it out of the old-school sauce, it won't taste quite the same.
Why does my sweet and sour sauce turn to jelly in the fridge?
That's the cornstarch. It keeps thickening as the sauce cools, so a sauce that looked right on the stove sets up in the fridge.
That's why both sauces here are made fresh for each batch. They only take a couple of minutes.
Why do takeout places put the sauce on the side?
My best guess is it keeps the chicken crunchy longer, since the sauce only touches each piece as you eat it. That's why the neon red version here is a dip.
Hong Kong takeaway shops do something similar. A 2022 Ming Pao Weekly story on Tsang Kwok-sang's Hong Kong restaurant says that small shops that mostly sell takeaway boxes fry the pork ahead and only mix in the sauce when the order comes, to slow down how fast the crust goes soft.
Can I use chicken thighs instead of breast?
Yes. The marinade, the batter, the freeze and the double fry are the same ones I use for my Panda Express orange chicken, which uses chicken thighs and skips the brine.
Do I have to freeze the chicken?
You can fry it twice without freezing it. If you don't want to wait, just bump the oil up to 375°F and do the second fry immediately, and still cook it until the thickest piece is at least 165°F.
Back in the 1960s, Joyce Chen double-fried her sweet and sour pork on her TV show, and she said it works for chicken too. I've double-fried it many times myself, and it's really good, but it always comes out better when I freeze it in between.
If you make this, leave a star rating in the recipe card below. It helps other people find the recipe.
More Chinese Takeout Recipes
- Chinese Takeout Fried Rice
- Chinese Egg Rolls
- Chinese Takeout Crab Rangoon
- Chinese Takeout General Tso's Chicken
- Panda Express Orange Chicken
- Chinese Takeout Lo Mein
Recipe
Sweet and Sour Chicken
Equipment
- 1 Made-In Carbon Steel Wok for frying
- 1 Made-In Saucier (2 quart) for the clear neon red
- 1 Cutting Board plastic
- 1 Whisk
- 1 Instant-read thermometer for the oil and the center of the chicken
- 2 Baking Sheet one under the rack, one for freezing
- 1 Wok Spider/Strainer for lifting the chicken out of the oil
- 1 Cuisinart Mesh Strainers (Set of 3) for skimming loose bits of batter out of the oil
- 1 Large Mixing Bowls metal; one sits over ice under the batter
- 1 Hefty Storage Gallon Bags for marinating and freezing
- 1 Colander
Ingredients
The Chicken and Brine
- 1 lb boneless skinless chicken breast cut into 1-inch pieces
- 2 cups water
- 1 teaspoon baking soda
- 2 tablespoon soy sauce regular, not low-sodium
The Marinade
- 1 tablespoon dried whole egg powder whole egg, not egg white powder or meringue powder
- ½ teaspoon Morton table salt
- ¼ teaspoon white pepper
- 1 tablespoon cornstarch
- 1 teaspoon vegetable oil
The Dry Dredge
- ⅓ cup cornstarch
- ⅓ cup potato starch or use all cornstarch
- ¼ teaspoon onion powder
- ¼ teaspoon garlic powder
- ⅛ teaspoon white pepper
The Wet Batter
- 1 cup all-purpose flour
- ⅔ cup cornstarch
- ½ cup potato starch
- 1 teaspoon onion powder
- 1 teaspoon garlic powder
- ¼ teaspoon white pepper
- ½ teaspoon baking powder
- ½ teaspoon Morton table salt
- 3 tablespoon dried whole egg powder
- 1 ⅓ cups ice water keep the batter ice cold
For Frying
- vegetable oil enough to deep fry
Old-School Red Sauce (one batch, for half the chicken)
- 6 tablespoon granulated sugar
- 4 ½ tablespoon distilled white vinegar
- 3 tablespoon pineapple juice canned, such as Dole
- 1 tablespoon water
- 2 tablespoon ketchup Heinz
- ¼ teaspoon Morton table salt
- ¼ teaspoon MSG
- 1 tablespoon cornstarch
Clear Neon Red Dipping Sauce (one batch, for half the chicken)
- 6 tablespoon granulated sugar
- 5 tablespoon water
- 4 tablespoon distilled white vinegar
- ½ teaspoon Morton table salt
- ⅛ teaspoon MSG
- 1 tablespoon cornstarch
- red food coloring liquid, a drop at a time; optional
The Wok (old-school red batch only)
- 1-2 teaspoon vegetable oil
- ¼ green bell pepper cut into 1-inch pieces
- ¼ red bell pepper cut into 1-inch pieces
- ¼ yellow onion cut into 1-inch pieces
- ¾ cup old-school red sauce from above
The Old Brown Sauce (optional, makes 1 cup)
- ¼ cup brown sugar packed
- ¼ cup distilled white vinegar
- ½ cup pineapple juice canned, such as Dole
- 1 ½ tablespoon soy sauce
- ½ teaspoon dark soy sauce
- 1 tablespoon cornstarch
- 2 tablespoon water cold
Instructions
Brine the Chicken
- Cut the chicken breast into 1-inch pieces, all about the same size so they fry in the same amount of time.
- Stir the water, baking soda and soy sauce together until the baking soda dissolves. Add the chicken, cover, and refrigerate for at least 2 hours and up to 24; the full 24 hours is even better.
- Drain the chicken without rinsing it. Pat it as dry as you can with paper towels, then spread it on a wire rack until no wet shine is left on the surface, because any water left on it keeps the coating from sticking.
Marinate
- Put the chicken in a large bowl with the egg powder, salt, white pepper, cornstarch and vegetable oil, and toss until every piece is evenly coated.
- Transfer it to a zip-top bag and massage the coating into the chicken through the bag. Seal it and refrigerate for at least 30 minutes; 2 to 4 hours is ideal.
Make the Dredge and Batter
- For the dry dredge, whisk the cornstarch, potato starch, onion powder, garlic powder and white pepper together in a large bowl.
- For the wet batter, whisk the flour, cornstarch, potato starch, onion powder, garlic powder, white pepper, baking powder and salt in a second large bowl. Add the egg powder and ice water and whisk until smooth, with no dry lumps left.
- Set the batter bowl over a bowl of ice so it stays between 35 and 41°F while you work. The bigger the gap between the cold batter and the hot oil, the more the batter puffs, and that leaves the little air pockets that make the crust crunchy.
First Fry (Set the Crust)
- Heat the frying oil in a wok or heavy pot to 350°F before you start dredging, since each piece goes straight from the batter into the oil. Set a wire rack over a baking sheet.
- Working a few pieces at a time, press the chicken firmly into the dry dredge and shake off the extra. Dip it in the cold batter, let the extra drip off, and lower it into the oil.
- Leave it alone for the first minute: this batter is light, almost like tempura, and comes apart if you stir it too soon. Then break up any pieces that stuck together. Fry in 2 to 3 batches so you don't crowd the wok and drop the oil temperature.
- Fry each batch 2 to 3 minutes, until the crust feels firm and pale gold and the bubbles streaming off it slow way down. The chicken is not cooked through yet; this fry only sets the crust.
- Drain on the wire rack, not paper towels, which trap steam and make the bottom soggy. Skim loose bits of batter out of the oil between batches so they don't burn and make the oil taste bitter.
Cool and Freeze
- Let the chicken cool on the rack, uncovered, to room temperature, about 30 minutes. Never hold the half-fried chicken in the fridge to finish another day.
- Spread the pieces in a single layer on a baking sheet and put them straight in the freezer, within 2 hours of frying. Freeze uncovered for at least 6 hours; overnight is best.
- Once it's frozen solid, move it to a zip-top freezer bag, press out as much air as you can and seal it. It keeps up to 2 months, and it's two dinners: each batch is half the chicken, about 15 oz (425 g).
Make the Sauce (one batch for each half of the chicken)
- For the old-school red, whisk the sugar, vinegar, pineapple juice, water, ketchup, salt, MSG and cornstarch in a bowl until no lumps remain. Set it aside for the wok.
- For the clear neon red, whisk the sugar, water, vinegar, salt, MSG and cornstarch in a small saucepan until no lumps remain. Add the red food coloring one drop at a time, whisking after each, until the color looks right to you.
- Set the saucepan over medium heat and keep whisking until it comes to a boil and turns glossy and thick, about 1 minute. Make it a little thinner than you think, because it thickens as it cools, then pour it into a small cup for dipping.
Second Fry
- Reheat the oil to 350°F. Shake the loose crumbs off half the frozen chicken, about 15 oz (425 g), and keep the other half in the freezer for another night.
- Fry it straight from the freezer, without thawing, until deep golden brown and the center of the thickest piece is at least 165°F, about 7 minutes. Don't thaw it first: the ice crystals on the crust steam off in the oil, and that's what makes it so crunchy.
- Drain the chicken on the wire rack again.
For the Neon Red: Serve With the Dip
- Serve the chicken plain, straight off the rack, with the cup of clear neon red on the side for dipping and no vegetables, the way takeout packs it.
For the Old-School Red: Toss in the Wok
- Heat a clean wok over high heat until it just starts to smoke. Turn off the heat, add the vegetable oil and swirl it to coat the wok, then turn the heat back on to medium-high.
- Add the green pepper, red pepper and onion and stir-fry 30 seconds to 1 minute, just until bright and glossy. Keep them a little crisp, because they still have to simmer in the sauce.
- Stir the old-school red well, since the cornstarch settles to the bottom, and pour it in. Keep stirring until it simmers and turns glossy and thick enough to cling to a spoon, about 1 minute.
- Add the fried chicken at the very last second and toss quickly until every piece is coated. Serve right away.
The Old Brown Sauce (Optional)
- In a small saucepan over medium heat, stir the brown sugar, vinegar, pineapple juice, soy sauce and dark soy sauce until the sugar dissolves and it comes to a simmer.
- Stir the cornstarch into the cold water, then stir it into the simmering sauce. Keep stirring until it turns clear, glossy and thick, about 1 minute.
- Use it in the wok steps in place of the old-school red, about ¾ cup for half the chicken.