Caramelized Onions Recipe (Slow-Cooked, No Sugar Needed)
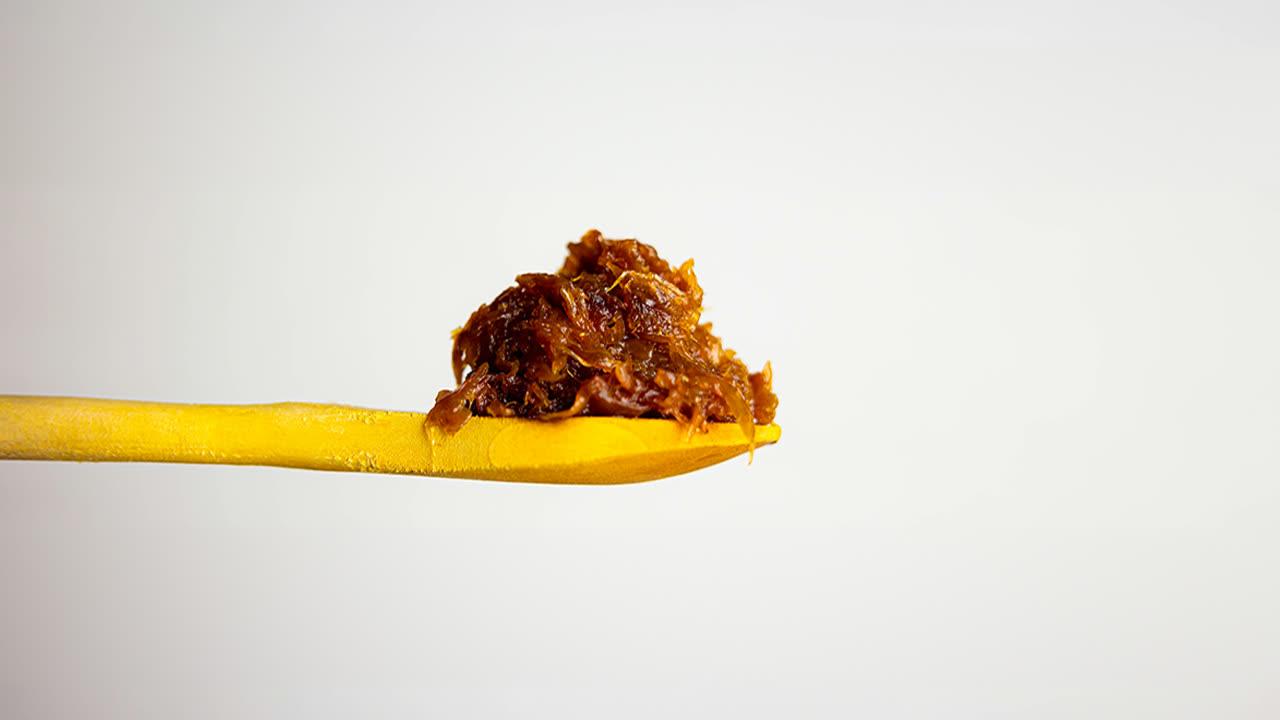
This caramelized onions recipe cooks 8 pounds of sliced onions slowly in butter with a little kosher salt, and nothing sweet added, until they turn the color of a Tootsie Roll. It takes 4 to 5 hours, most of it just stirring now and then, and makes about 2 cups.
This post contains affiliate links, which means I may earn a small commission if you make a purchase. It doesn't cost you anything extra. Full disclosure.
Why I Caramelize Onions the Slow Way
I've seen a lot of recipes that say they'll show you how to caramelize onions. Most of them add sugar to speed it up, and a lot of them add balsamic vinegar or wine on top of that.
You don't need any of it. Caramelizing onions just means cooking the water out of them and slowly browning the sugar that's already in the onion. Adding white sugar shortcuts that, and the onions come out too sweet.
Raw onions are about 89% water, according to the USDA's food database, which is why it takes so long. It's also why 8 pounds of onions cooks down to only about 2 cups.
What you get at the end is very mild, with a savory, almost candy-like flavor, a lot like buttery toffee. I'm not exaggerating when I say you can eat them straight out of the jar.
How Mine Compares to Quick Versions
The quick versions get the onions brown a lot faster, but some of that color and sweetness comes from the sugar or vinegar you added. Done this way, the only things in the pot besides the onions are butter and a little salt.
The trade-off is time. I won't pretend 4 to 5 hours of cooking onions is normal, so I make a huge batch and freeze it in small portions. That way I only make them 3 or 4 times a year.
I'll be completely honest, it's kind of ridiculous. But you should make these at least once to know what a true caramelized onion tastes like.
Why These Caramelized Onions Work
- Cooking off all the water at medium heat first saves time, since the onions can't really start to brown until the water is gone.
- Low heat for the browning gives the onion's own sugar time to brown evenly instead of burning in spots.
- Slicing with the grain of the onion lets the slices soften while still holding their shape after hours in the pot.
- Scraping up the brown bits as you go keeps that browned onion flavor in the onions instead of stuck to the pot.
The Ingredients
Onions. I generally stick with yellow onions or sweet onions. I've used every sort of onion and haven't really noticed a difference in flavor.
Unsalted butter. One stick, or 8 tablespoons. Salted butter works fine too. If you'd rather not use butter, any cooking oil or olive oil works in the same amount, 1 tablespoon of oil for each tablespoon of butter.
Kosher salt. We use kosher salt in restaurants because it's the easiest to grip and measure by hand, and the brand I use is Diamond Crystal. One tablespoon of it weighs about 8.4 grams, so the easiest way to use another salt is to weigh out the same amount.
By the spoon, that's about 1¾ teaspoons of Morton kosher salt, or a little under 1½ teaspoons of table salt, which is a bit under half the volume. Both pack more salt into a spoonful than Diamond Crystal's light, hollow flakes.
How to Make Caramelized Onions
Slicing the onions
1. Trim and halve the onions
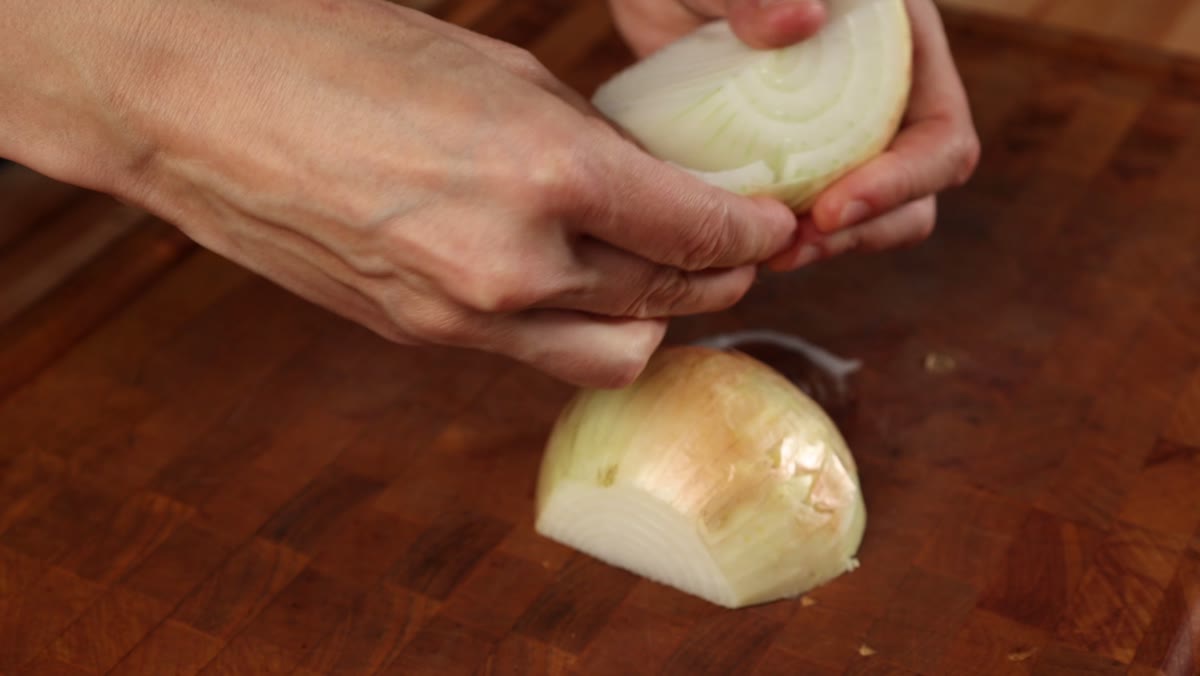
Cut the tops and bottoms off the onions, then slice each one in half lengthwise, down through the root end. Peel off the papery skin and any tough outer layers.
2. Cut out any root that's left
If there's still a bit of hard root at the bottom of a half, cut it out with a small V-shaped cut.
3. Slice with the grain
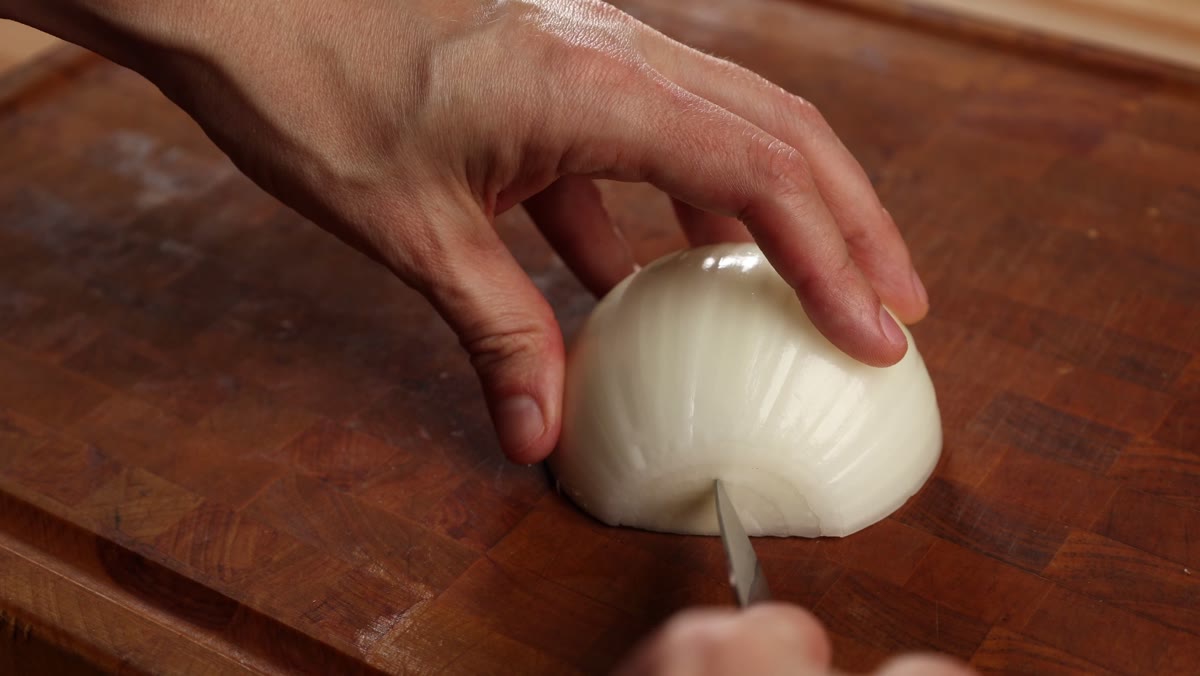
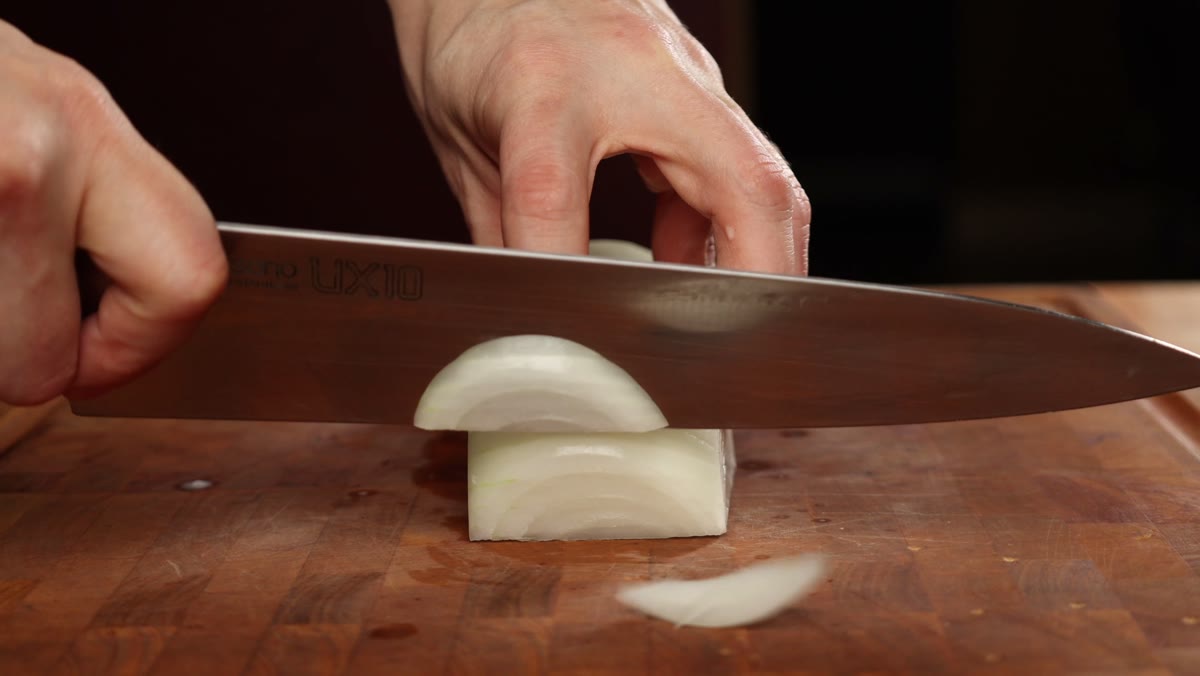
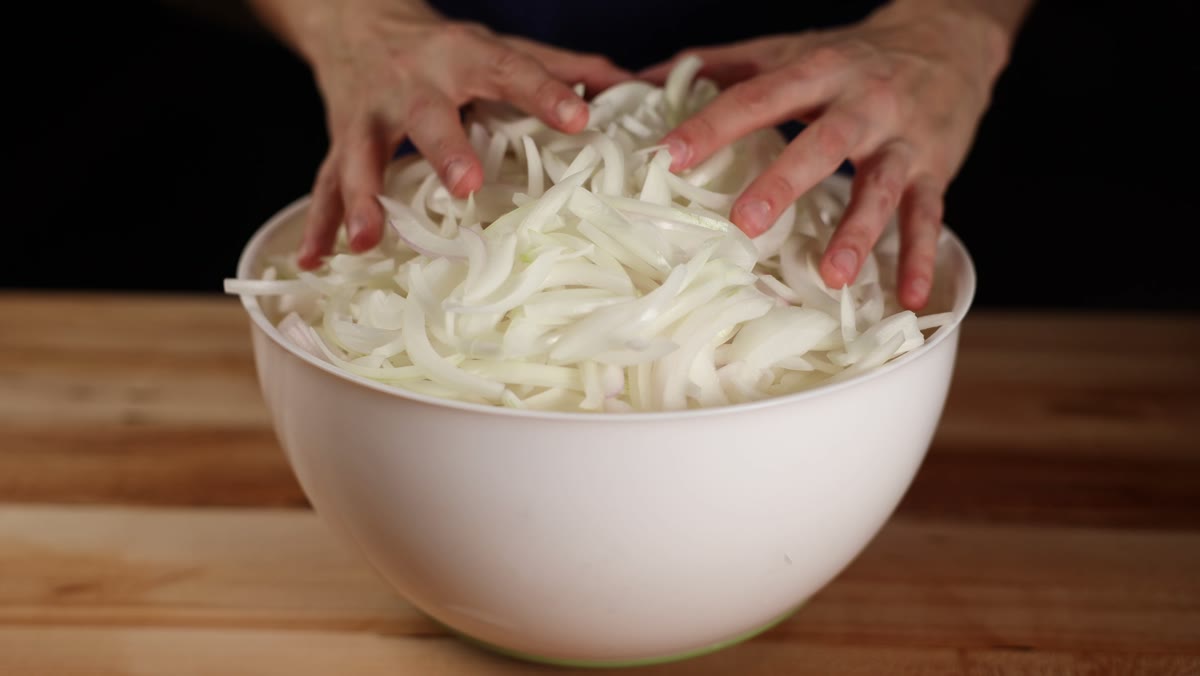
Look at a halved onion and you'll see lines running from the root to the tip, which is the grain. Set the half cut side down with the root end facing you and slice it into strips about ¼ inch thick, cutting along those lines.
When you get a little over halfway through, flip the smaller piece onto its side so it's easier to hold. Repeat with the rest of the onions, and don't worry if you end up with a mountain of them.
Cooking off the water
4. Add butter and the first batch
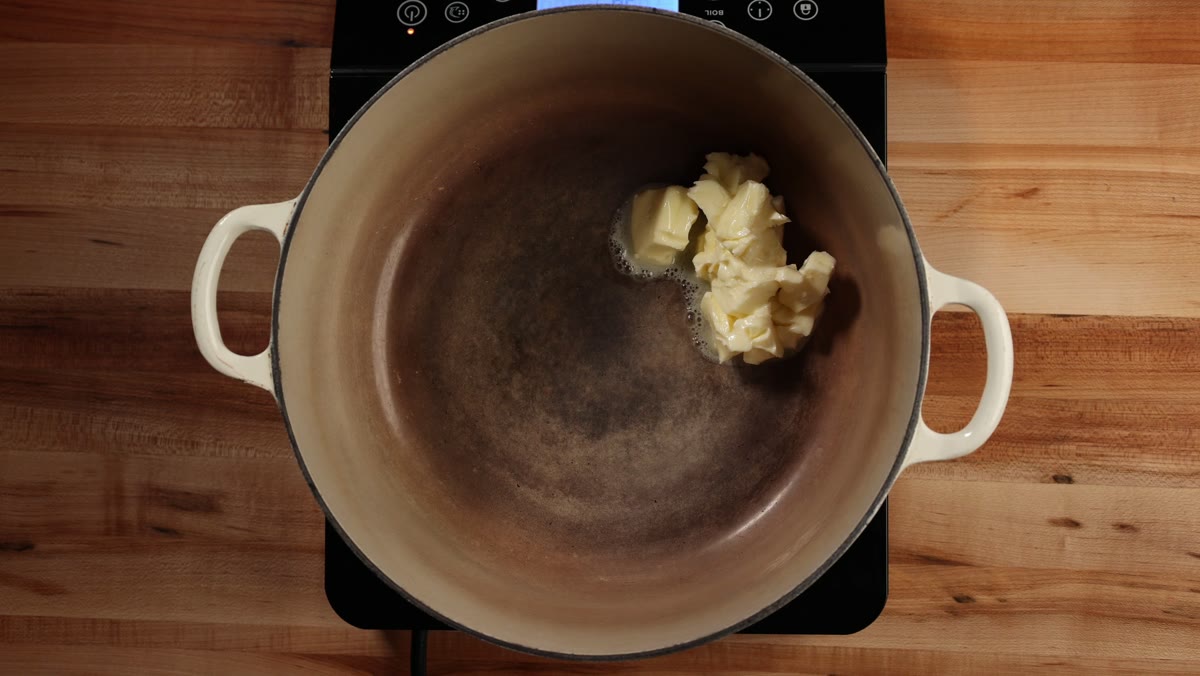
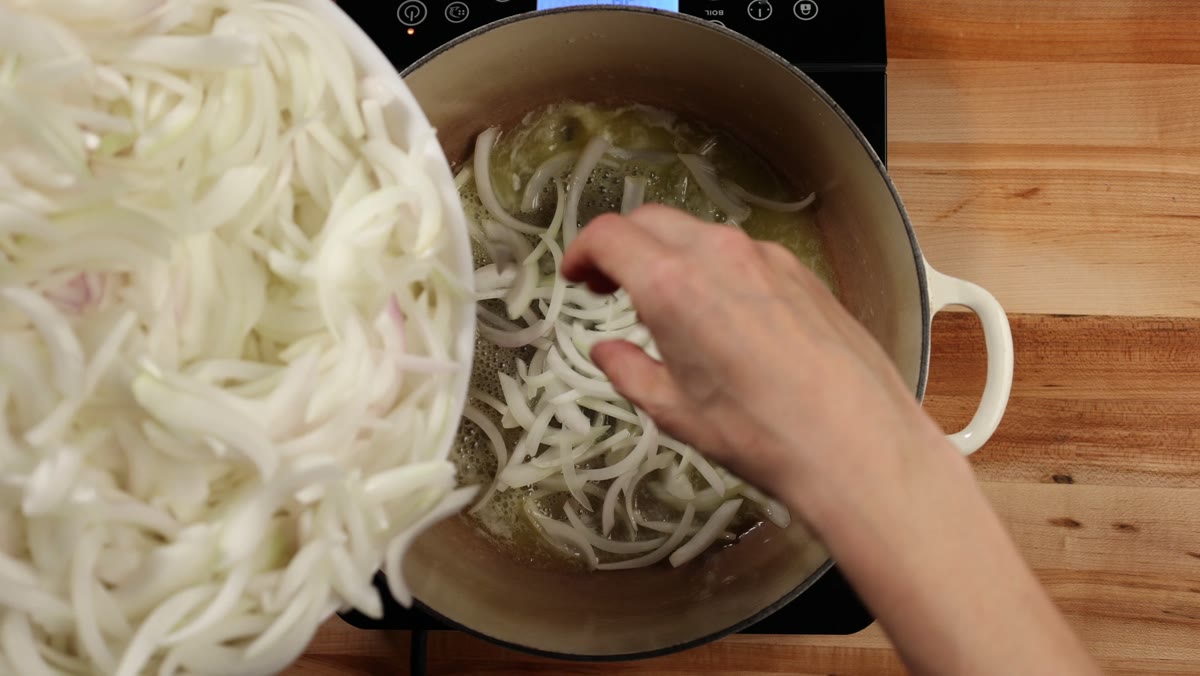
Melt the 8 tablespoons of butter in your biggest heavy pot over medium heat. Once it's melted, add enough onions to fill the pot about two-thirds of the way, add the tablespoon of kosher salt and give it a good stir.
5. Keep adding onions as they shrink
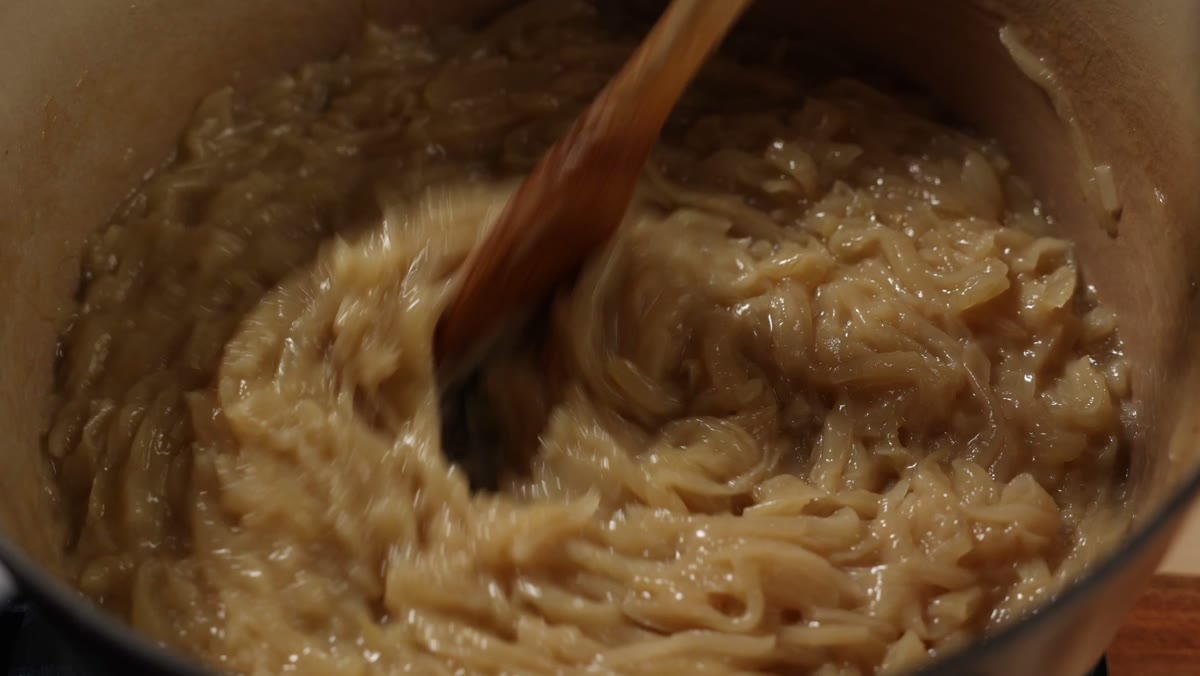
As the onions give up their liquid and cook down, add more until they're all in the pot. Keep the heat at medium and stir about once every 10 minutes.
You don't have to watch the pot closely at this stage, because the liquid keeps the onions on the bottom from burning, but they can still scorch if you leave them too long. Getting all the water out usually takes 60 to 90 minutes, and sometimes longer.
6. Turn the heat down once it's dry
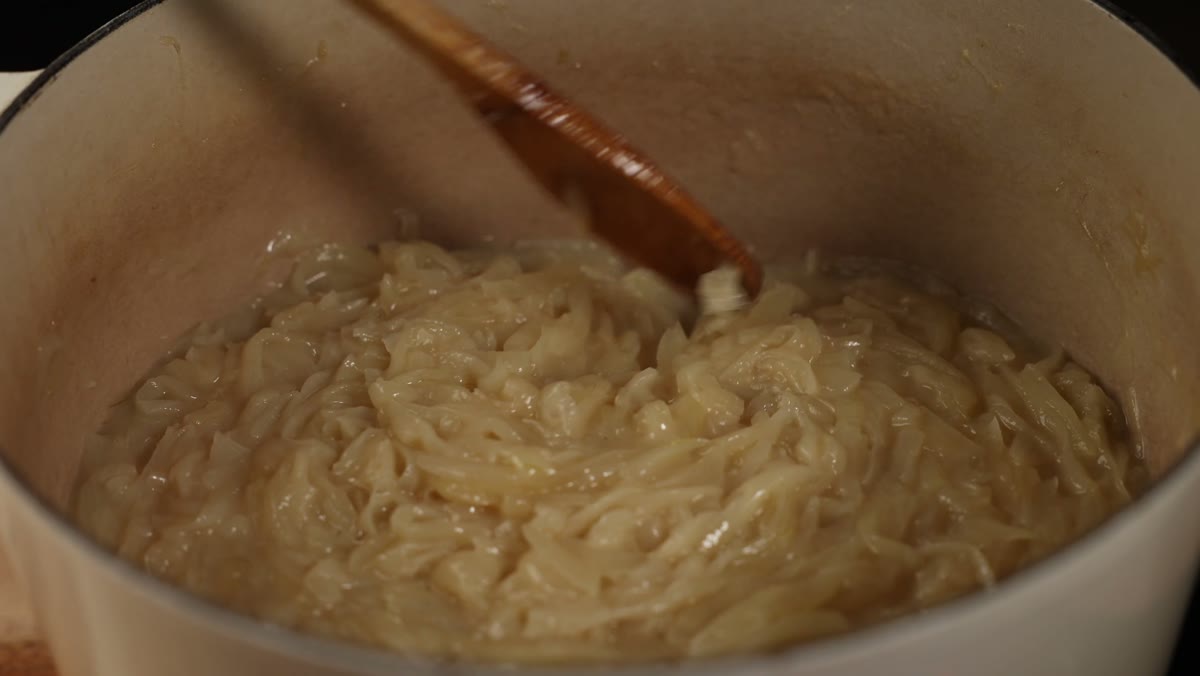
To check, push your spoon against the bottom of the pot and drag it across the onions. If liquid seeps into the gap, keep cooking. When the bottom looks dry, apart from the butter, turn the heat down to low, or somewhere between low and medium-low.
On my induction burner that was about 4 or 5 while the water cooked off and about 2 for the rest.
Browning the onions
7. Stir and scrape every 5 minutes
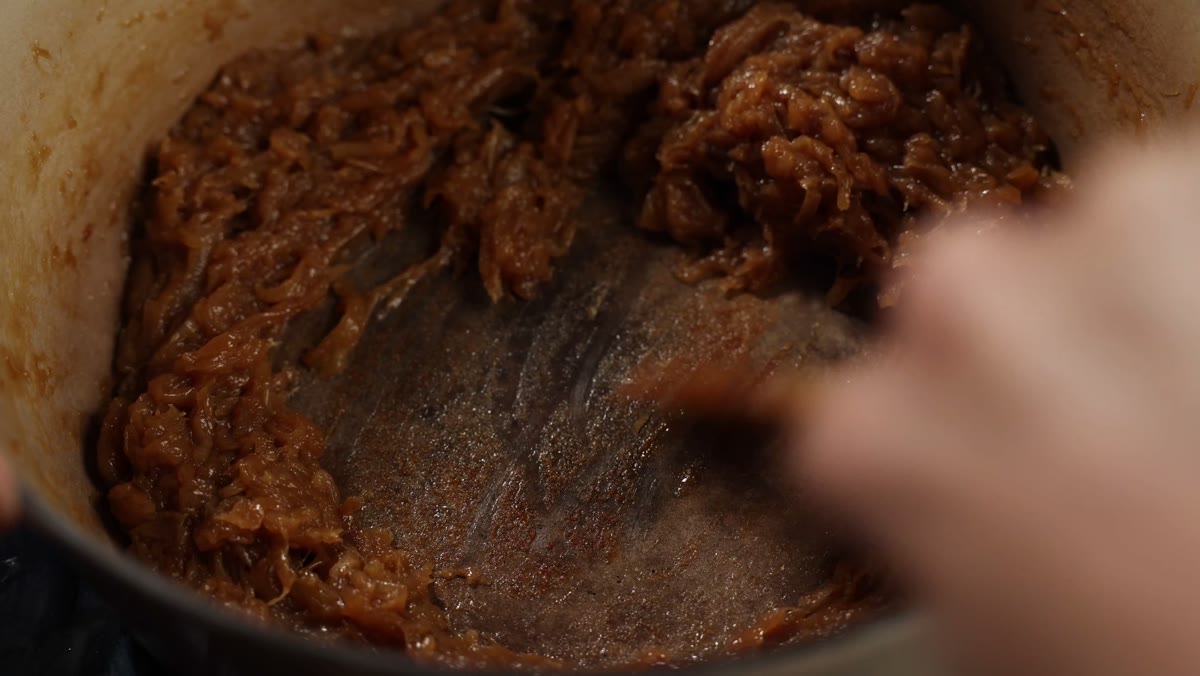
From here on, stir about once every 5 minutes. Each time, scrape up the brown bits stuck to the bottom of the pot (cooks call them the fond) and stir them back into the onions.
Those bits are the onion's sugar browning, and they can burn very quickly. If any of them scorch, the whole batch will taste bitter.
8. Watch them closely toward the end
The whole process usually takes 4 to 5 hours from start to finish, and the last part is when the onions burn most easily. It's extremely irritating to cook something for four hours and ruin it right before you're done, so stay close to the pot and be very thorough with the scraping.
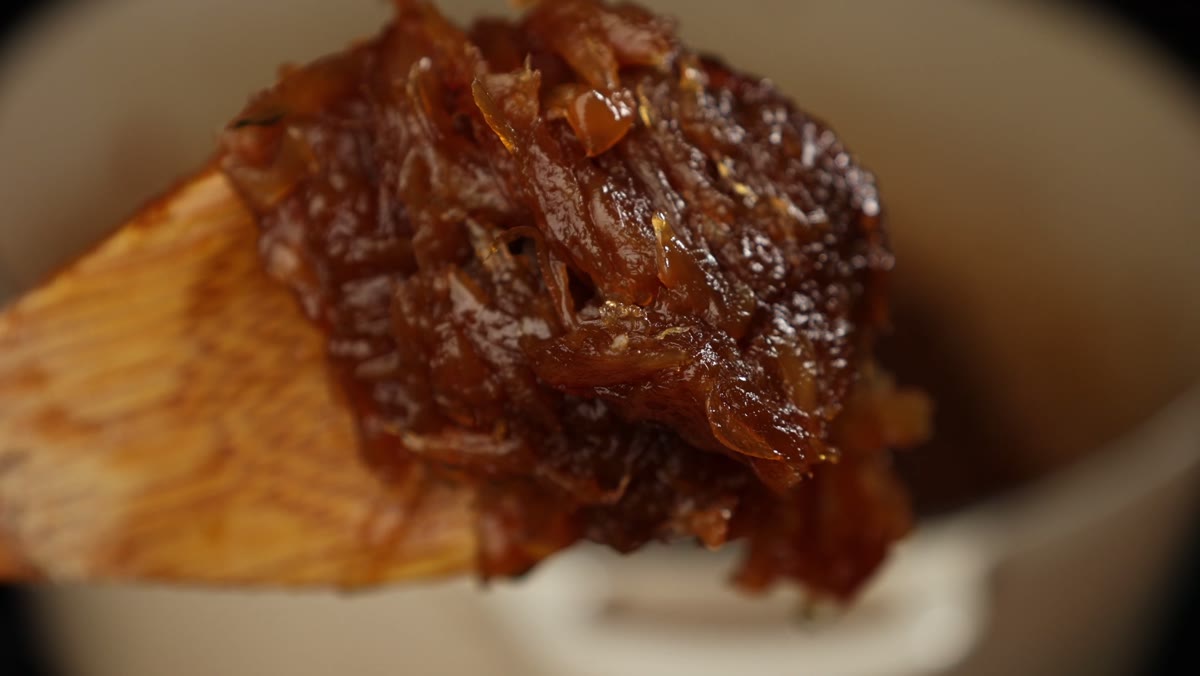
9. Stop at the color of a Tootsie Roll
When the onions are an even dark brown, the color of a Tootsie Roll, they're done. If there's a layer of melted butter pooled in the pot at the end, just pour it off.
Tips for Caramelized Onions
- If the bottom starts to burn while there's still liquid in the pot, your heat is too high. Turn it down a notch; you can run it fairly hot at the start, just not that hot.
- If your burner shuts itself off on low, set it as low as it will go without shutting off and stay close until you find the setting that works.
- If there's still a lot of liquid after a few hours, you can pour some of it off.
- If they start to dry out and stick, add a little more butter rather than water.
- You can stop partway and finish later. Get the pot into the fridge within 2 hours, the USDA's limit for cooked food at room temperature, and pick it back up the next day.
How to Use Caramelized Onions
If you want to make the best grilled cheese of your life, make it with these onions. The cheese in my video was, I believe, a Swiss and Gruyère blend from my grocery store, probably with some cheddar in there too.
They also make the best French onion soup. They're great on pizza and burgers, and just as good in a quiche.
People have told me my oven-roasted tomato and caramelized onion egg bites are one of the best things they've ever eaten.
How to Store and Freeze Them
Let the onions cool, then get them into the fridge within 2 hours of cooking. A big batch cools faster spread out in a few shallow containers. In a covered container they keep 3 to 4 days in the fridge, which is what the USDA's guide to leftovers gives for cooked food.
For anything longer, freeze them, which is what I do with most of every batch. I break them up into small portions, a tablespoon or two up to about ¼ cup, and vacuum seal them or put them in a freezer bag, so I can grab just what I need.
The USDA says frozen leftovers are best within 3 to 4 months and stay safe frozen longer than that, though they slowly lose moisture and flavor. I've kept mine about 6 months without noticing any change.
To thaw a portion, move it to the fridge the night before, or run the sealed bag under cool water for a few minutes. If you're eating them warm on their own, heat them until they're steaming hot, 165°F.
Questions About Caramelized Onions
Can I caramelize just one onion?
Not really. You need a big pile of onions to do this right, and it's very hard to caramelize one properly. For one onion, I'd just cook it in a pan until it looks darker, or use a quicker method that adds a little sugar or balsamic vinegar to get it going.
Does half a batch go faster?
It'll go a bit faster, since there's less water to cook off. The browning at low heat is still slow, though, so don't expect it to take half the time. That's why I always make the full batch and freeze it.
What pot or pan should I use?
Any pan works, stainless or nonstick, and a large skillet or sauté pan is fine for a smaller amount. You don't need a lid. A Dutch oven shouldn't stain as long as you don't let the onions burn.
Can I use a slow cooker?
I don't think a slow cooker works for this method. One viewer tried it for 10 hours and said they never got the caramelized flavor, though a couple of others say they cook theirs in a crockpot overnight. I've never tried it.
If you make these, leave a star rating in the card below; it helps other people find the recipe.
More Slow-Cooked Recipes
- Julia Child's Beef Bourguignon with Walmart Ingredients
- World-Class Beef Pho
- Homemade Ramen from Scratch
- Char Siu (Chinese BBQ Pork)
Recipe
Caramelized Onions
Equipment
- 1 Wusthof Paring Knife for the V-cut
- 1 Induction Burner or any stove burner
- 1 Dutch Oven large and heavy; any big pot works
Ingredients
- 8 lb onions yellow or sweet onions
- 8 tablespoon unsalted butter or salted; or 8 tablespoon cooking oil
- 1 tablespoon Diamond Crystal kosher salt or about 1 ¾ teaspoon Morton kosher salt or a little under 1 ½ teaspoon table salt
Instructions
Slice the Onions
- Cut the tops and bottoms off the onions and slice each one in half lengthwise, down through the root end. Peel off the papery skin and any tough outer layers, and cut out any hard root left at the bottom with a small V-shaped cut.
- Set each half cut side down with the root end facing you and slice it into strips about ¼ inch thick, along the lines that run from the root to the tip. Cutting with the grain helps the slices soften without falling apart over the long cook. When you're a little over halfway through, flip the smaller piece onto its side so it's easier to hold.
Cook Off the Water
- Melt the butter in a large, heavy pot over medium heat. Add enough onions to fill the pot about two-thirds of the way, add the salt and give it a good stir.
- As the onions give up their liquid and cook down, keep adding more until they're all in the pot. Stir about once every 10 minutes; the liquid keeps the onions on the bottom from burning, but they can still scorch if you leave them too long.
- Keep cooking on medium until the onions have given up all their liquid, usually 60 to 90 minutes and sometimes longer. To check, drag a spoon across the bottom of the pot: if liquid seeps into the gap, keep going.
Brown the Onions
- Once the liquid is gone, turn the heat down to low, or somewhere between low and medium-low. Stir about once every 5 minutes, each time scraping up the brown bits (the fond) from the bottom of the pot and stirring them back into the onions.
- Keep a close eye on the pot toward the end, when the brown bits can burn very quickly; if any scorch, the onions will taste bitter. The whole process usually takes 4 to 5 hours.
- The onions are done when they're an even dark brown, the color of a Tootsie Roll. Pour off any melted butter pooled in the pot.


